How I Fixed My Flaky, Peeling Window Ledges Quickly And Easily
How to stop flaky paint from returning by following this simple DIY process…
Read MoreHow to stop flaky paint from returning by following this simple DIY process…
Read MoreHow I rejuvenated and gave my kitchen a new look for less than £400…
Read MoreFrom compostable paint trays to recycling unwanted paint - how you can decorate your home without impacting the planet…
Read MoreI am an absolute sucker for clever home decor ideas using paint. Paint is an affordable way to totally transform your home, so I’m always on the look out for interesting ways that people use it. Recently, I’ve seen some genius paint tricks used residentially, so I wanted to share them today on the blog...
Read MoreSorting out your sash windows to bring them back to their former glory isn’t a hard job, you just need to have the right products…
Read MoreWhen I covered how I repaired my flaky, peeling bathroom ceiling on Instagram stories recently, I had so many messages about it that I decided to document the process over here on the blog. While this will not be my most glamorous blog post, it will sure beat all the badly filmed ‘boring bloke in a bathroom’ You Tube videos I had to endure to learn how to carry out this DIY task myself!
Read MoreFor the past 6 months I’ve been completely obsessed with circular mirrors! I’ve replaced every non-circular mirror in my home with a circular one and I’ve loved the effect it creates in the room. The round shape is so pleasing on the eye and it feels a much more contemporary design to whatever I had there before. In my last blog post I talked about how circles in the bathroom are a trend that is here to stay, so I was delighted when online bathroom suite retailer Soak.com gifted me their Iris bathroom mirror to hang in my home.
Read MoreI had long admired the many amazing Ikea Billy Bookcase hacks that are all over Pinterest, so being on a tiny budget and for the love of DIY, I set about making my own version!
Read More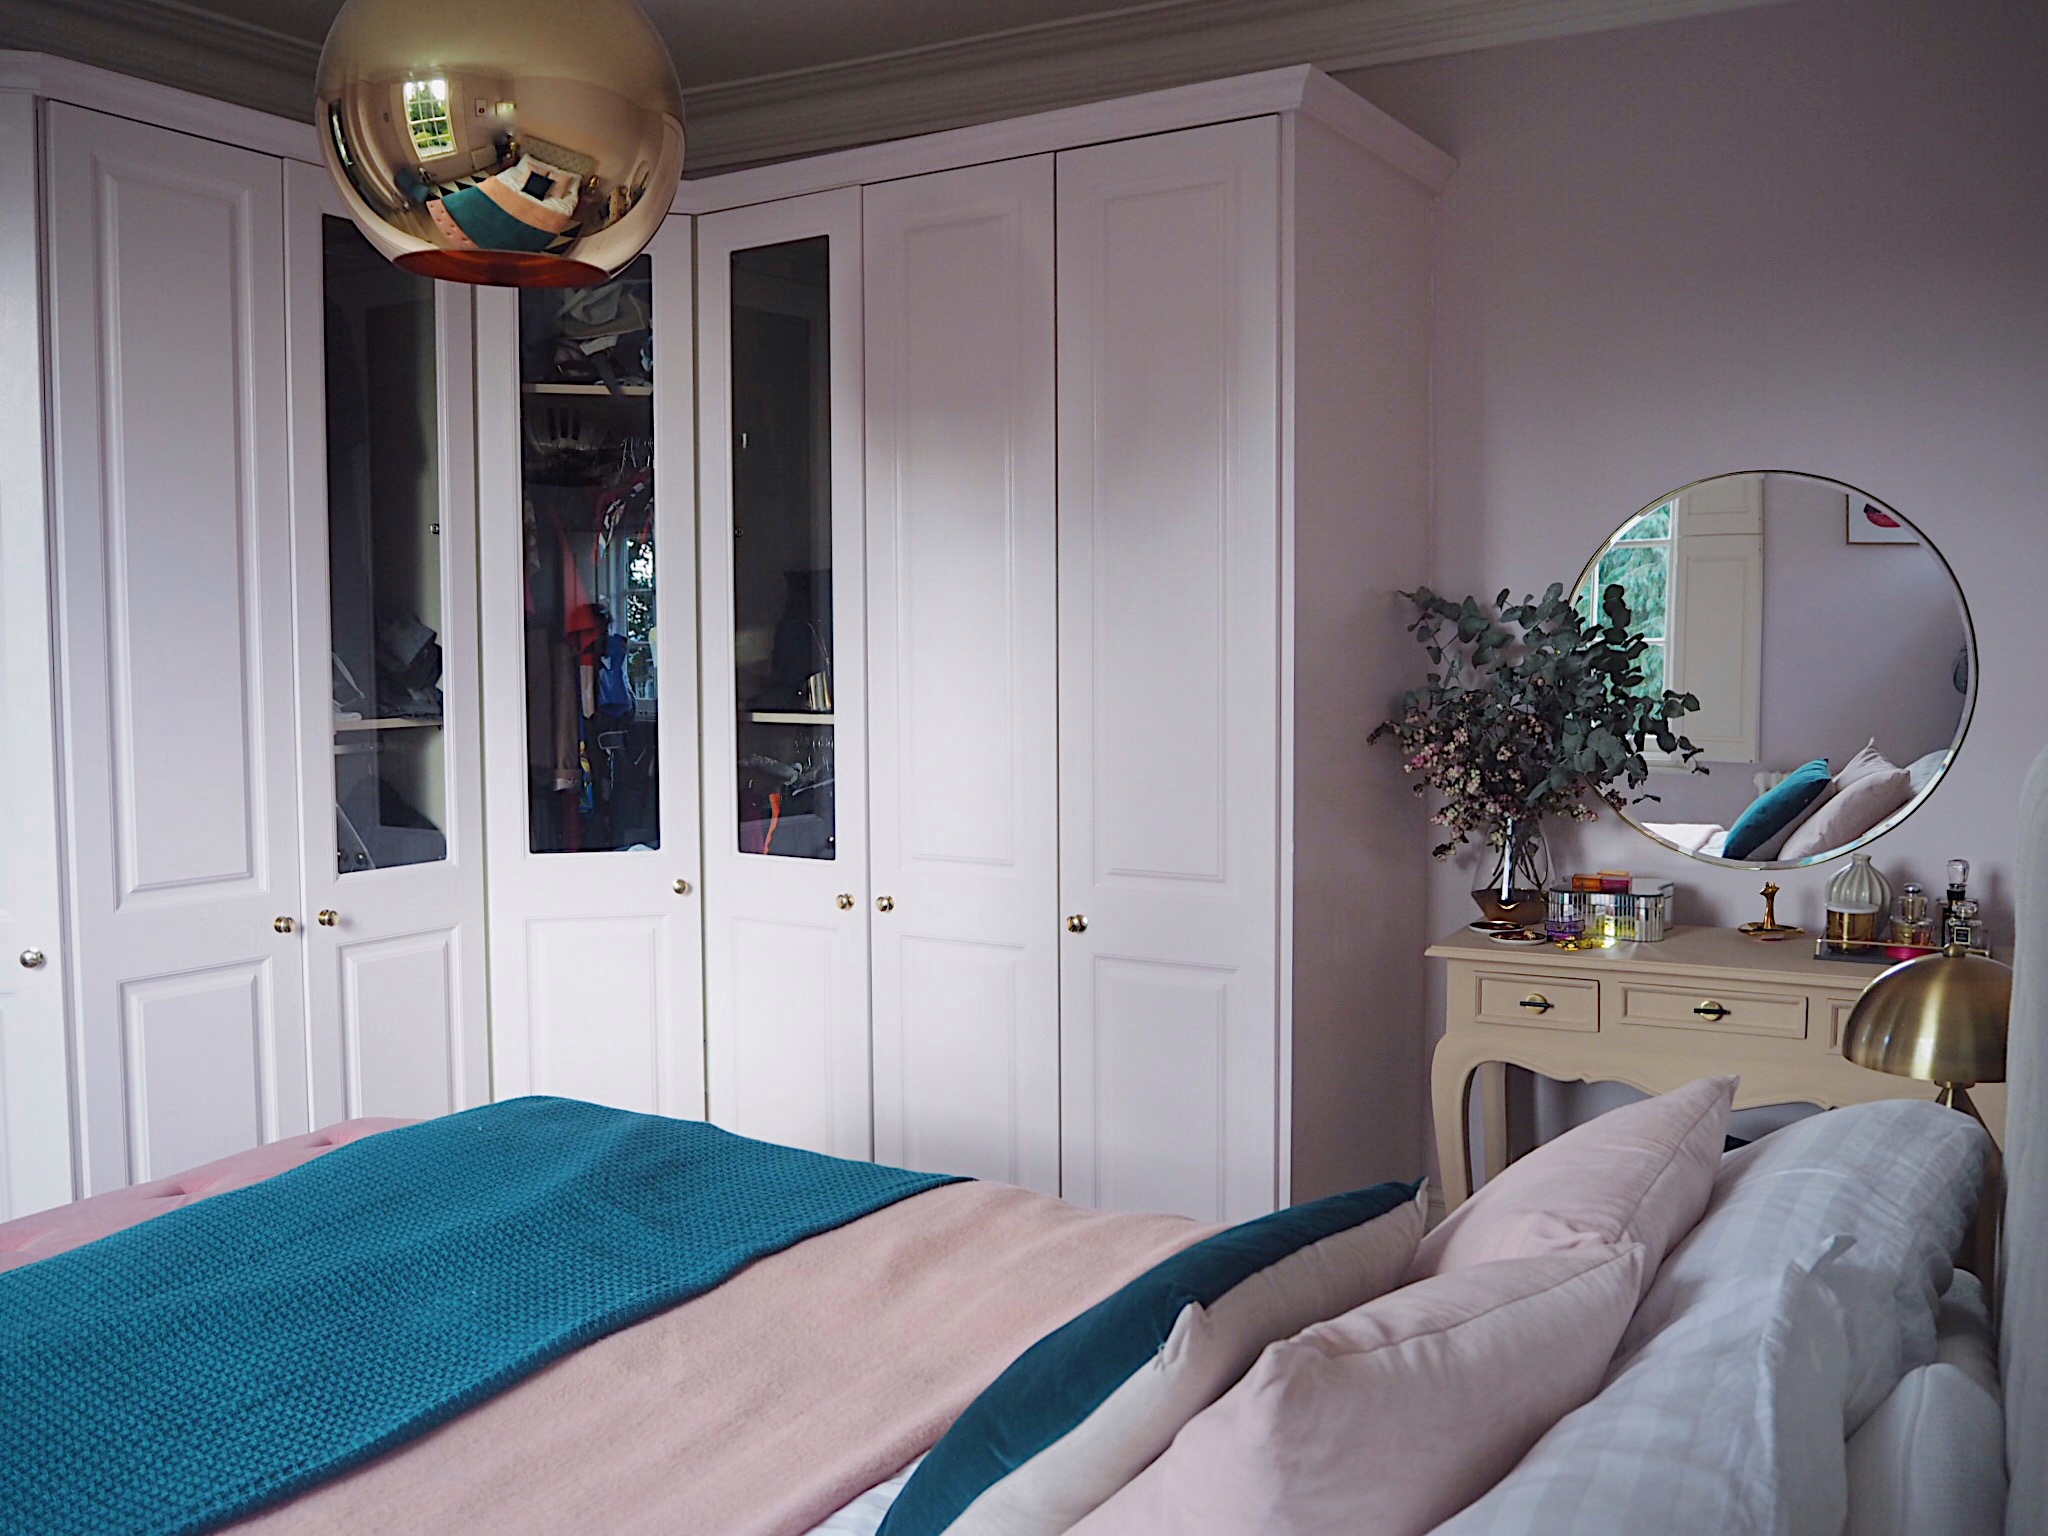
One of the main pieces of feedback I received in regard to the Revamp Restyle Reveal project was how I was going to tackle the dreaded built-in wardrobe dilemma. If you remember (or if you don't you can read all about it here!) I really disliked these cream-veneered built-in wardrobes that we inherited with the house:
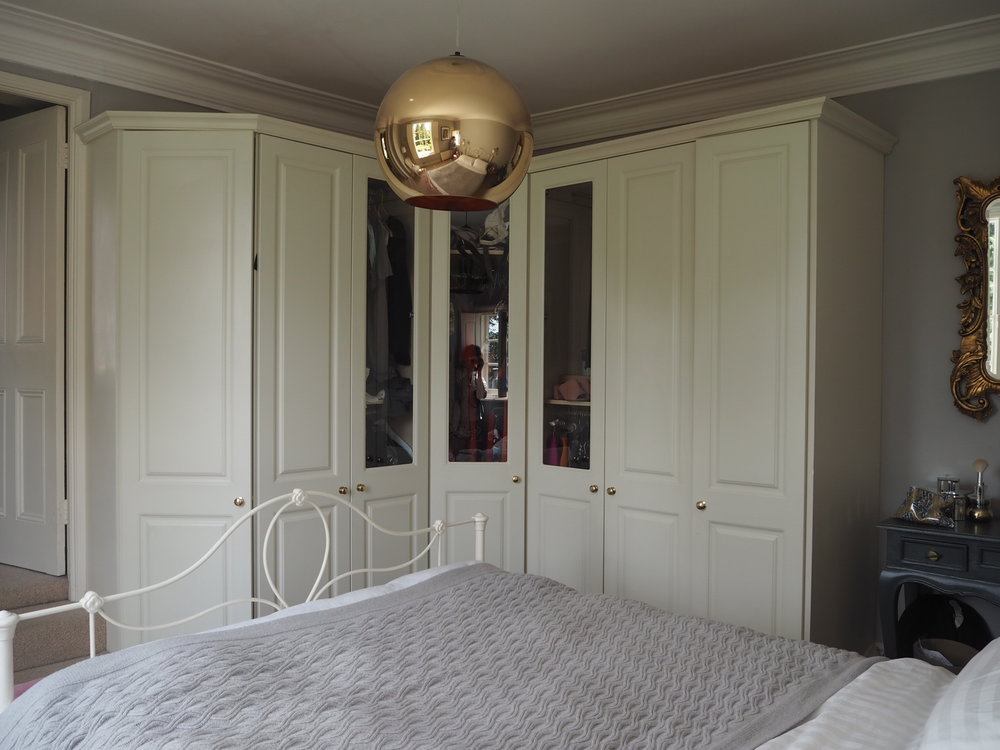
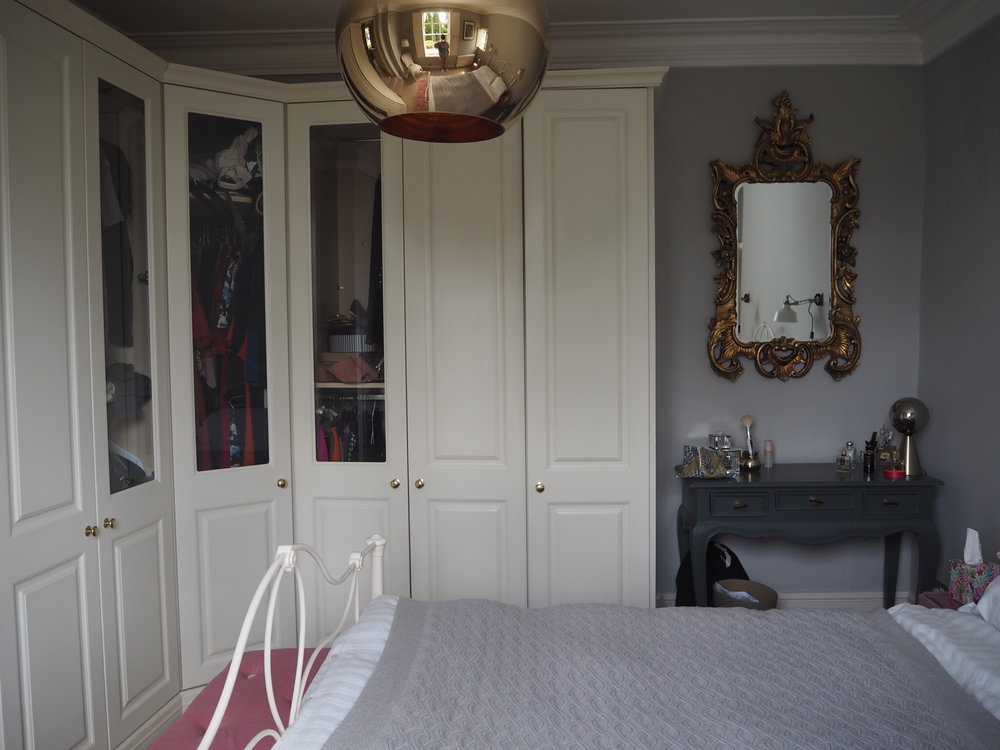
The wardrobes just did not work with the room, stood out and I felt they were an eyesore. I'd spent the past couple of years really trying to decide what to do with them. I spoke to some very much in-the-know people (such as Oliver Thomas from the Great Interior Design Challenge) about what to do with them and they all told me to paint them in the same as the wall colour. The idea was that they would 'blend in' a lot more.
Even though I knew deep down this was the best idea, I was really scared of painting them. They get a lot of use, and I didn't want to regret painting them if they started to chip a few weeks down the line.
I spent a decent amount of time on the internet on other blogs and builder forums trying to find out the best way to paint melamine with a successful outcome. I knew it could be done, but I had to get it right the first time. All tradespeople seemed convinced that Zinsser B-I-N was the ultimate primer for melamine to make an eggshell paint adhere to the surface with no chipping, so along with some Earthborn paint in eggshell, I set about painting my melamine wardrobes in the same colour as the walls.

To make sure all the prep was 100% perfect, I first washed down the cupboard with sugar soap so there was not any grease or grime to cause any issues. I usually hate this job making sure I have clean enough rags, spray sugar soap and a washing up bowl to wash off the sugar soap, but I discovered sugar soap cleaning wipes recently and they are a game-changer! They make life so much easier as you use a wipe until it is used up and then dispose of it for a new one.

One the cupboards were dry, I taped off the sections I did not want to be painted with a low tack tape, then applied 3 coats of Zinsser B-I-N with a special furniture door and cupboard set roller. I used this pack of two rollers for the primer and the eggshell paint and I really felt they made a real difference to the application rather than using basic mini paint rollers. If you are painting any furniture, I would highly suggest using these for a smoother paint finish.
Zinsser B-I-N feels quite thin when you apply it, but it starts to thicken and really sticks very very quickly. If you find it too thin at first, pour some in a paint tray and leave it for 5 or 10 minutes for a thicker application. I left 24 hours between each application.

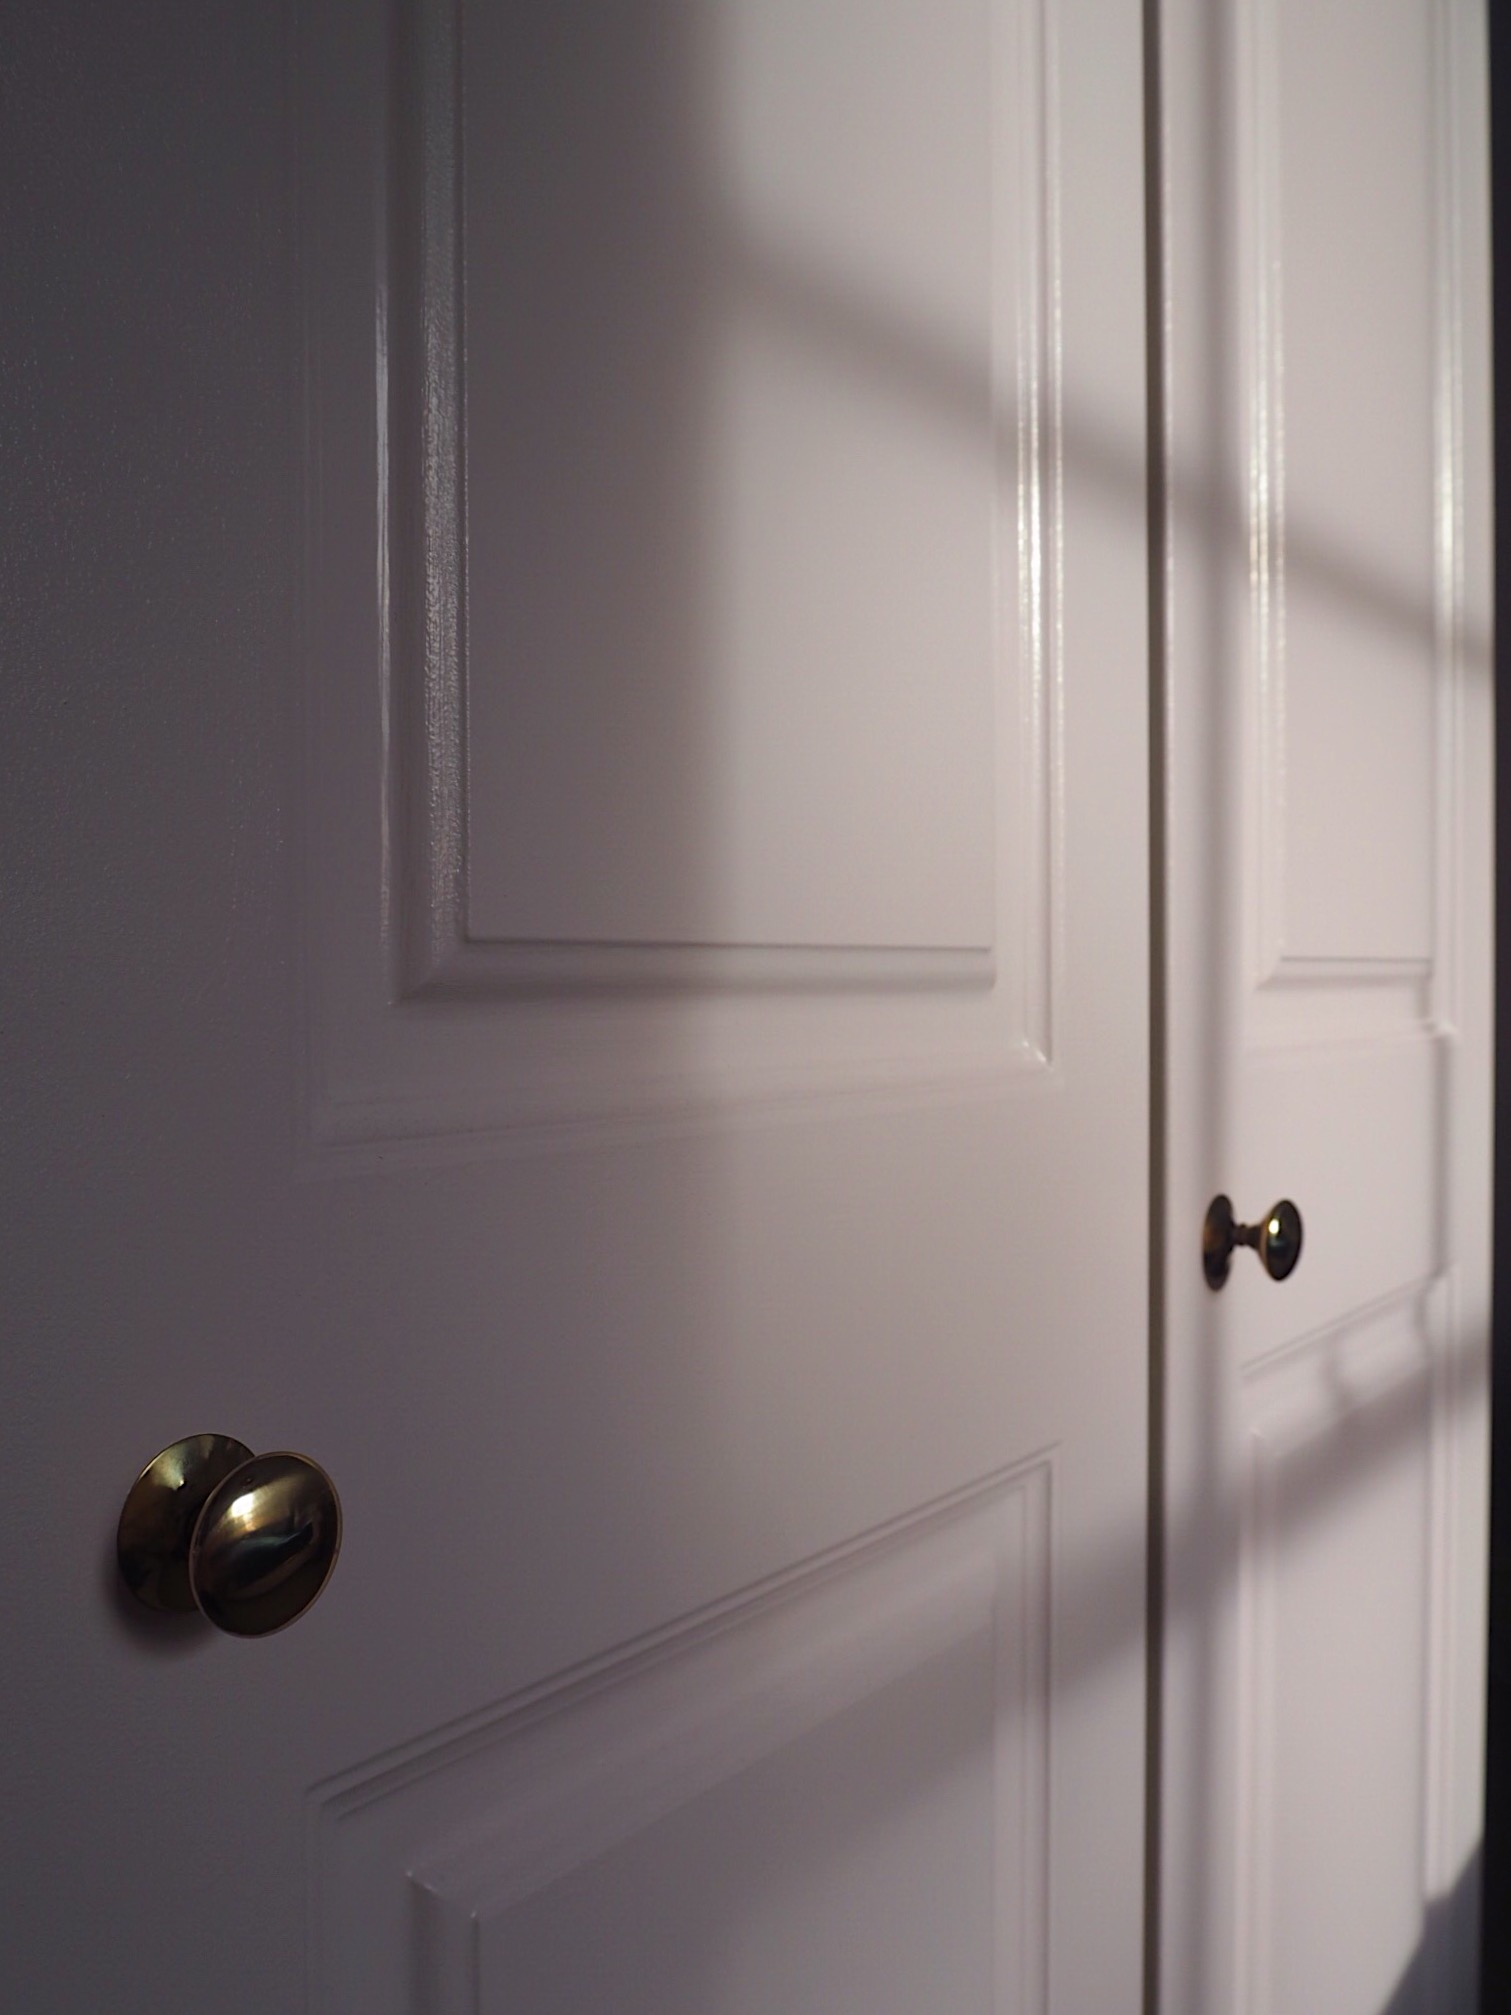
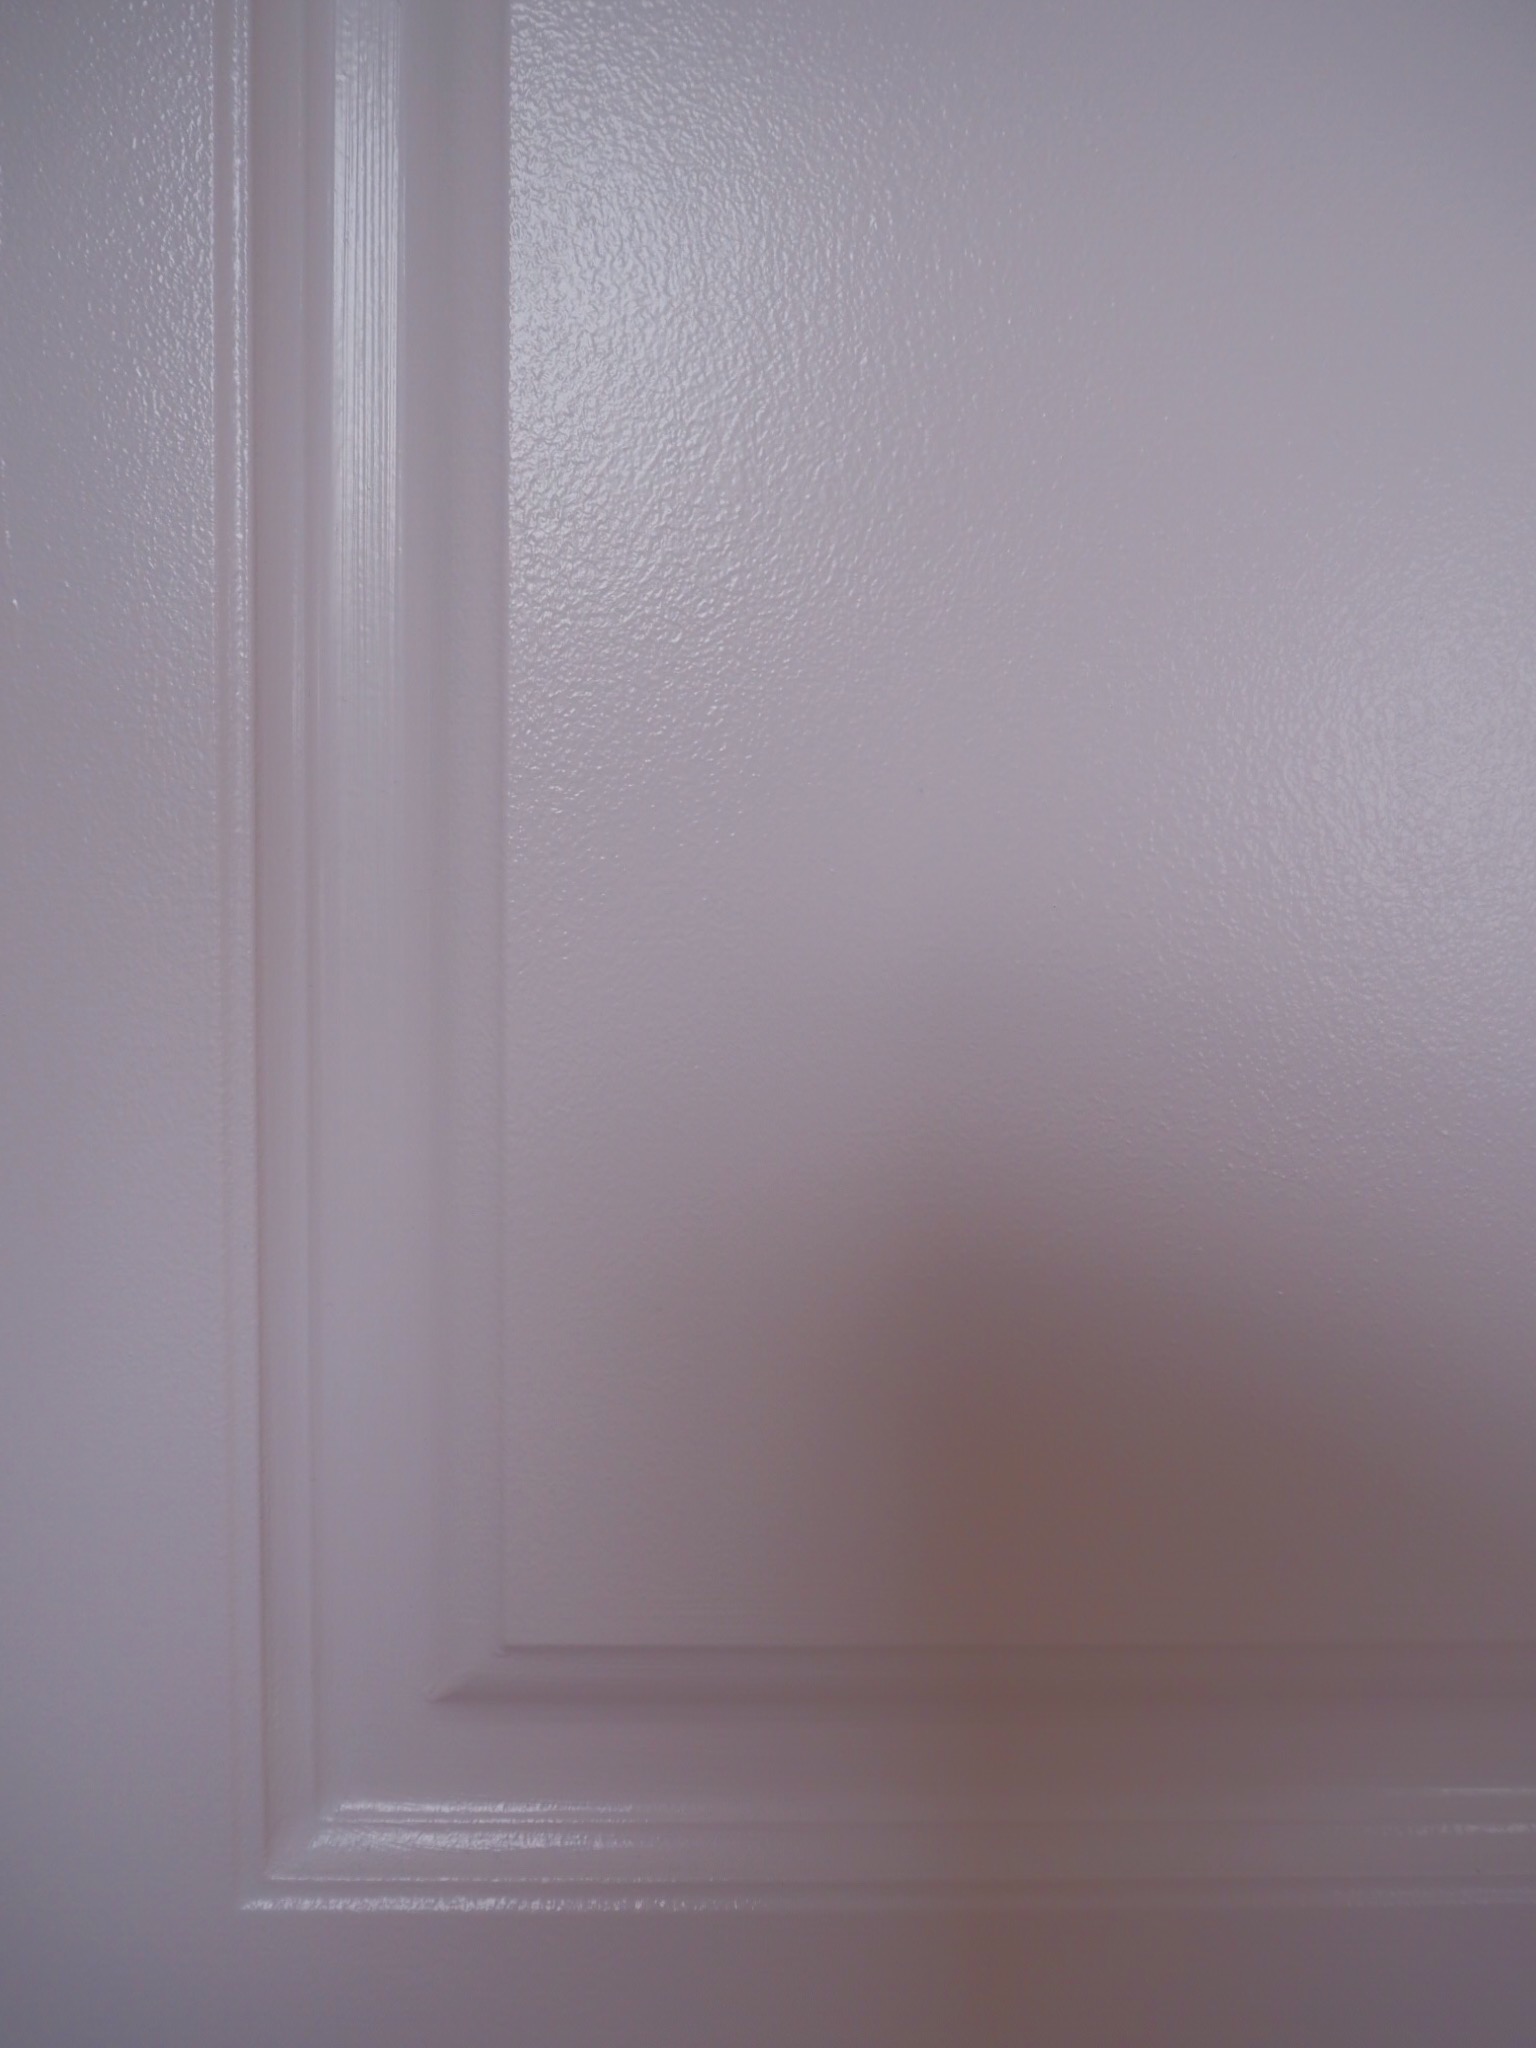
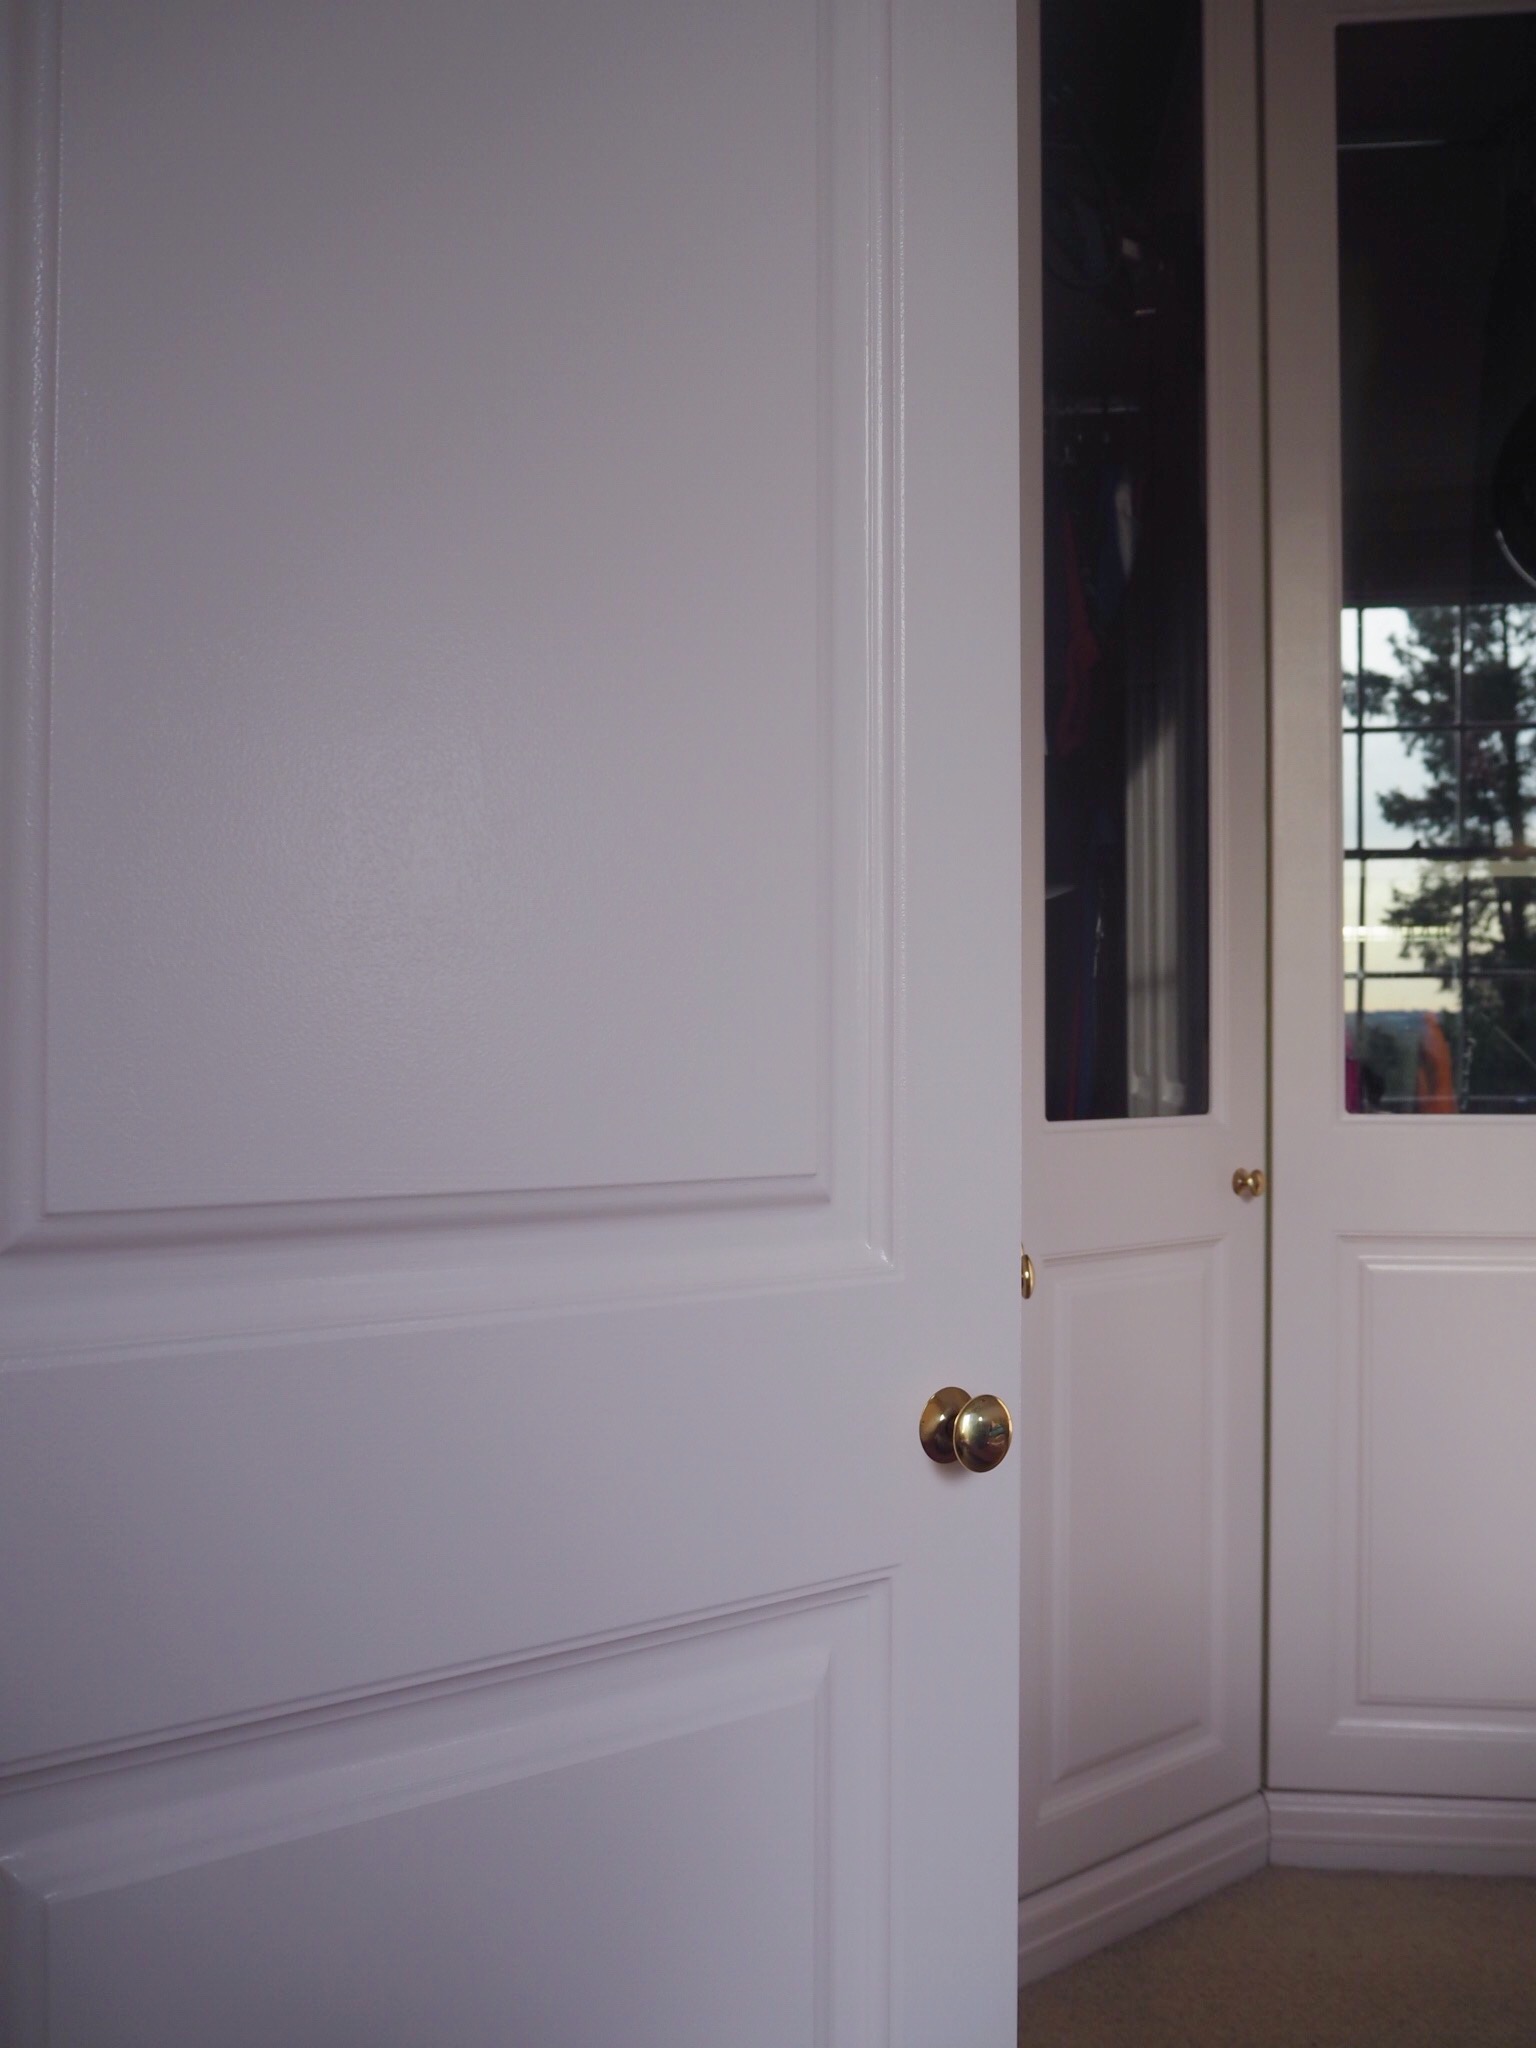
I then applied two coats of eggshell over the B-I-N and that was the wardrobes done! I think they blend in so much better now they are the same colour as the walls and so far so good - they do not look like they will chip at all! I wish I had painted them sooner!
* Tor Coatings did send me the Zinsser B-I-N as a gift to use for this project, but this is not an a paid ad- simply a review! Please note that this post does contain some affiliate links.
I am well aware that I may be becoming boring and predictable as this blog is full of door wreaths for all seasons, but designing and making a new door wreath for my front door is something I personally enjoy doing in my spare time, so apologies, they are just going to keep popping up round here!
Read MoreBathroom design, unless you have a very large budget, can often be uninspiring. It's very easy to fall into the trap of wanting clean lines and muted neutrals, because we tend to want bathrooms as sanitary, bright spaces. Smaller bathrooms can often end up being completely tiled in one plain design; while bathroom fixtures and fittings are often brought matching each other and therefore lead to a dull & flat space. One great and very cheap way to create an interesting and attractive bathroom is to DIY your own basin stand with vintage furniture.
Read MoreI have a confession to make. It's a pretty bad one. Yes, I am an award-winning DIY'er, but until just before Christmas I had never put up wallpaper myself. Ever. Putting up wallpaper just seemed like one of those things that was a major headache - air bubbles, matching the pattern, having enough paper. Urgh. Too much stress. I have vague recollections of my parents putting up wallpaper and the difficulty of it causing a lot of bitching and bickering between them as they did it (I now know the reason for this being my mother is an absolute perfectionist when it comes to wallpapering, as I found out papering this bathroom with her.) Anyhow, I couldn't live with this lack of wallpapering experience shame much longer, so decided to give my bathroom a mini-makeover with wallpaper at the end of last year.
Read MoreOut of the decorating disasters that I've made in the past, there are three that have been reoccurring and incredibly frustrating. First, painting a room in a colour that ended up looking nothing like I had imagined it would in my head. Second, hanging shelves & pictures on the wonk and having to fill in the holes and start again. Lastly, wallpapering and realising that I didn't have enough paper, or I'd massively over-brought. Luckily, due to the wonder of technology, there are now a number of awesome free DIY apps available that can minimise making the mistakes I've just listed.
Read MoreI was window shopping in H&M Home recently when I saw the cute little hanging planter below. As I've previously mentioned, I'm currently doing up my balcony at home for the summer and initially thought this gold number would be a good addition. After contemplating it for a few minutes I decided this planter would not work for several reasons. Firstly it was made of glass, making it perfect for an inside terrarium, but a disaster waiting to happen as a hanging planter outside swinging against a brick wall. Secondly at £24.99 each they were far too expensive, especially as I wanted two of them..
Read MoreWhen we moved into our house last year there was a problem with some damp on the lower floor. We called in the damp proofing people but we had real trouble with one interior wall in the hallway. The damp guys came back 3 times to try and fix the issue, with the final result being that the damp was eradicated but the hallway wall was left a total mess. Most of the wall had been drilled away numerous times to inject anti-damp treatment and even though I used a range of plaster repair tools and fillers, when the wall got a new coat of paint it still looked shoddy. What made it worse was that this wall was by the back door so the light shined on it all day highlighting all its imperfections..
Read MoreA few months ago after having an internal door replaced, I went into Homebase to buy some eggshell paint to paint the new door with. Needing to buy an eggshell that matched my already existing heritage cream skirting, I begrudgingly headed over to the Farrow & Ball paint section. Even though I'm all about doing up your home on a tiny budget, I LOVE posh paint. I'm a die-hard Farrow & Ball fan. I have a box with about 60 sample tins of Farrow & Ball paint in under the stairs. There is no contest for me when it comes to choosing F&B over cheaper brands such as Dulux or Crown. F&B paint gives a beautiful depth of colour due to its high pigmentation and the chalky matt finish looks expensive and elegant. Cheaper paints do not have this depth of colour, they fade over time and glossy paint looks cheap. F&B do a wide range of interesting colours (132 to be exact - check out 'Charlotte's Locks', an intense orange, and 'Vardo', a 50's style teal). You can get any of these colours in different finishes such as eggshell and floor paint rather than just emulsion. The paint is thick, creamy and easy to apply. It is water based and has low VOC's, so it does not smell nor pollute your house with chemicals and it's simple to clean your brushes. It is made in England.
Read MoreA favourite interiors trend of mine in recent years has been display shelving - shelves that are erected in the home not for functional use for storage (such as a book shelf) but for display. Often hashtagging online as a 'shelfie', shelves are used to support art, photos, magazine covers, ornamental objects etc, in a casual display.
Display shelves for photos and art cannot be your bog standard basic flat shelves - the shelves will need to be raised at the front to stop the propped-up artwork sliding down and falling off. You also do not want the shelves to protrude out too much, which would look peculiar when you are displaying thin items.
Read MoreIf you are reading this post, chances are you've googled 'Graham & Green Bird Shade' after your jaw dropped seeing this quirky, brilliant shade in an interiors magazine or online. Chances are that your jaw dropped even further when you saw the £375 price tag. For those of you who do not know about this shade feast your eyes on the original design here.
Obviously, as soon as I saw this shade, i wanted it BADLY! It's so original, a massive talking point and I'm a huge sucker for anything with birds on. But £375 was just far too much for me to part with, especially for a 'shade' that doesn't actually have any functional use as it doesn't actually shade anything! I knew there must be a way to DIY this and so after some research I set about creating my own version. I have to say I have had this in my home now for a few years and visitors love it, more importantly, I love it, and it cost me around £40 in total to make...
Read More