Easy Ways To Revamp An Old Kitchen With Simple DIY Hacks
While I gave my kitchen cabinets a lick of paint at the start of last year, the kitchen as a whole was just not working for me; it was rough around the edges with mouldy sealant and peeling woodwork, the walls were stained from a combination of food and steam streaks and I was totally over the bottle-blue mermaid tiles I had installed 5 years earlier. Individually, I liked the garden doors I had painted in Farrow & Ball’s Calke Green and the soft blue of the kitchen cabinets I’d chosen a year prior, but together they did not work and the whole space didn’t flow or feel cohesive. I decided I needed to give my kitchen a complete refresh, but, with the current cost of living being so tight, I set myself a £500 budget limit within which to do it. In the end, I managed to create a completely different feel in here and restore it back to its former glory for a total of £374.21. Here is what I did and a list of what I used:

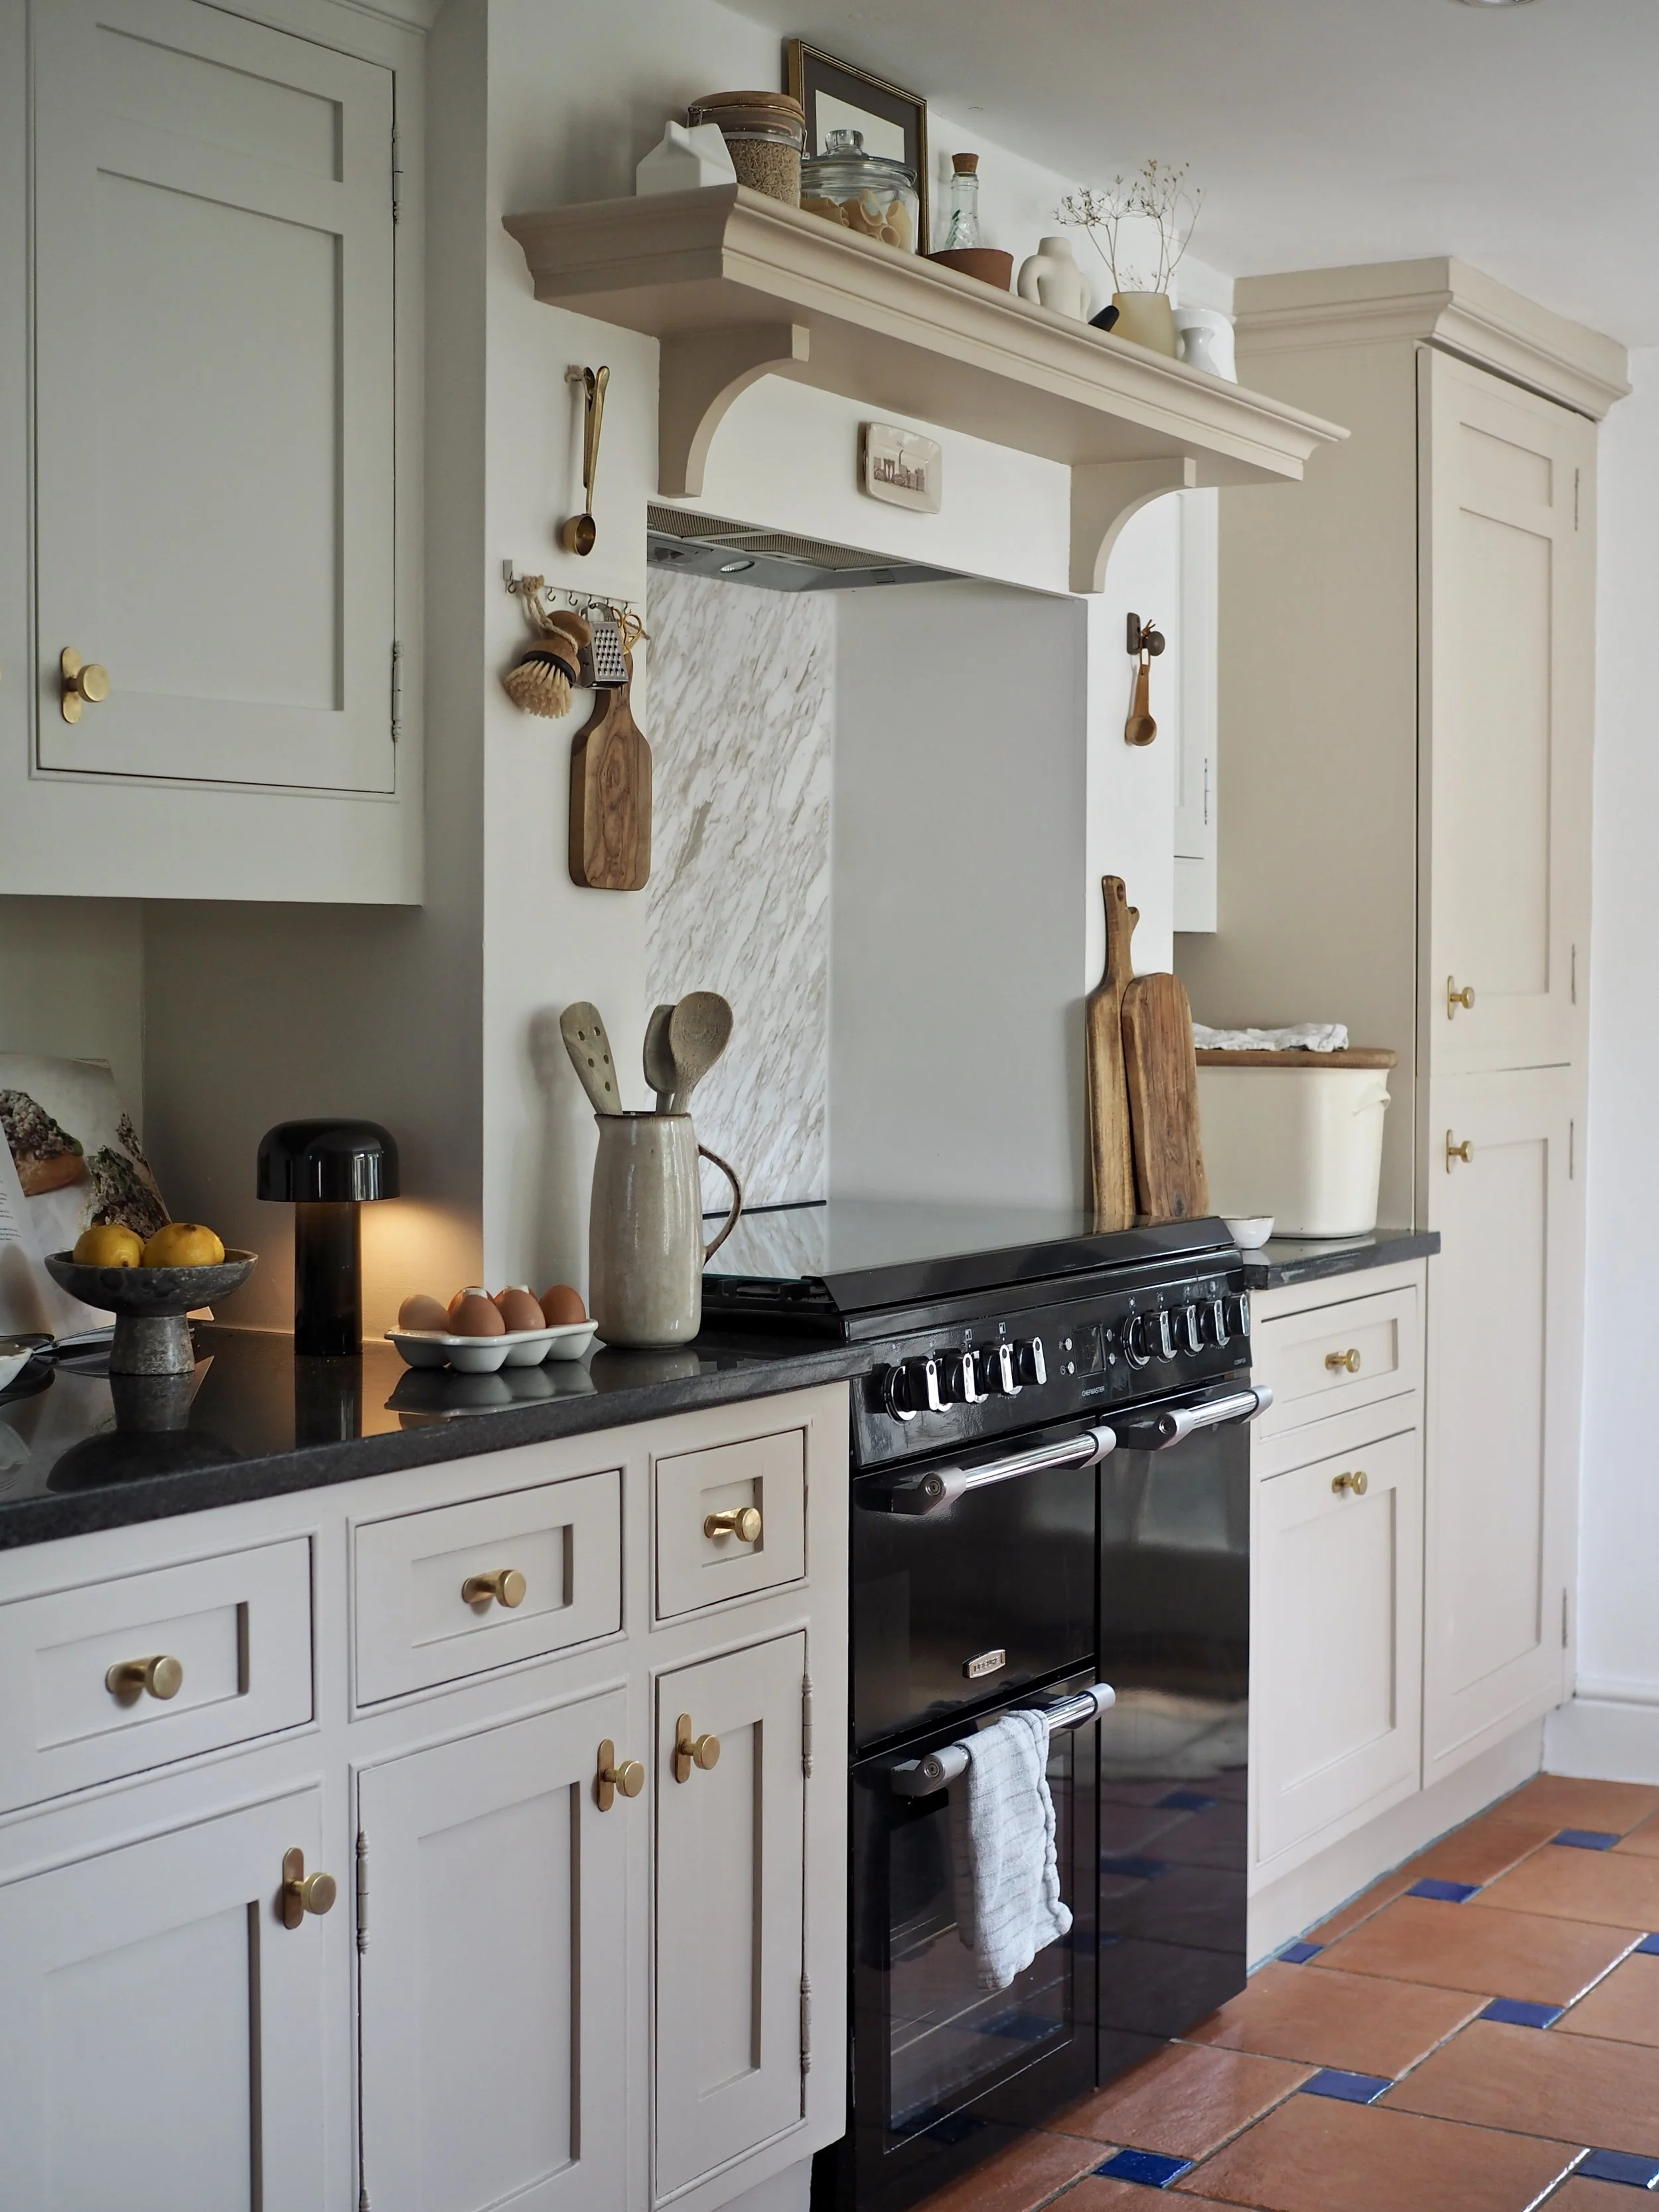
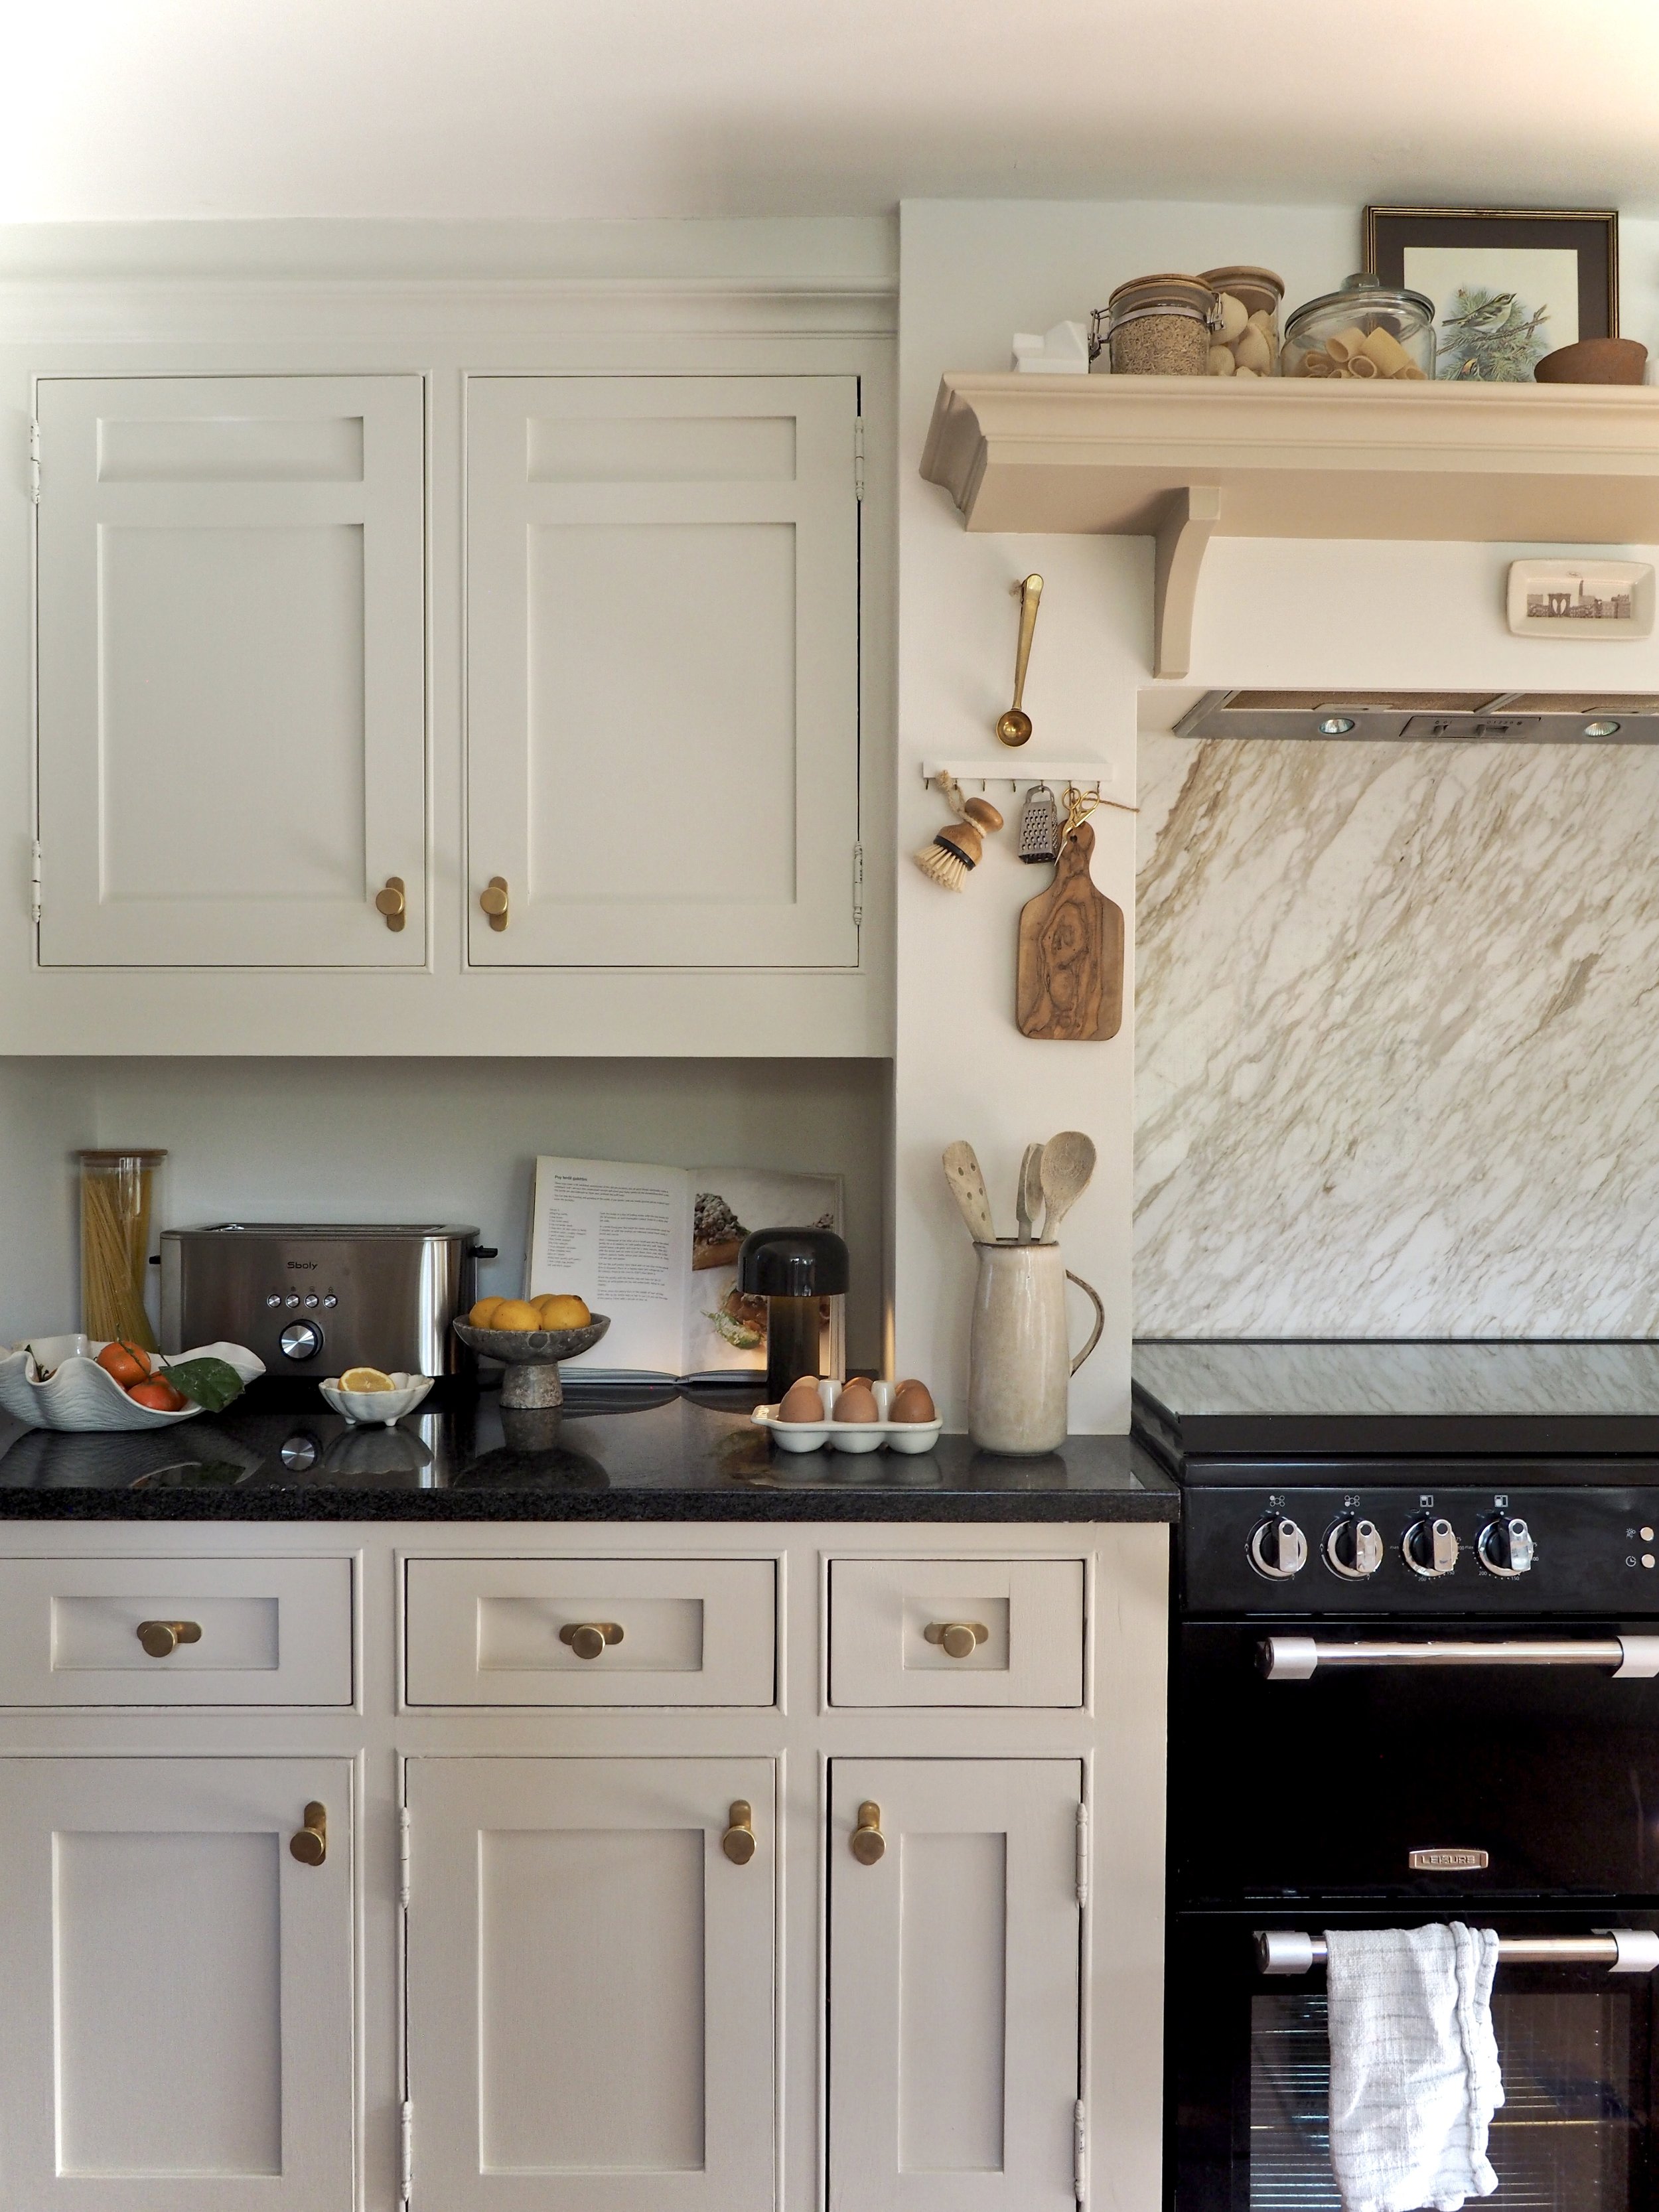
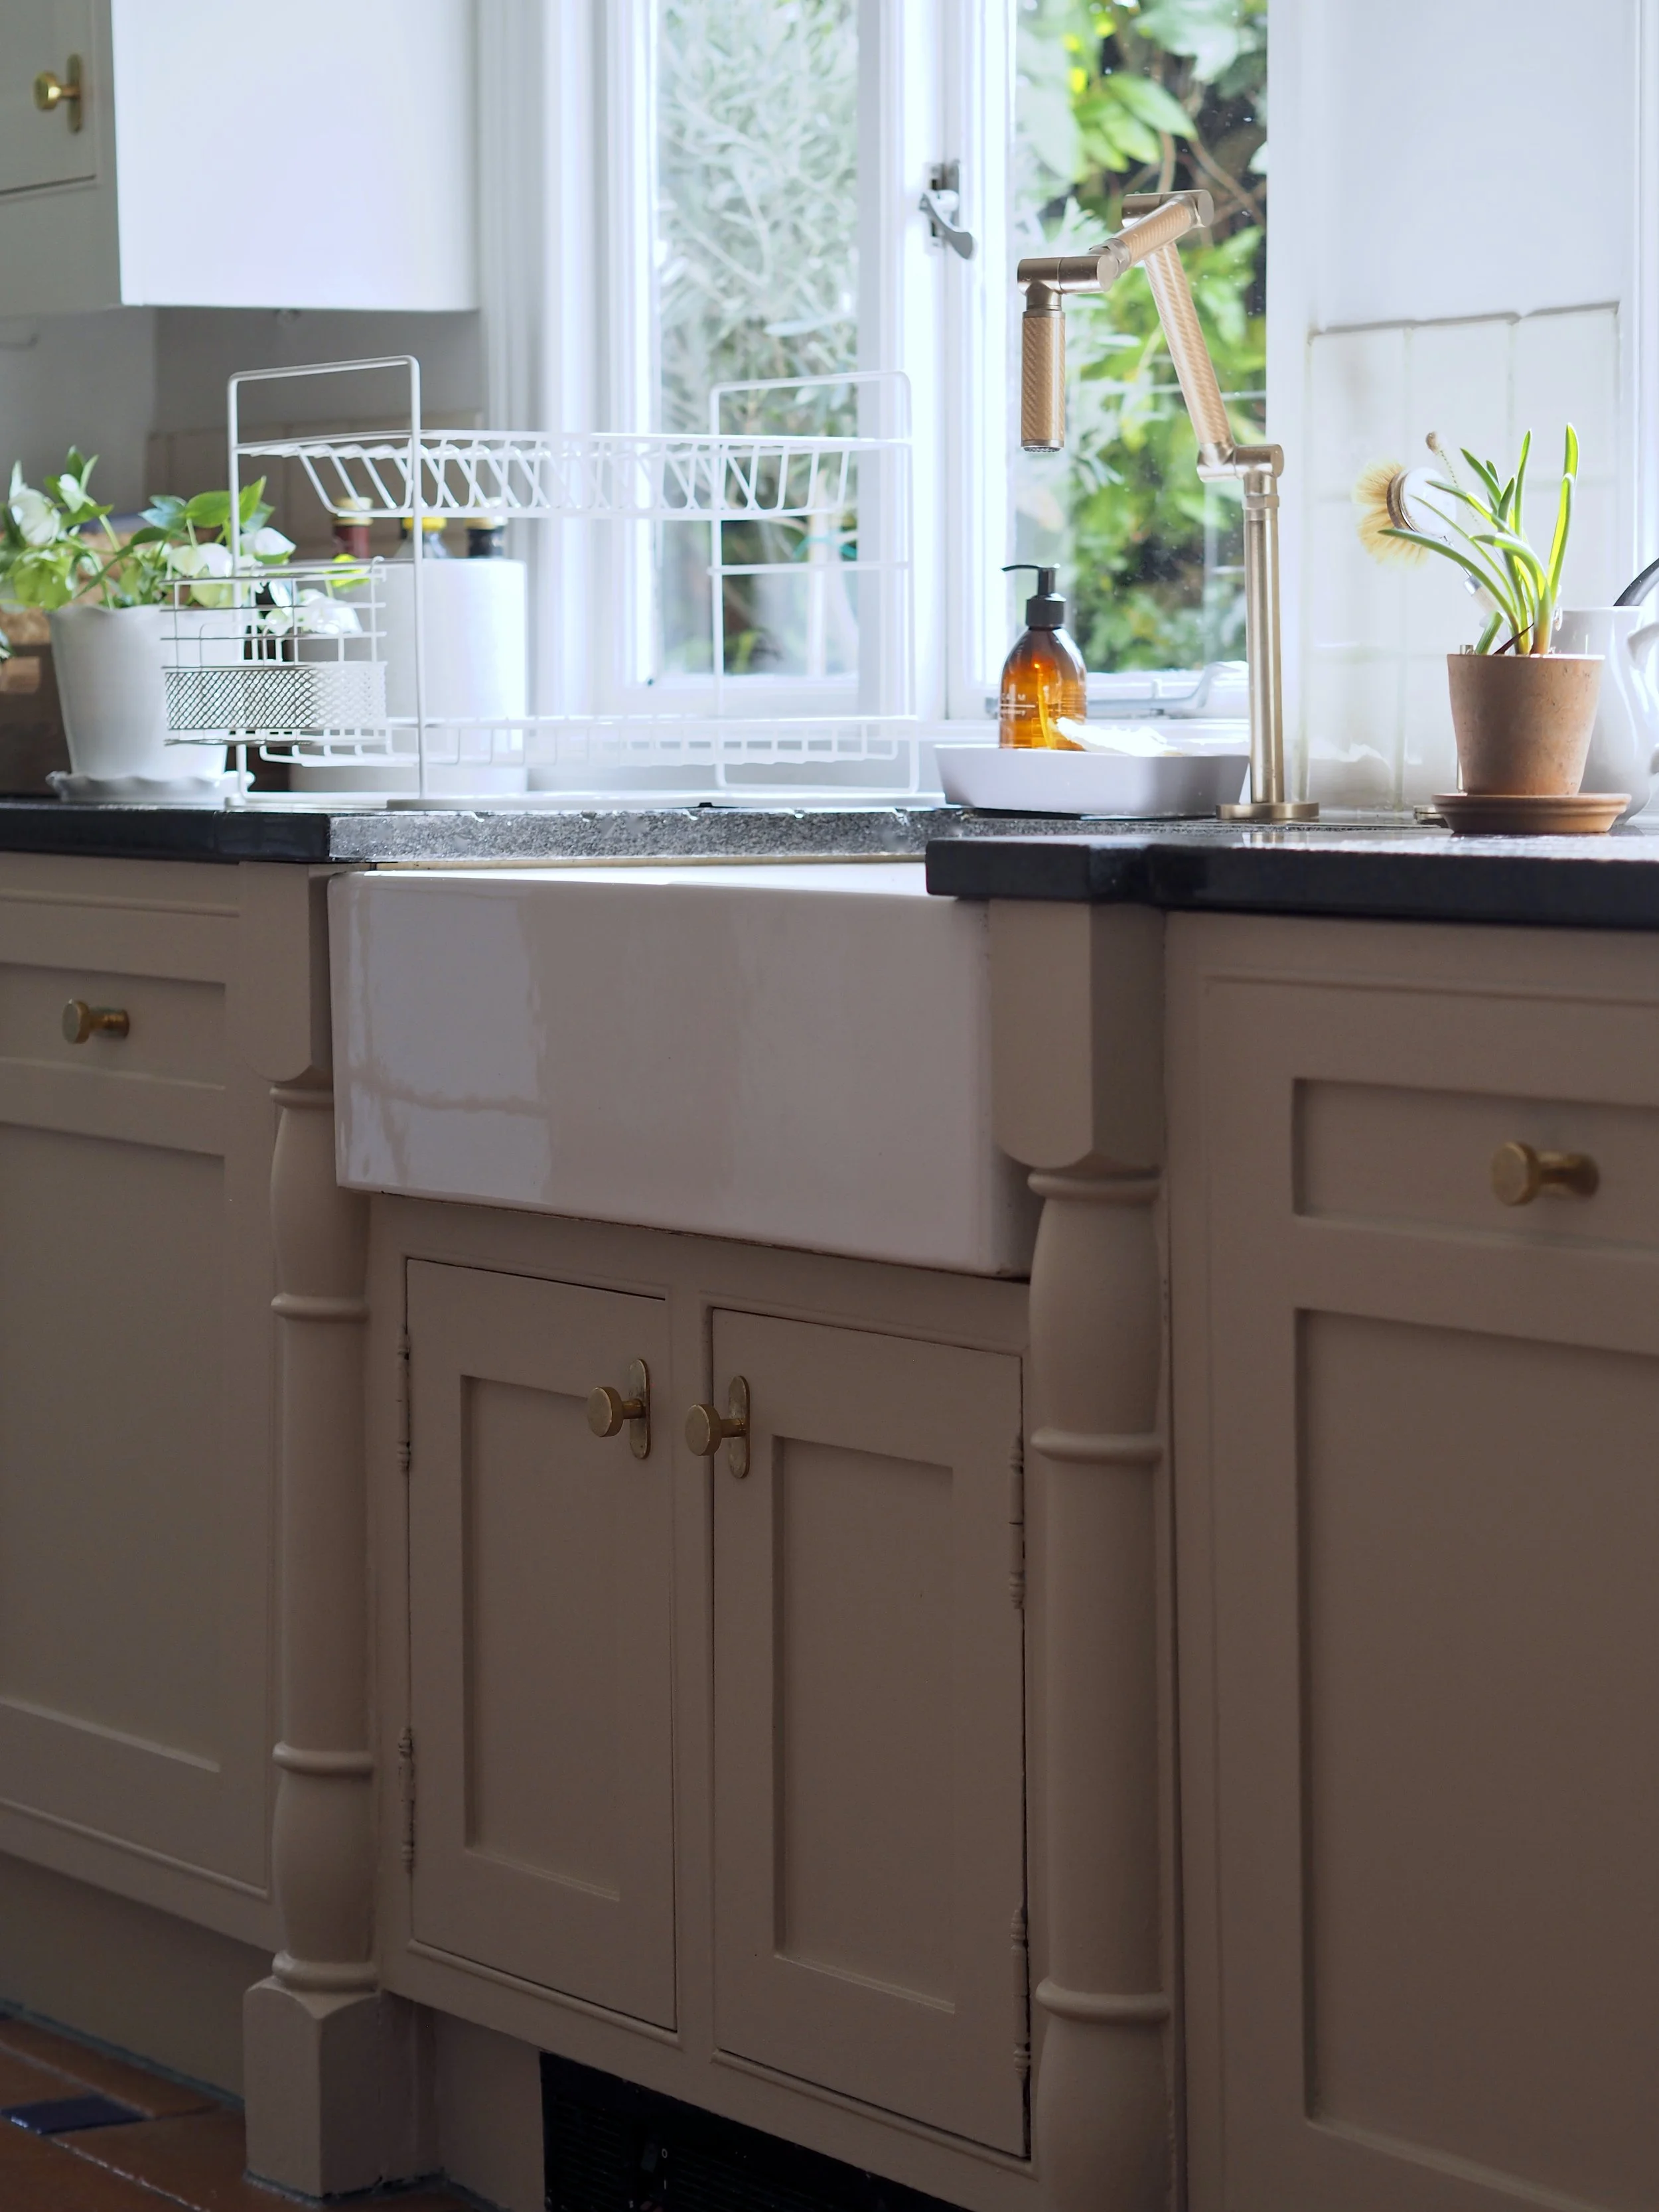
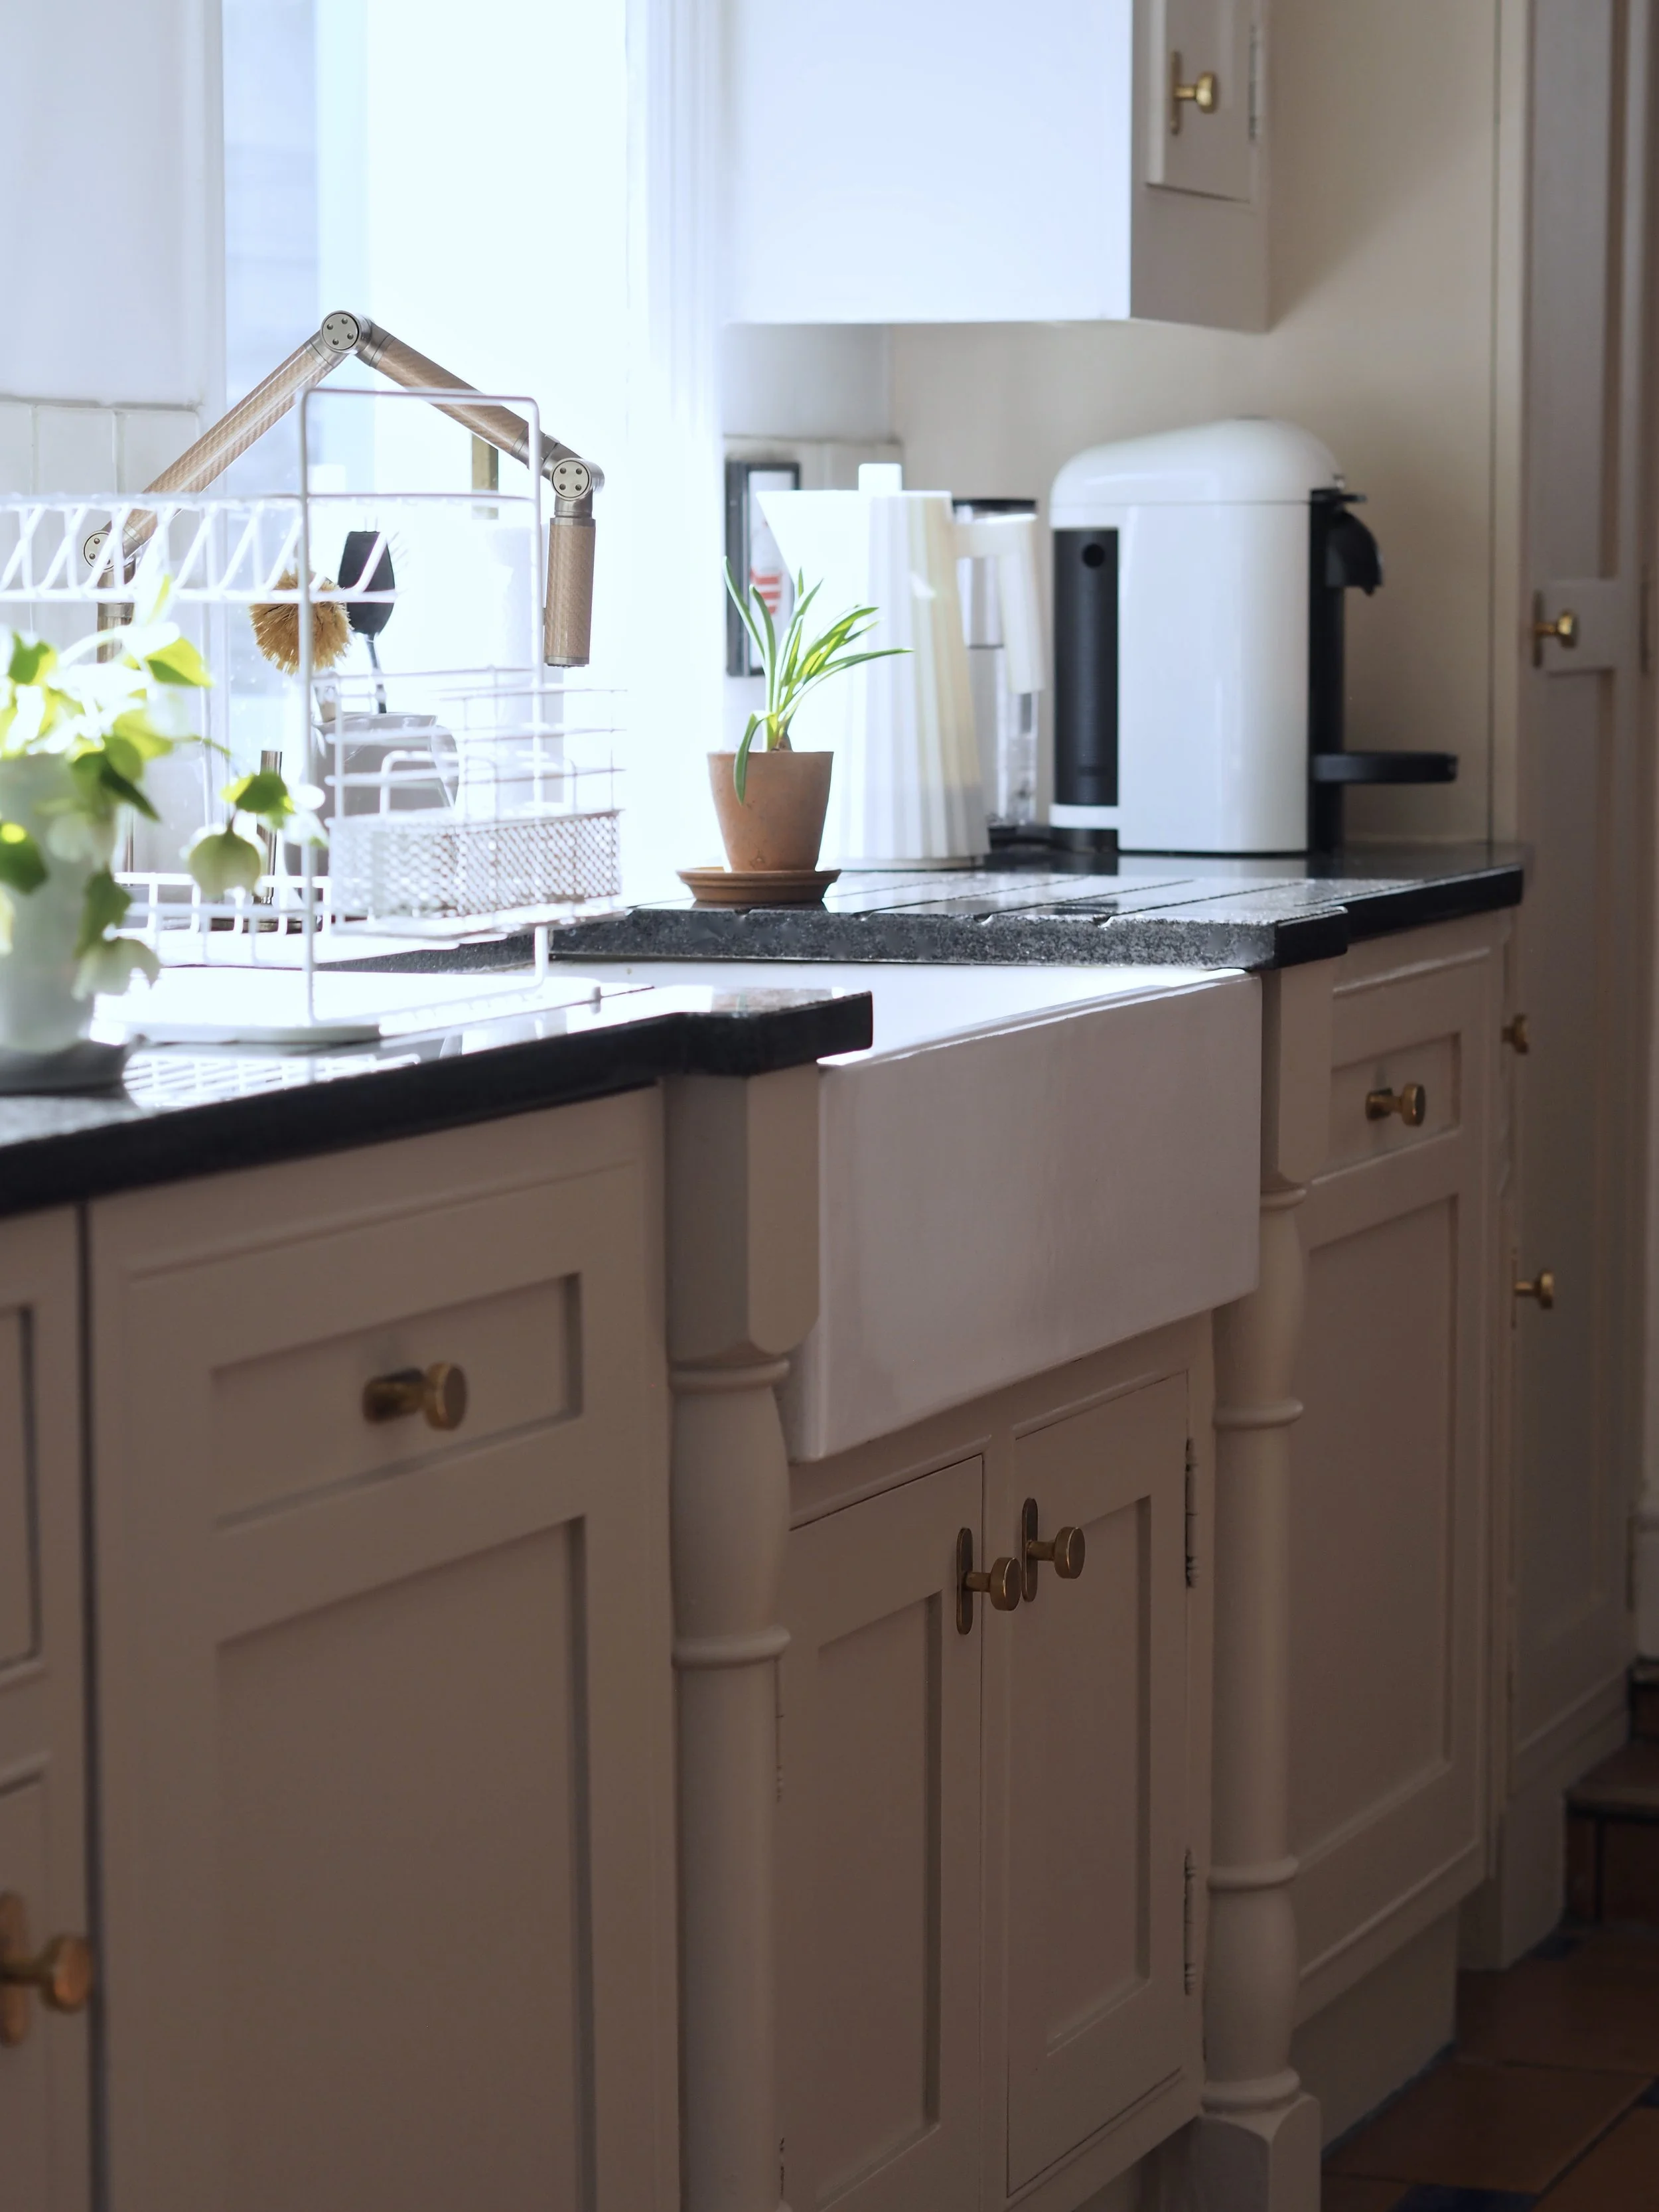
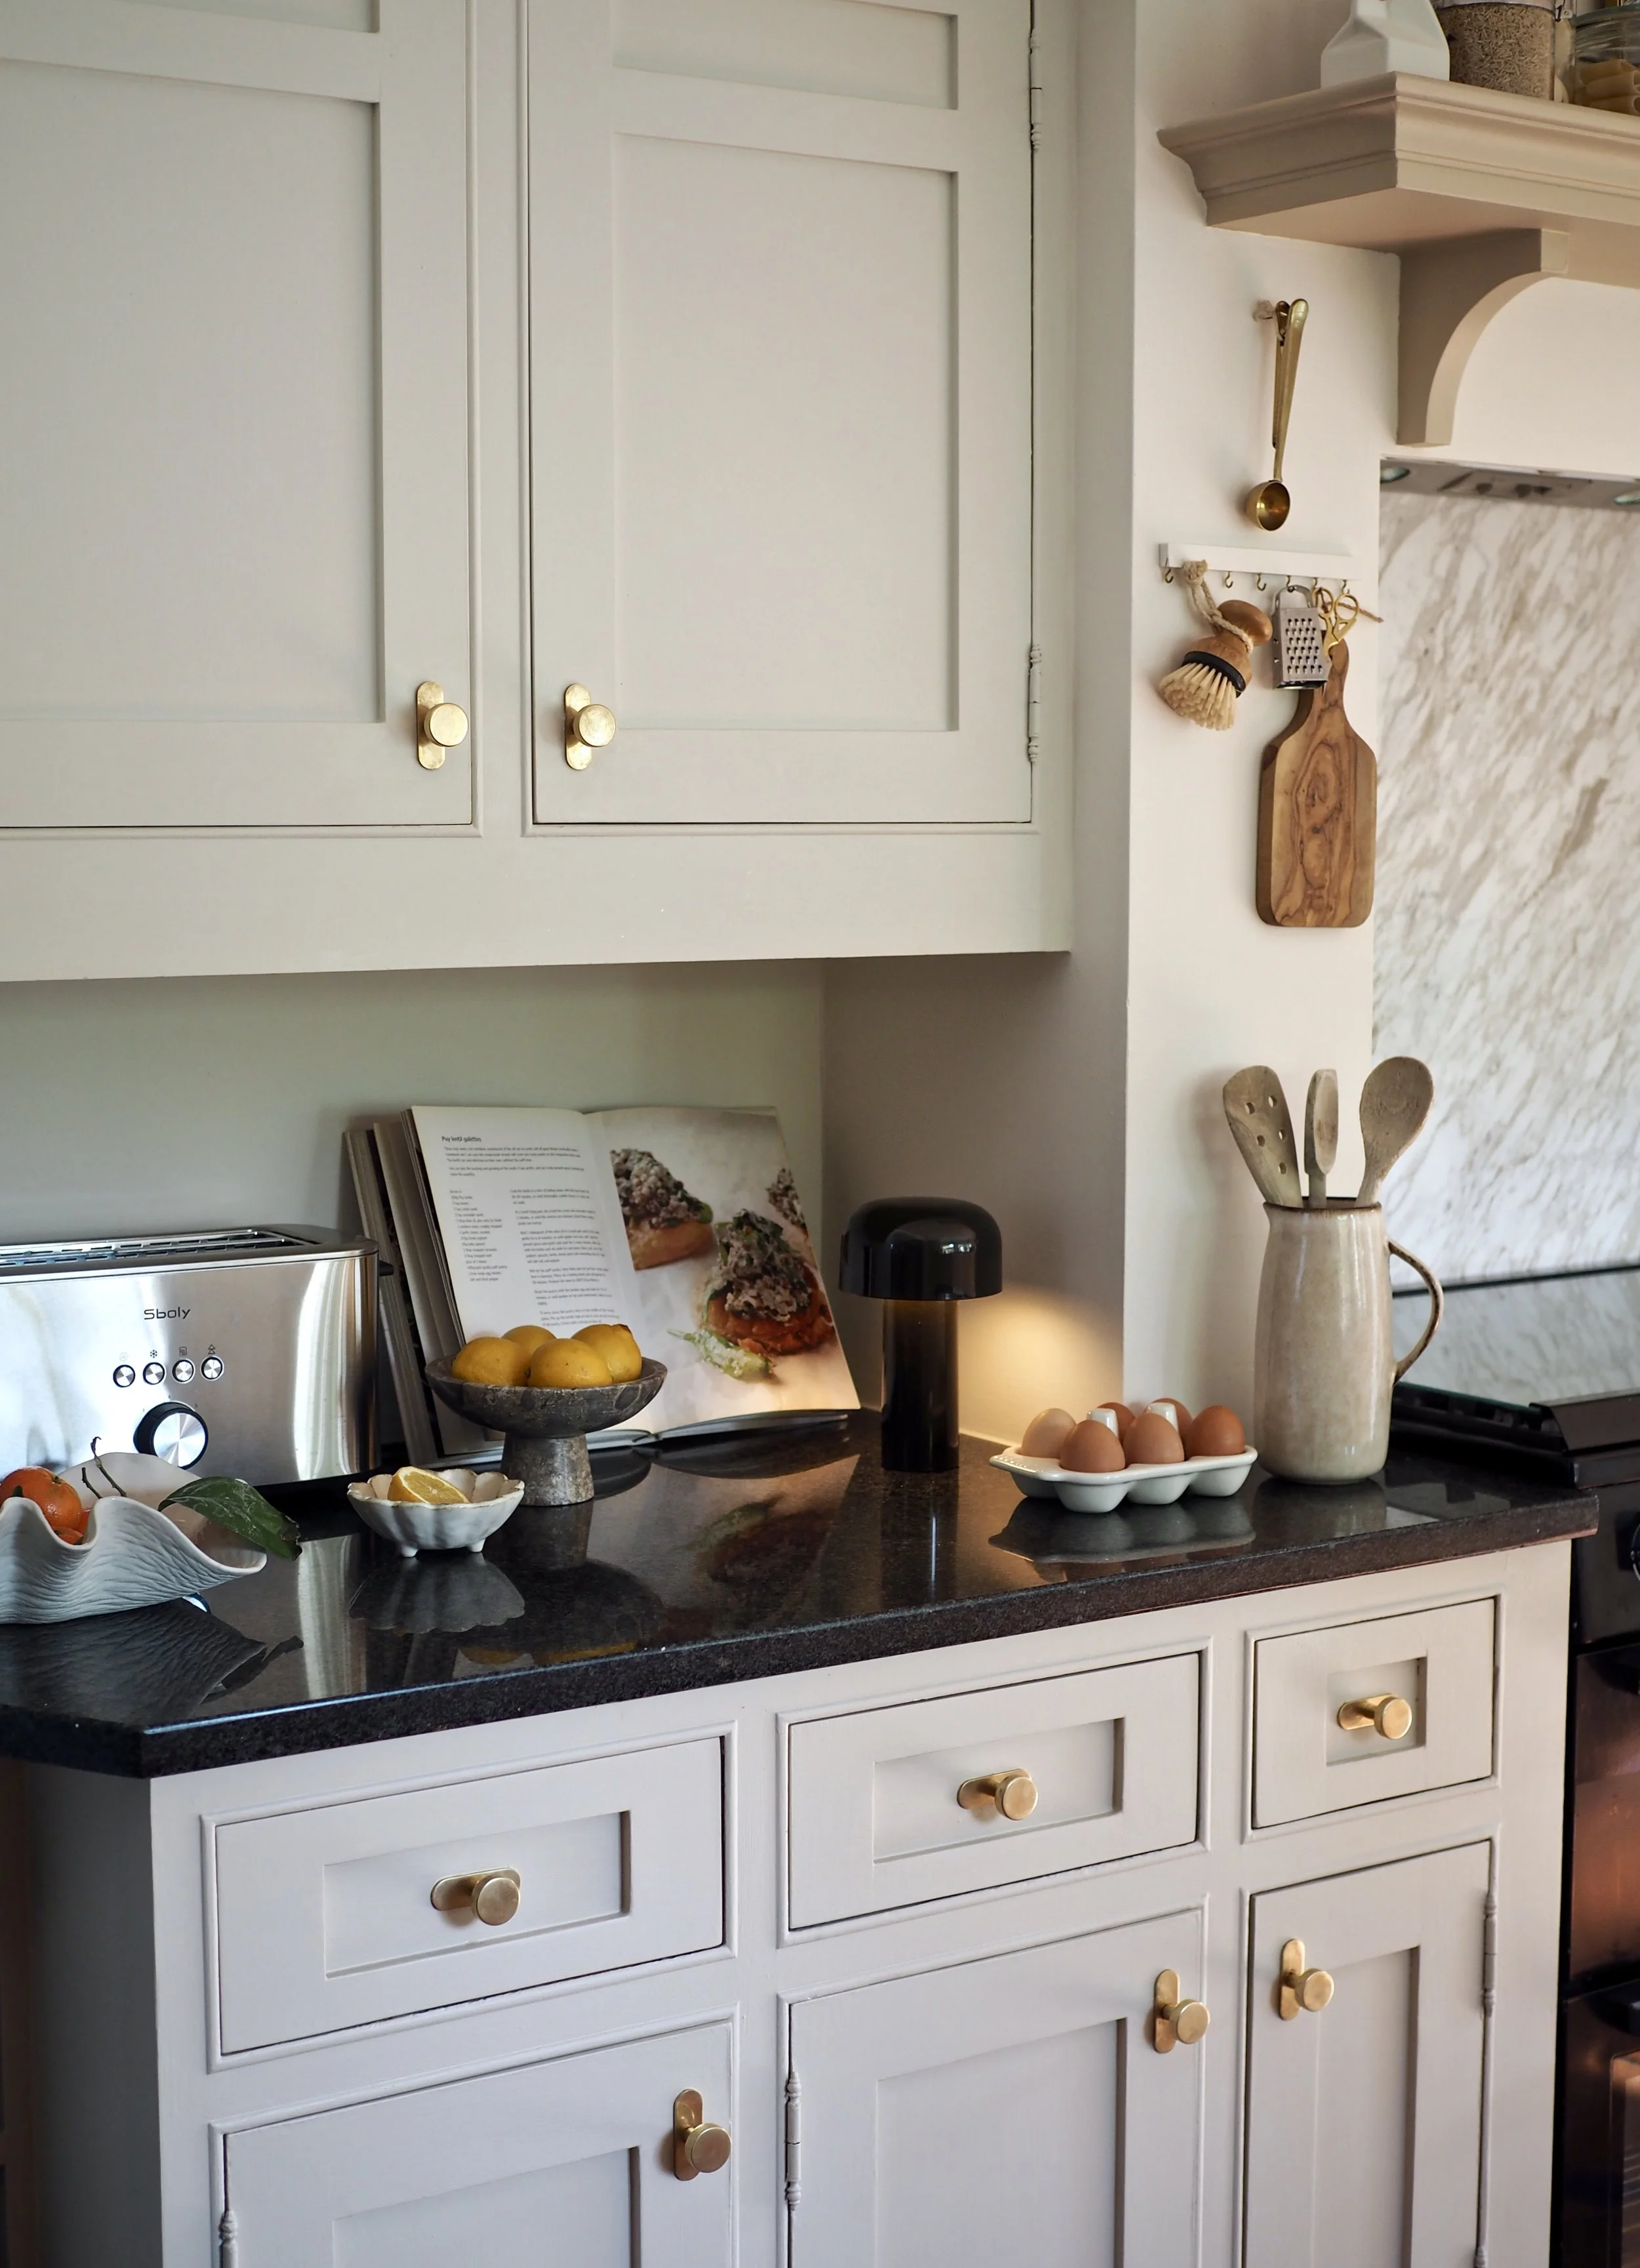
The base units are painted in Rust-Oleum’s Kitchen Cupboard Paint in Butterscotch.
Freshened up the cabinets with Kitchen Cupboard Paint
I’d been contemplating what colour to paint the cabinets since I had decided that the light blue wasn’t really working for me. I wanted to keep the kitchen feeling bright, so I discarded the idea of painting the bottom units a dark colour again (they were dark navy blue before they were light blue). Although I was steering away from the dark, I did still want a deeper hue on the bottom units for visual interest and to add a layer of warmth to the kitchen. I had been really drawn to the vast amount of cashmere and taupe kitchens that kept popping up on my Pinterest account (these warm neutral shades were light but had that depth of colour that I was after). I knew that I wanted to use Rust-Oleum’s Kitchen Cupboard Paint again after using it last time: the coverage was excellent, there is no requirement for a primer, and the paint is touch-dry within an hour (such a huge bonus when you have a family kitchen being used every day and it’s impossible to leave a standard eggshell finish to fully cure for a week when the space needs to be used). Even though I wanted to change the blue colour, there was hardly a chip in the previous Rust-Oleum paintwork, so I knew it was also really durable. After testing out a few colours, I decided to go for the shade ‘Butterscotch’ on all the base units (I just touched up the top units previously painted in ‘Steamed Milk’).
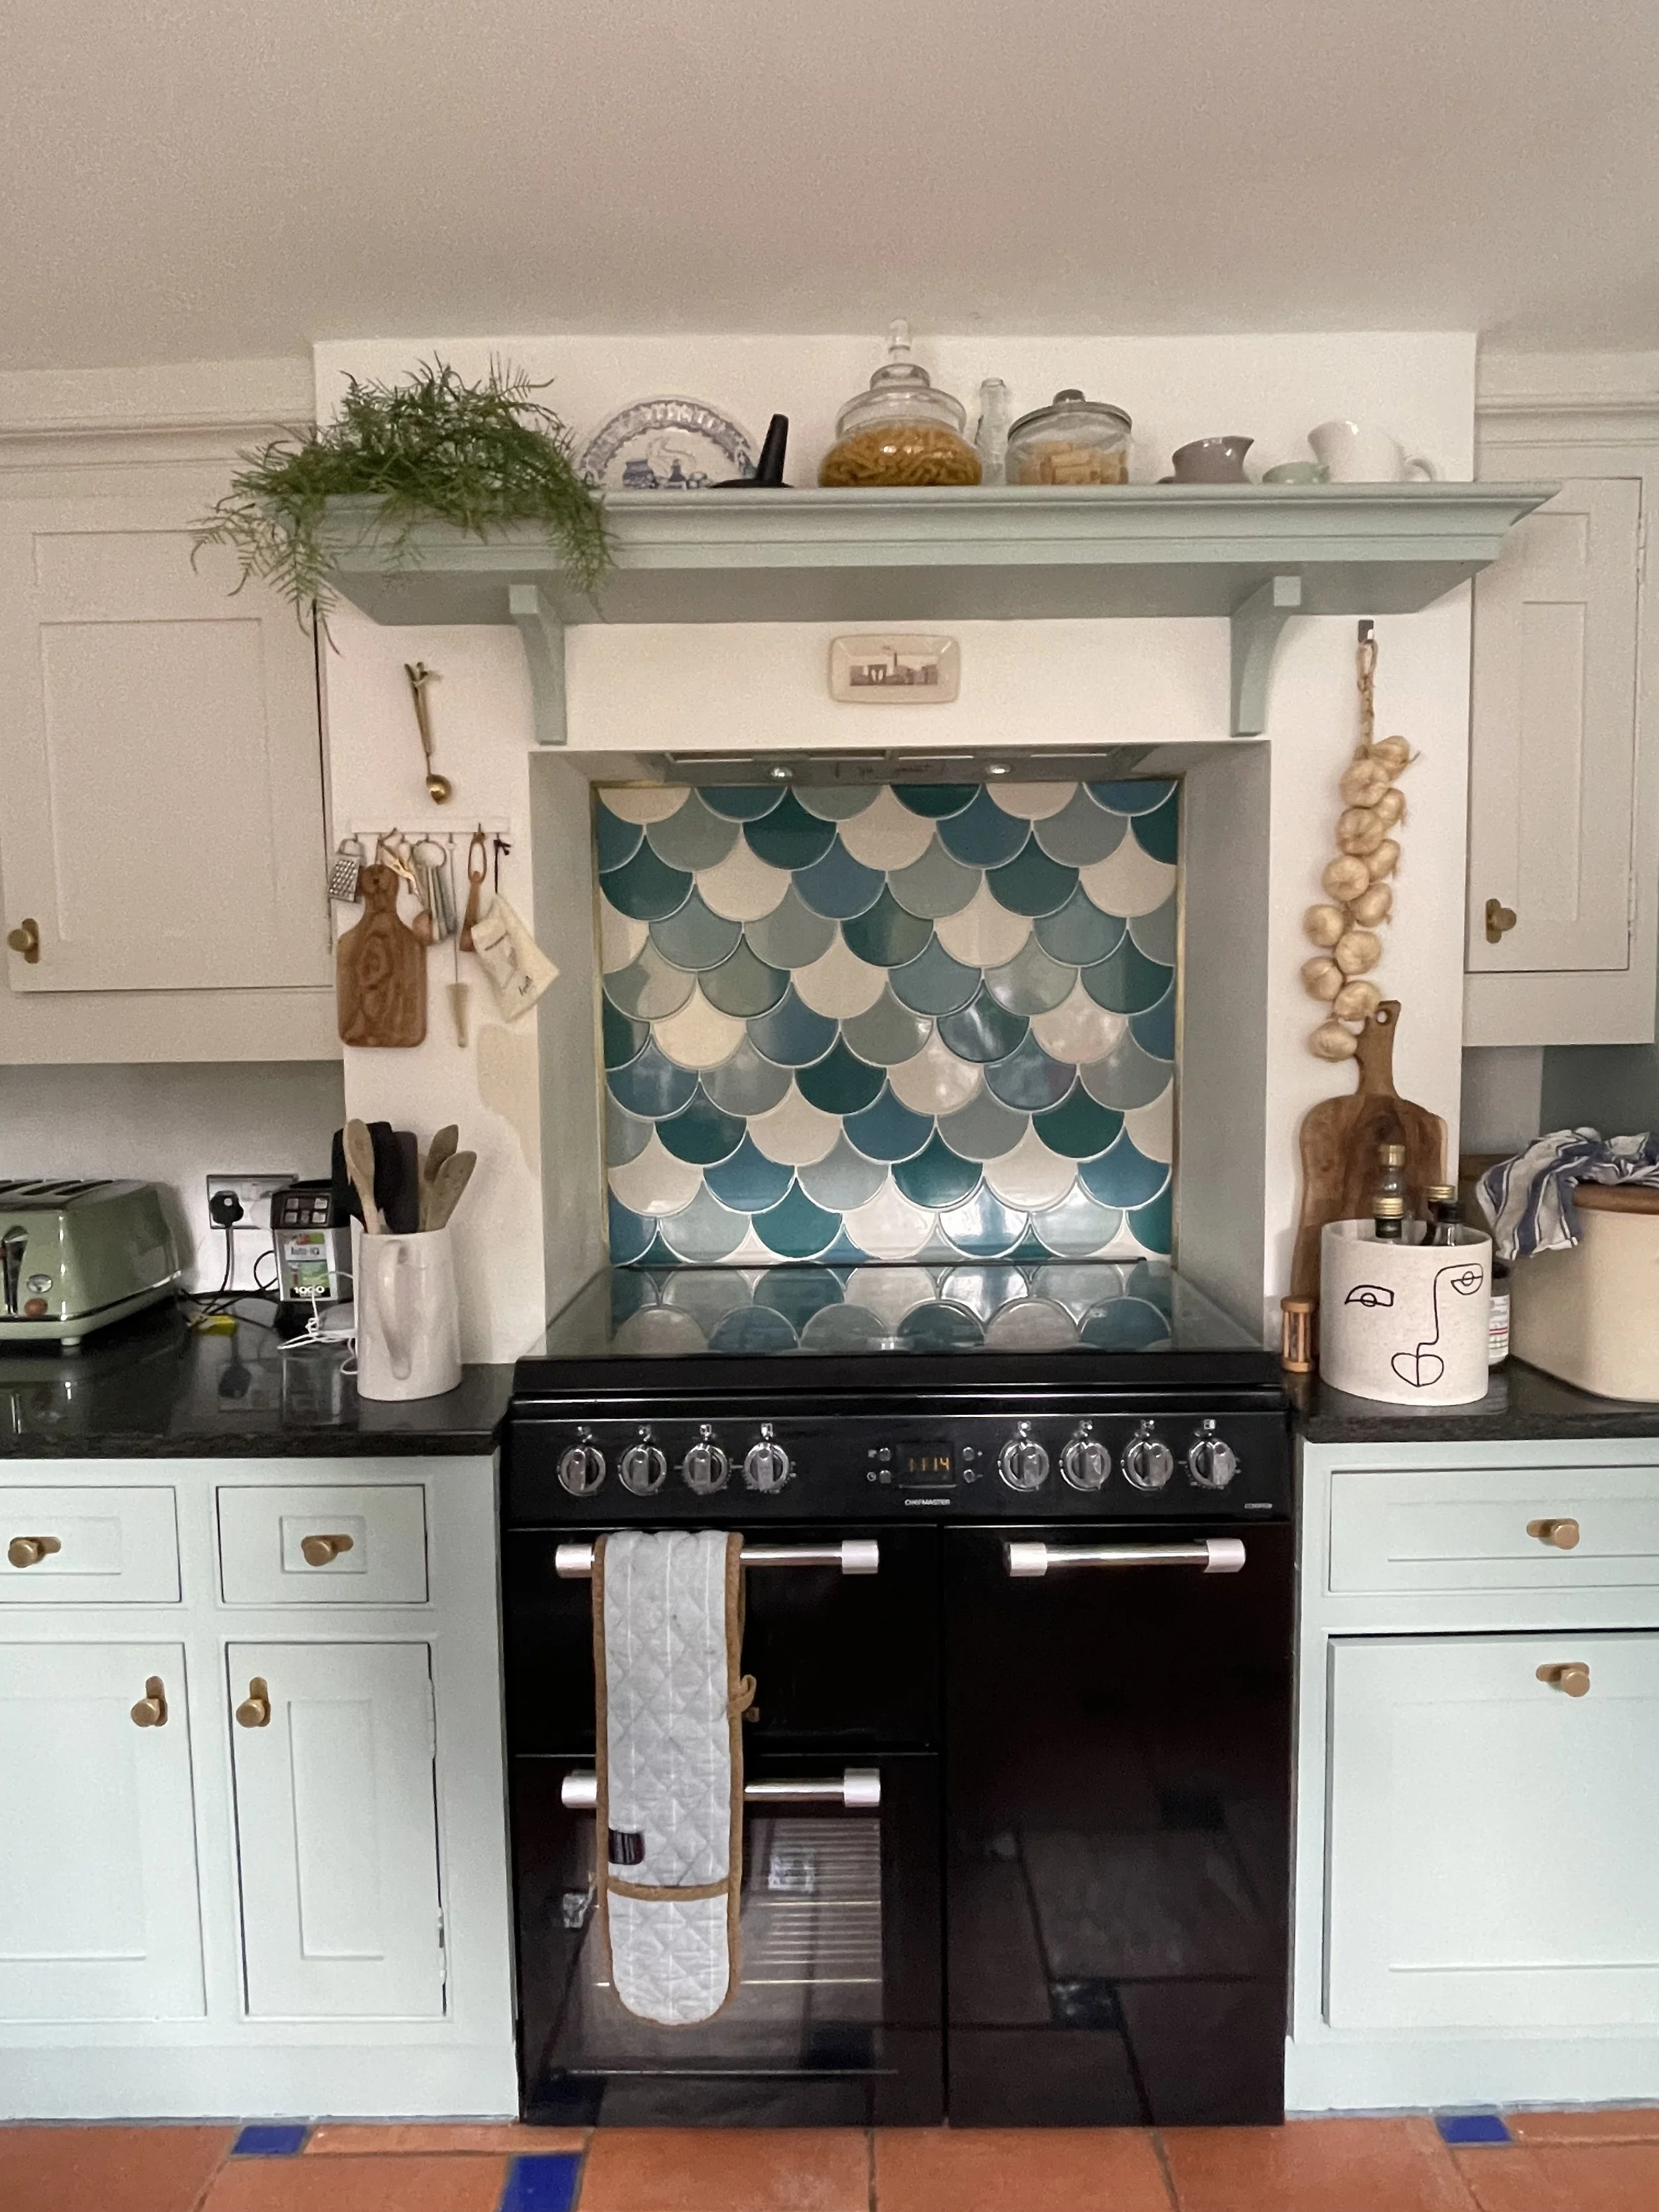
Before: How the kitchen looked before the budget makeover.
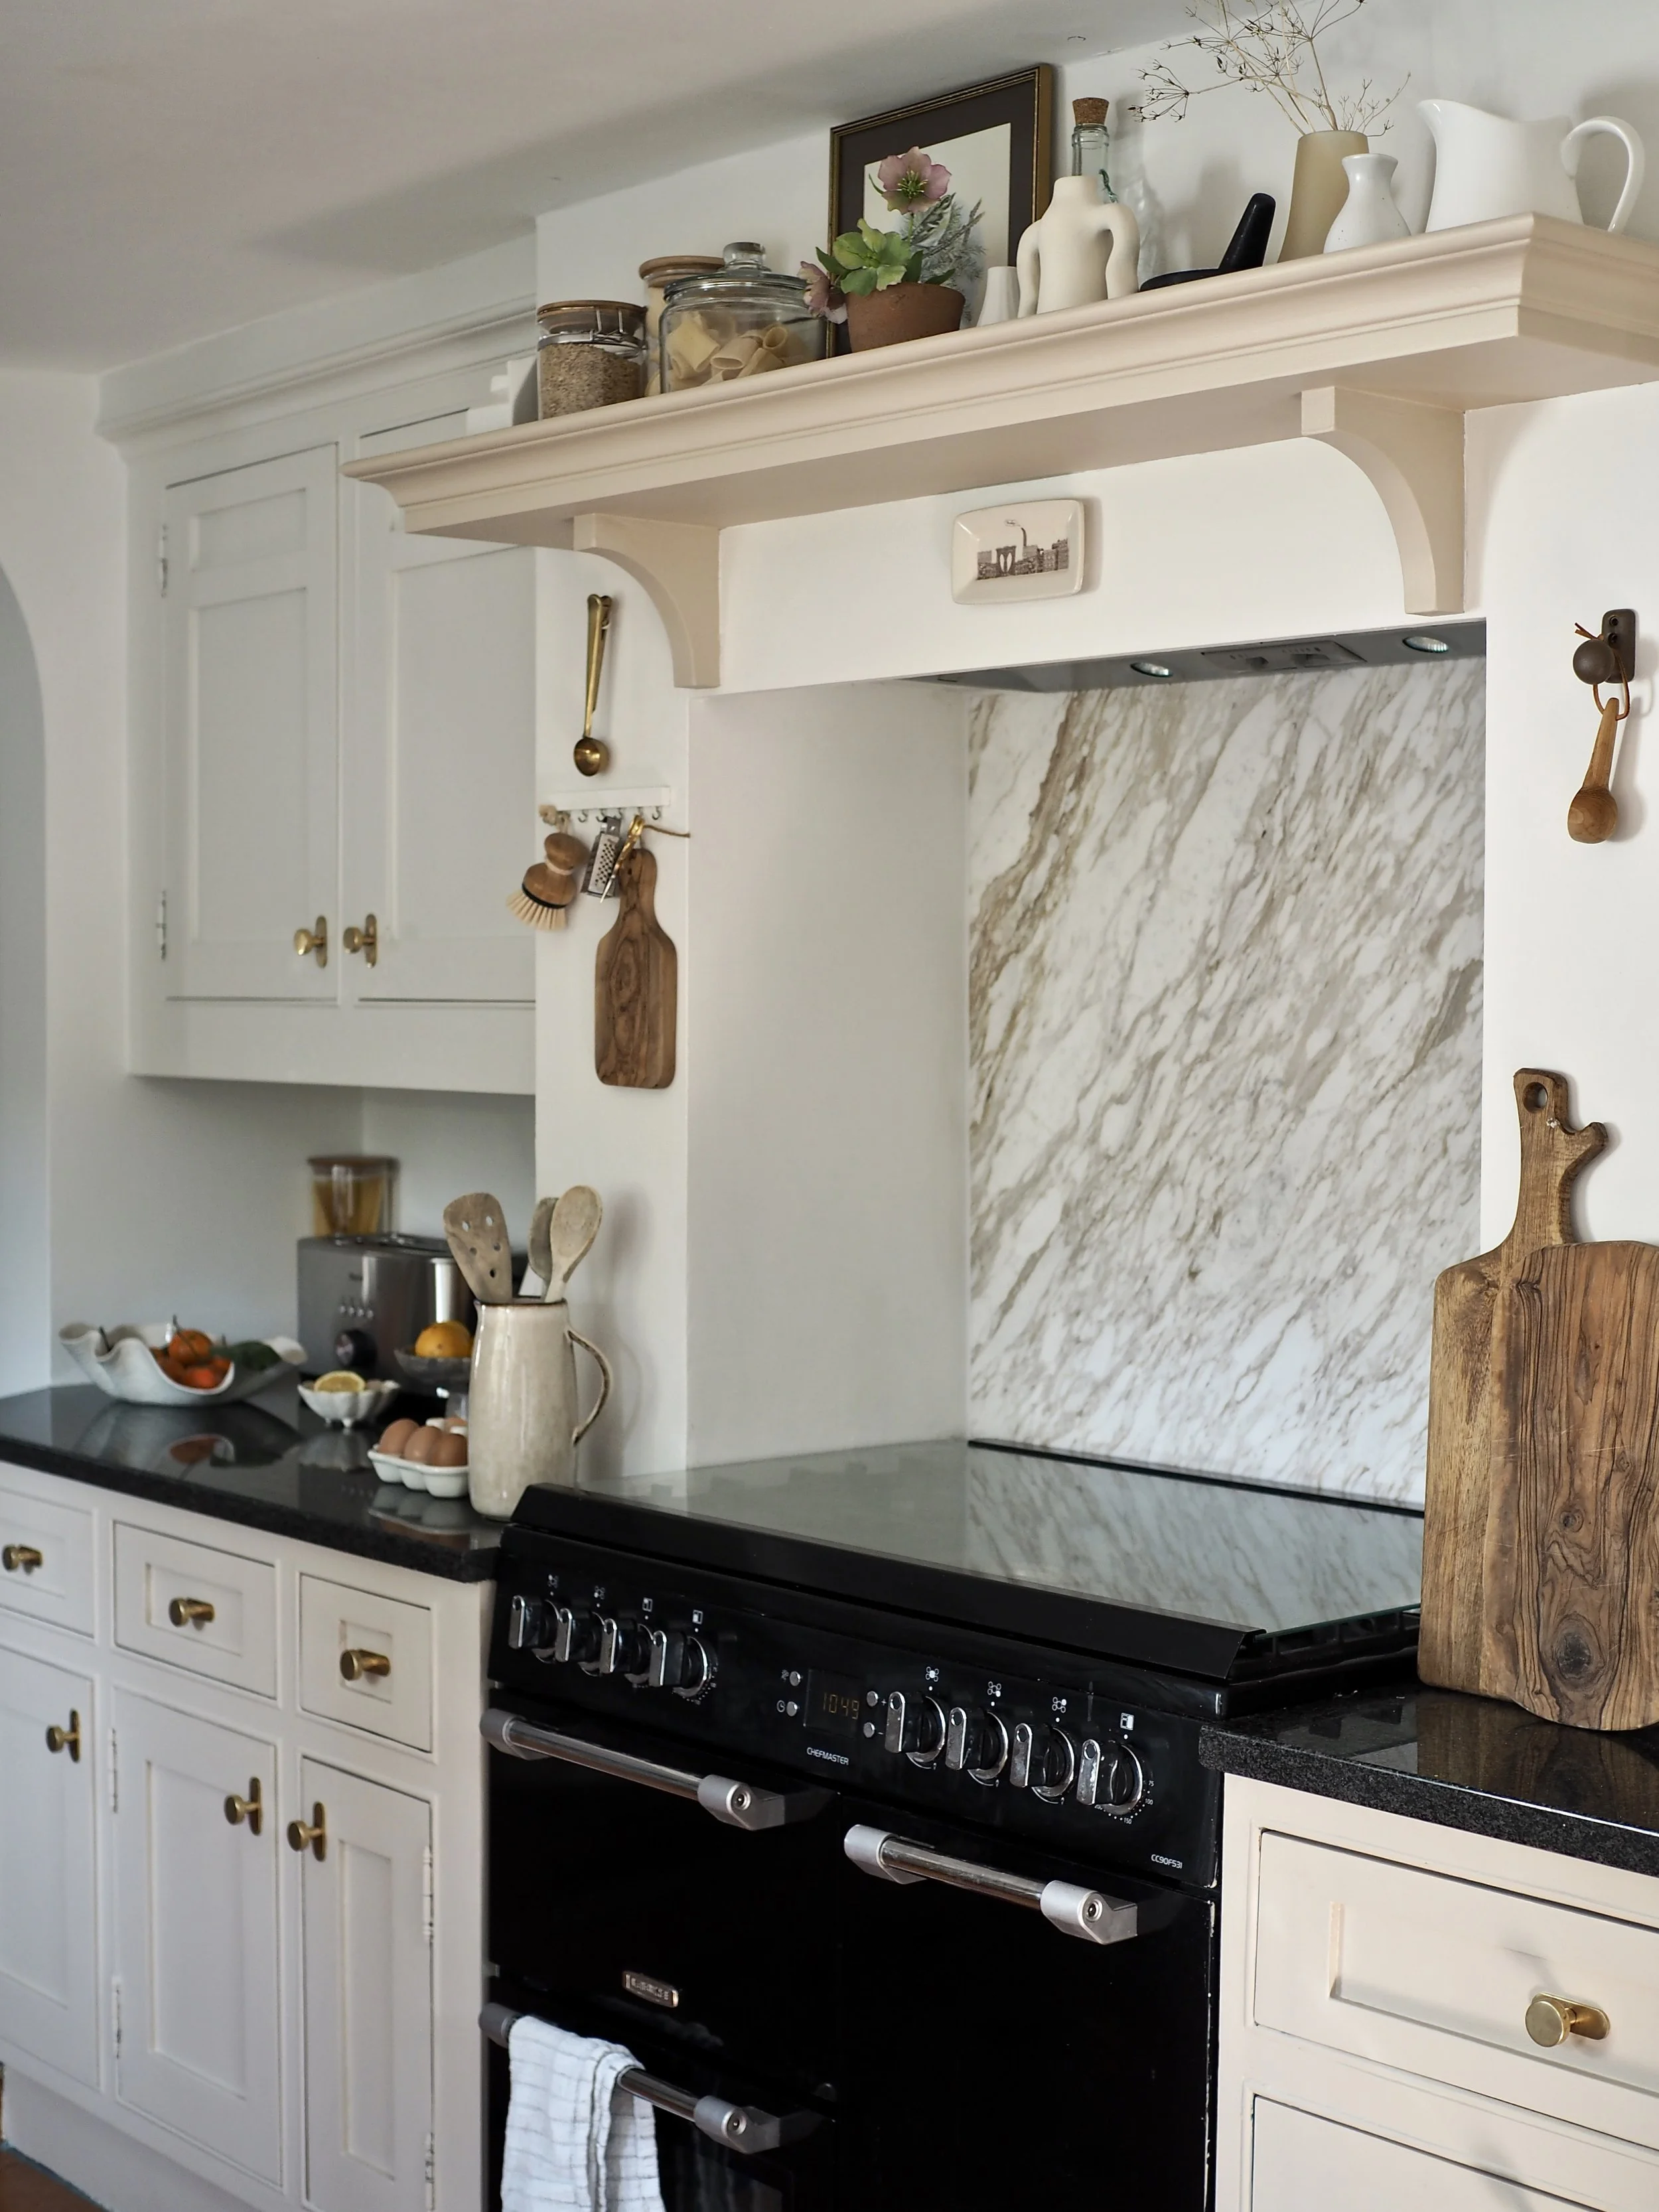
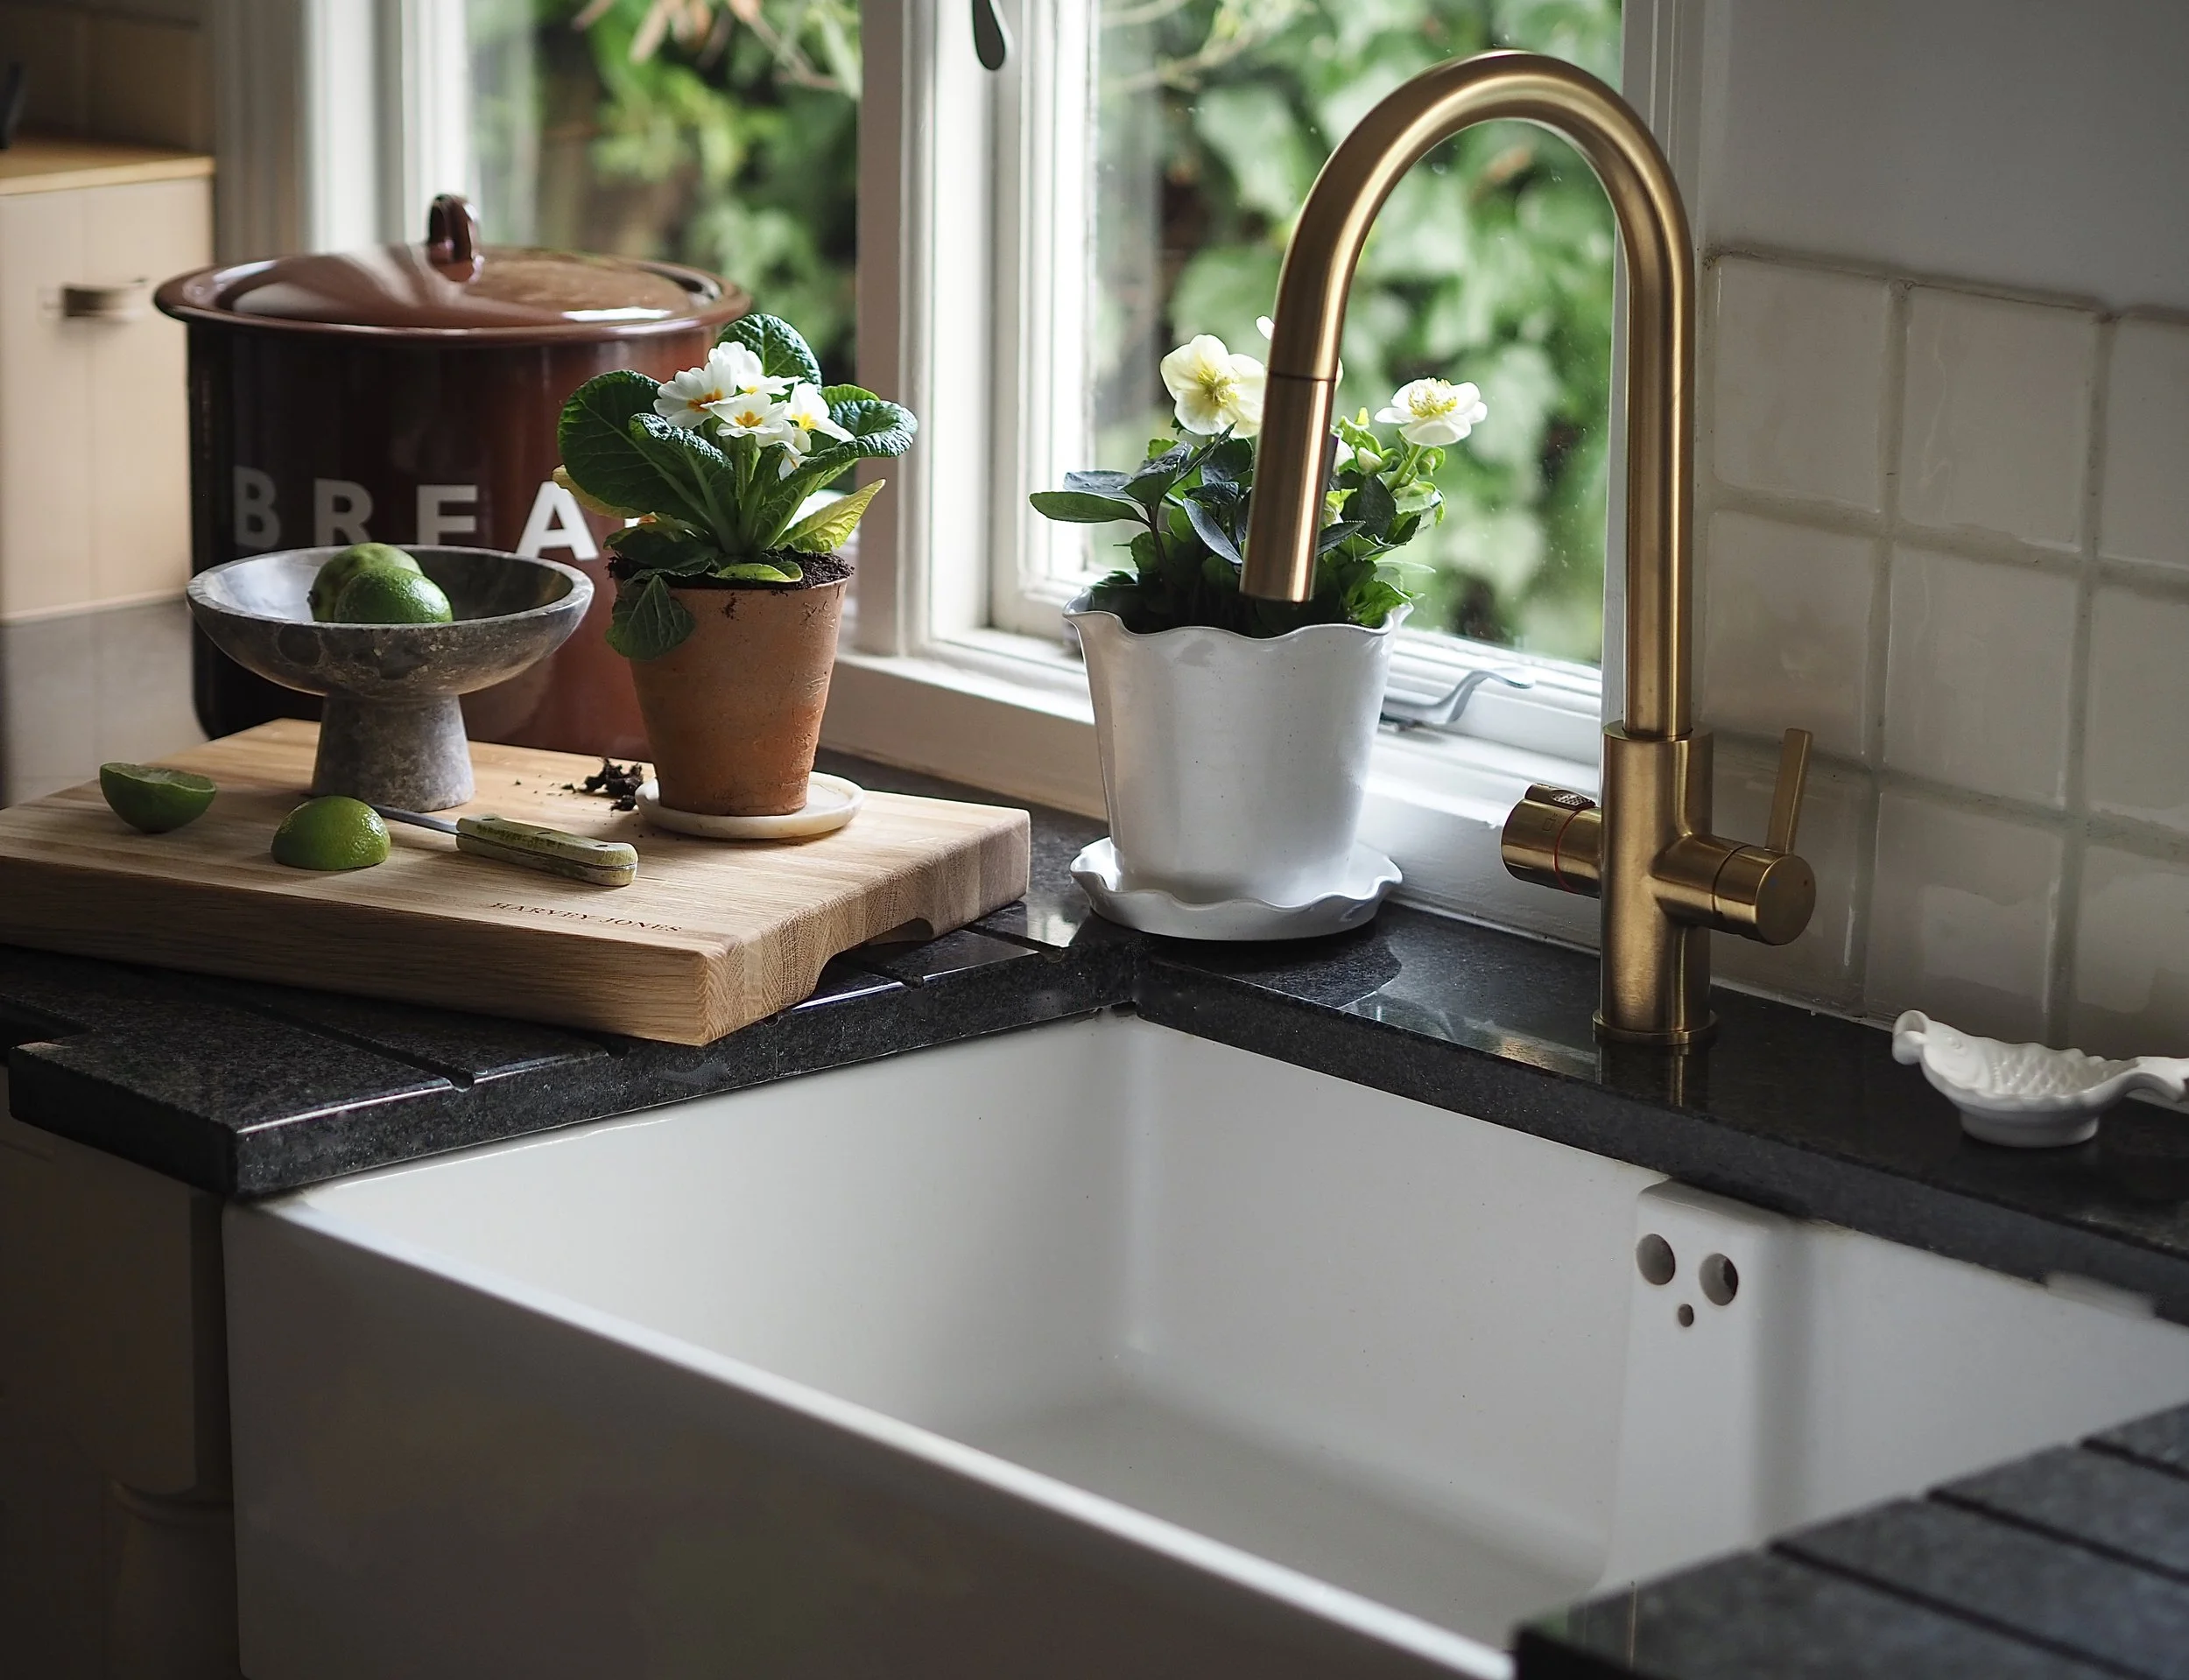
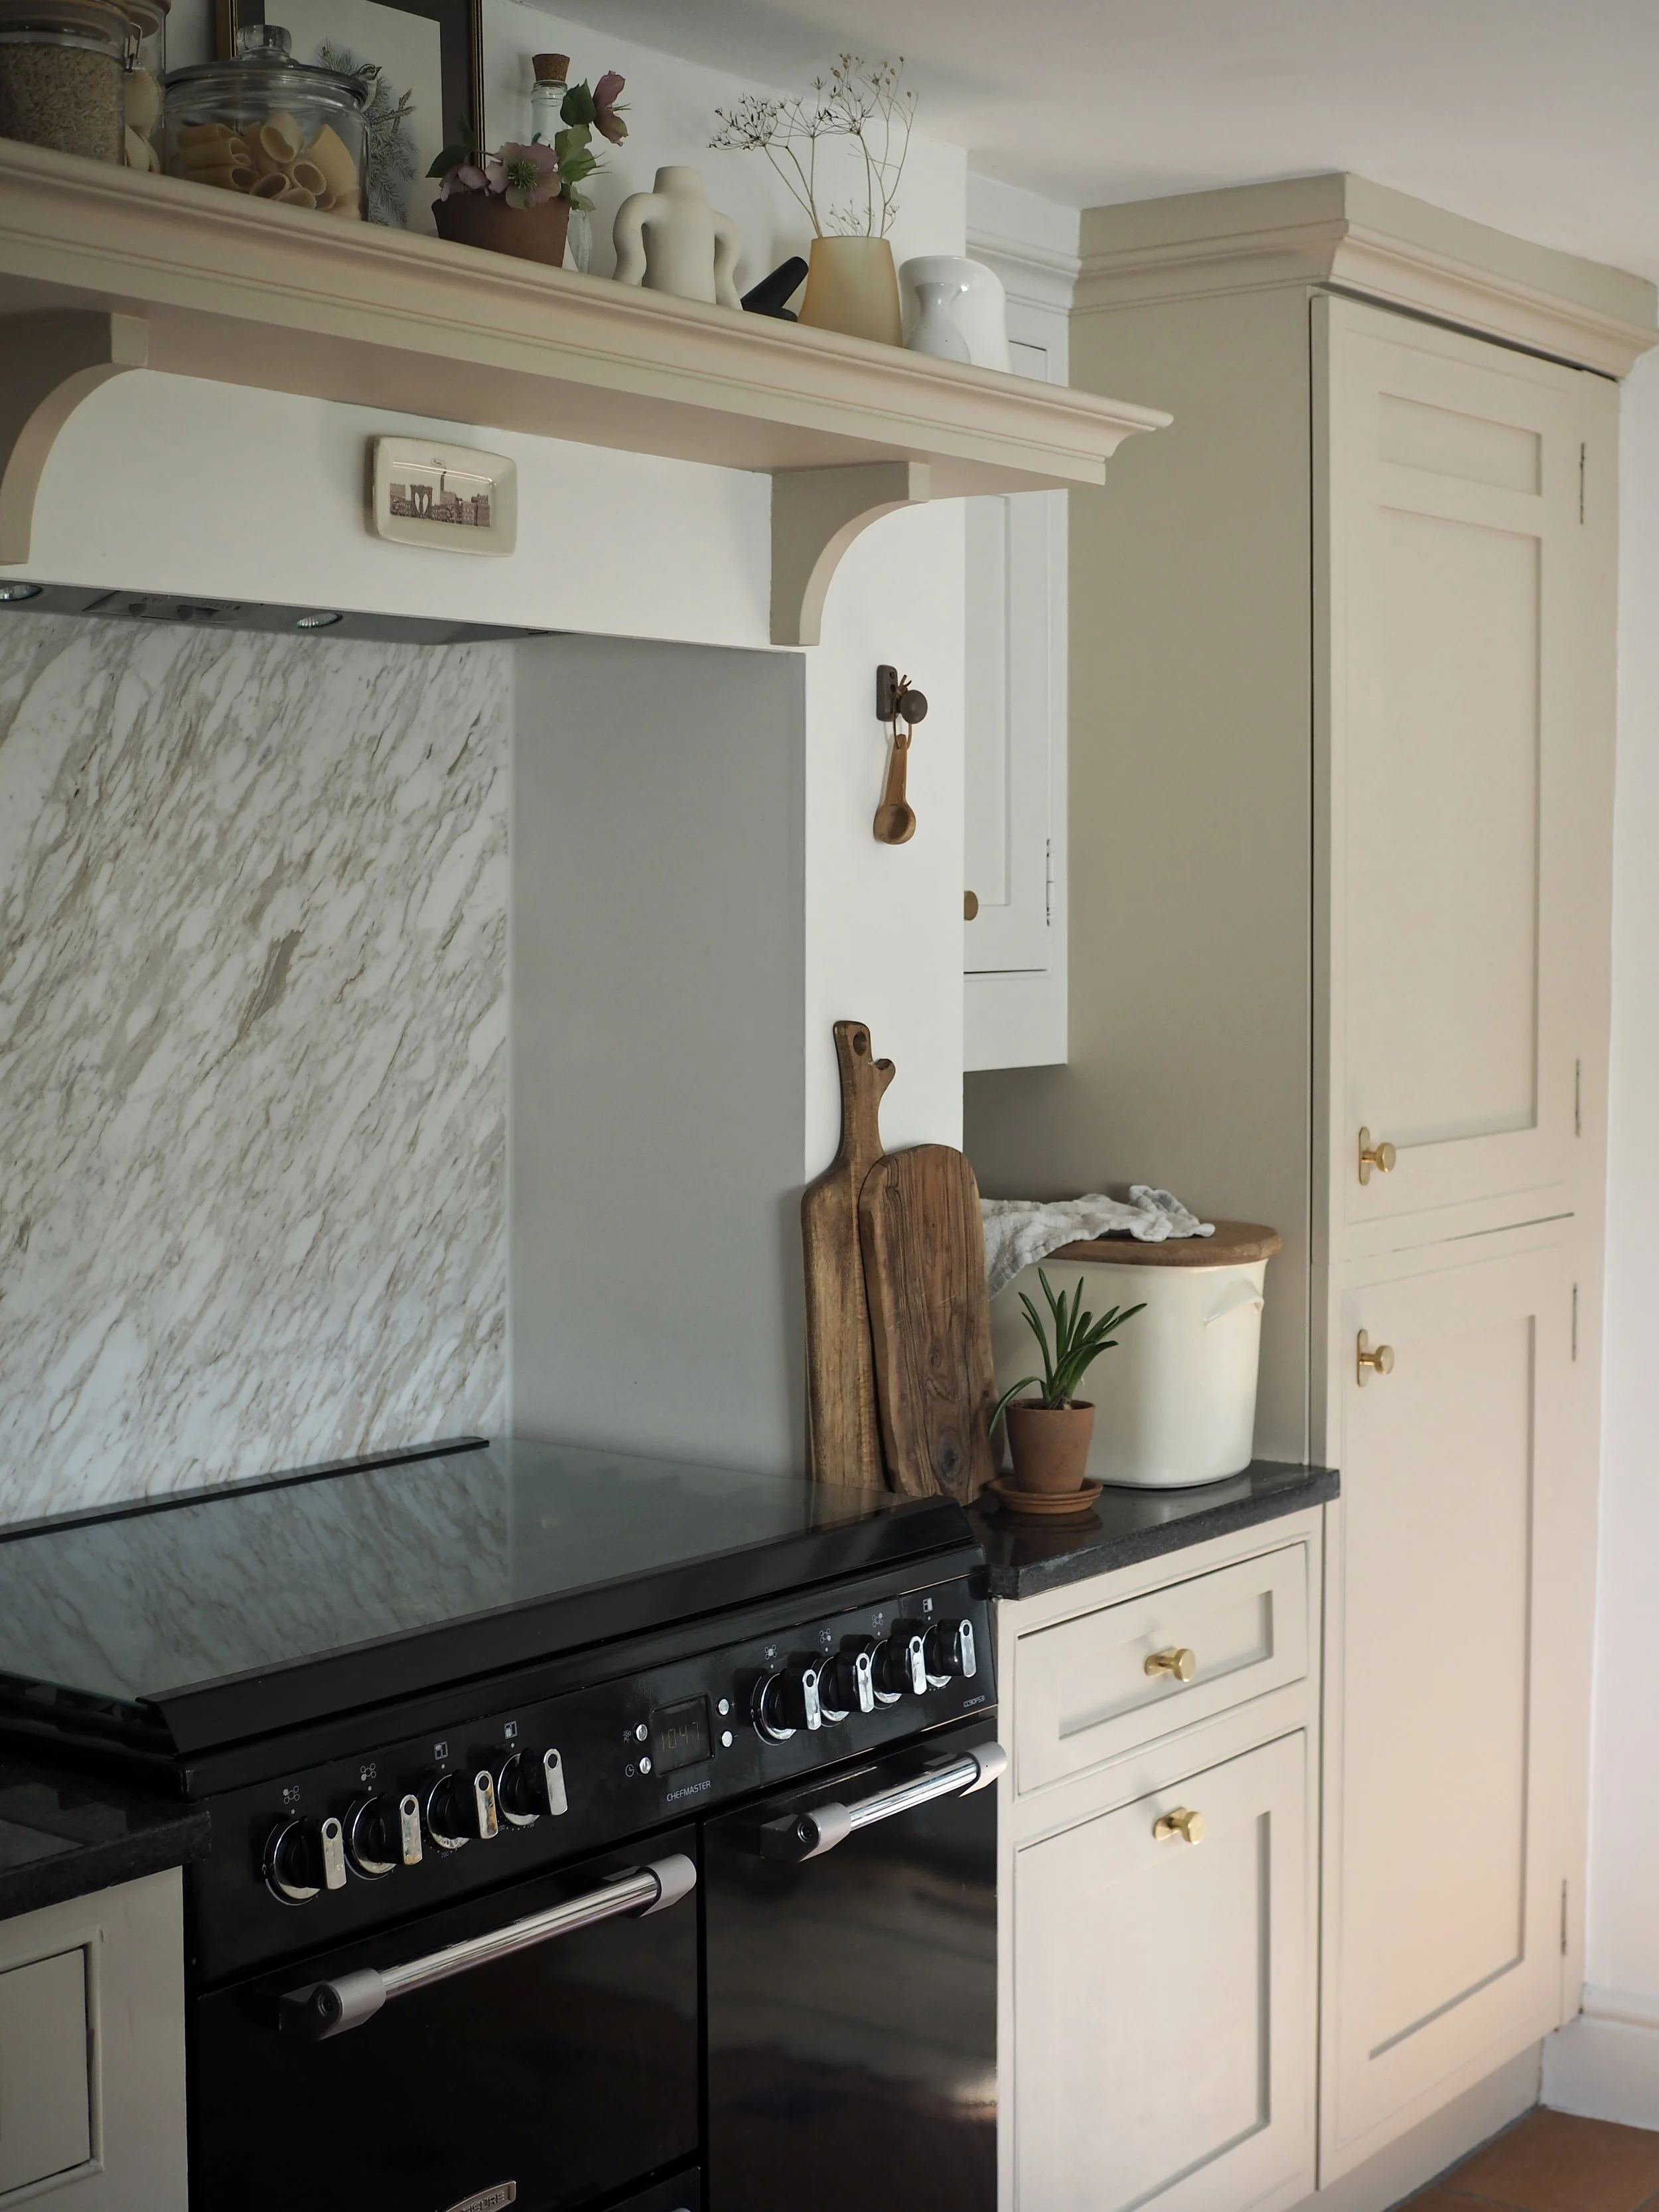
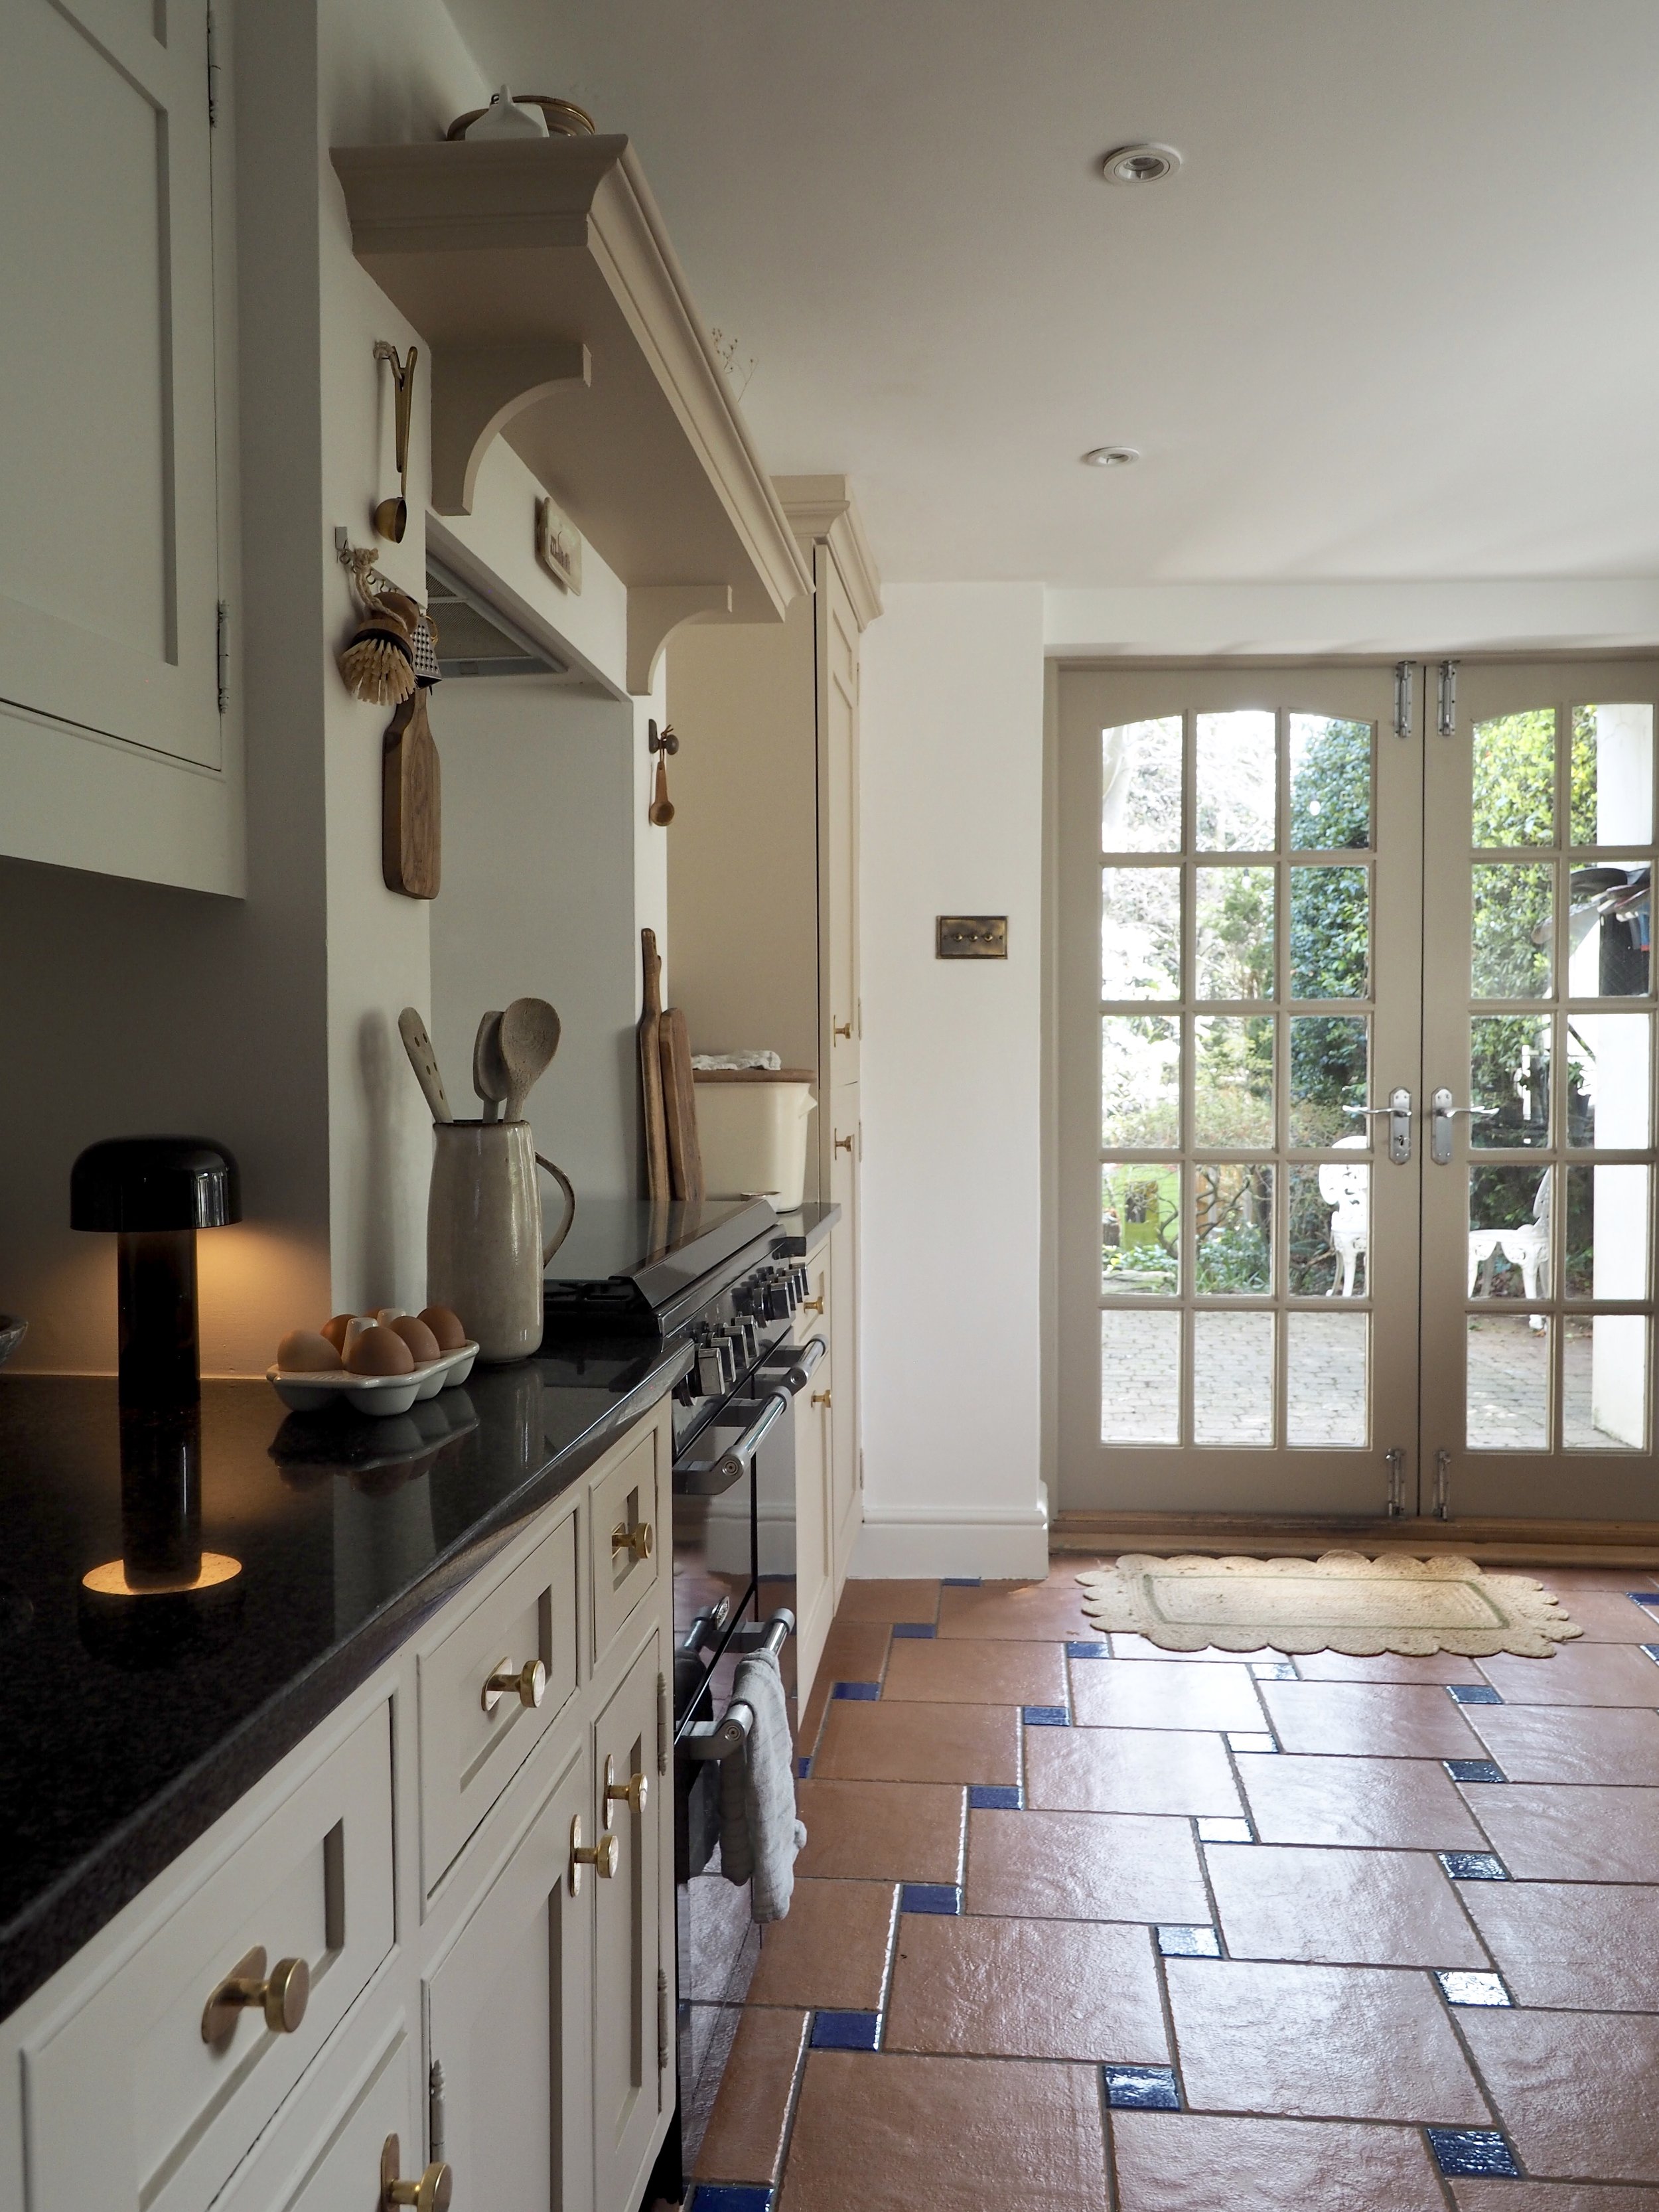
I replaced the splashback tiles with a cheap real marble offcut left over from a stone yard.
Replaced the splashback
I used to love the mix of blue mermaid tiles that I put up a few years earlier but I had completely gone off them and instead, I wanted to embrace the new kitchen trend of a slab splashback. To get some natural marble cut to size, I visited my local stone yard who cut worktops and other large-scale stone projects on site. These places always have offcuts leftover just taking up space in the yard, so they often want to get rid of them at a reduced price. I required a marble piece 98 x 73 cm in size, and I picked up a lovely brown-veined piece that complemented the Butterscotch Cupboard Paint - cut to size - for £140. Originally, my idea was simply to glue this marble over the existing tiles with some mega-grab adhesive, but when I collected the piece it became apparent that this wasn’t going to be a good idea - I couldn’t lift the marble on my own at all, and there was no way that I was going to be able to erect it myself in complete confidence that it wouldn’t come smashing down on my cooker in the middle of the night! Instead, I hired a local tradesman who came and affixed it securely for me for £80. Overall, I still felt like £220 was a good enough price to pay for a gorgeous piece of real marble in the kitchen.
If you fancy adding a marble splashback yourself, do bear in mind if any food might come into contact and stain it. Our cooker has a glass lid, so I was confident that my marble was not going to get ruined by cooking oil or spitting pasta sauces. As an alternative, a marble-effect vinyl adhesive placed over an MDF board is a much cheaper way of getting the look and is less porous. You could also try cutting to size really large marble-effect floor tiles (porcelain tiles are really hard-wearing, so they are a great option if you are a keen cook).
Marble cut to size: £140
Installation: £80
Painted the ceiling, walls, windows, doors, plus all the woodwork.
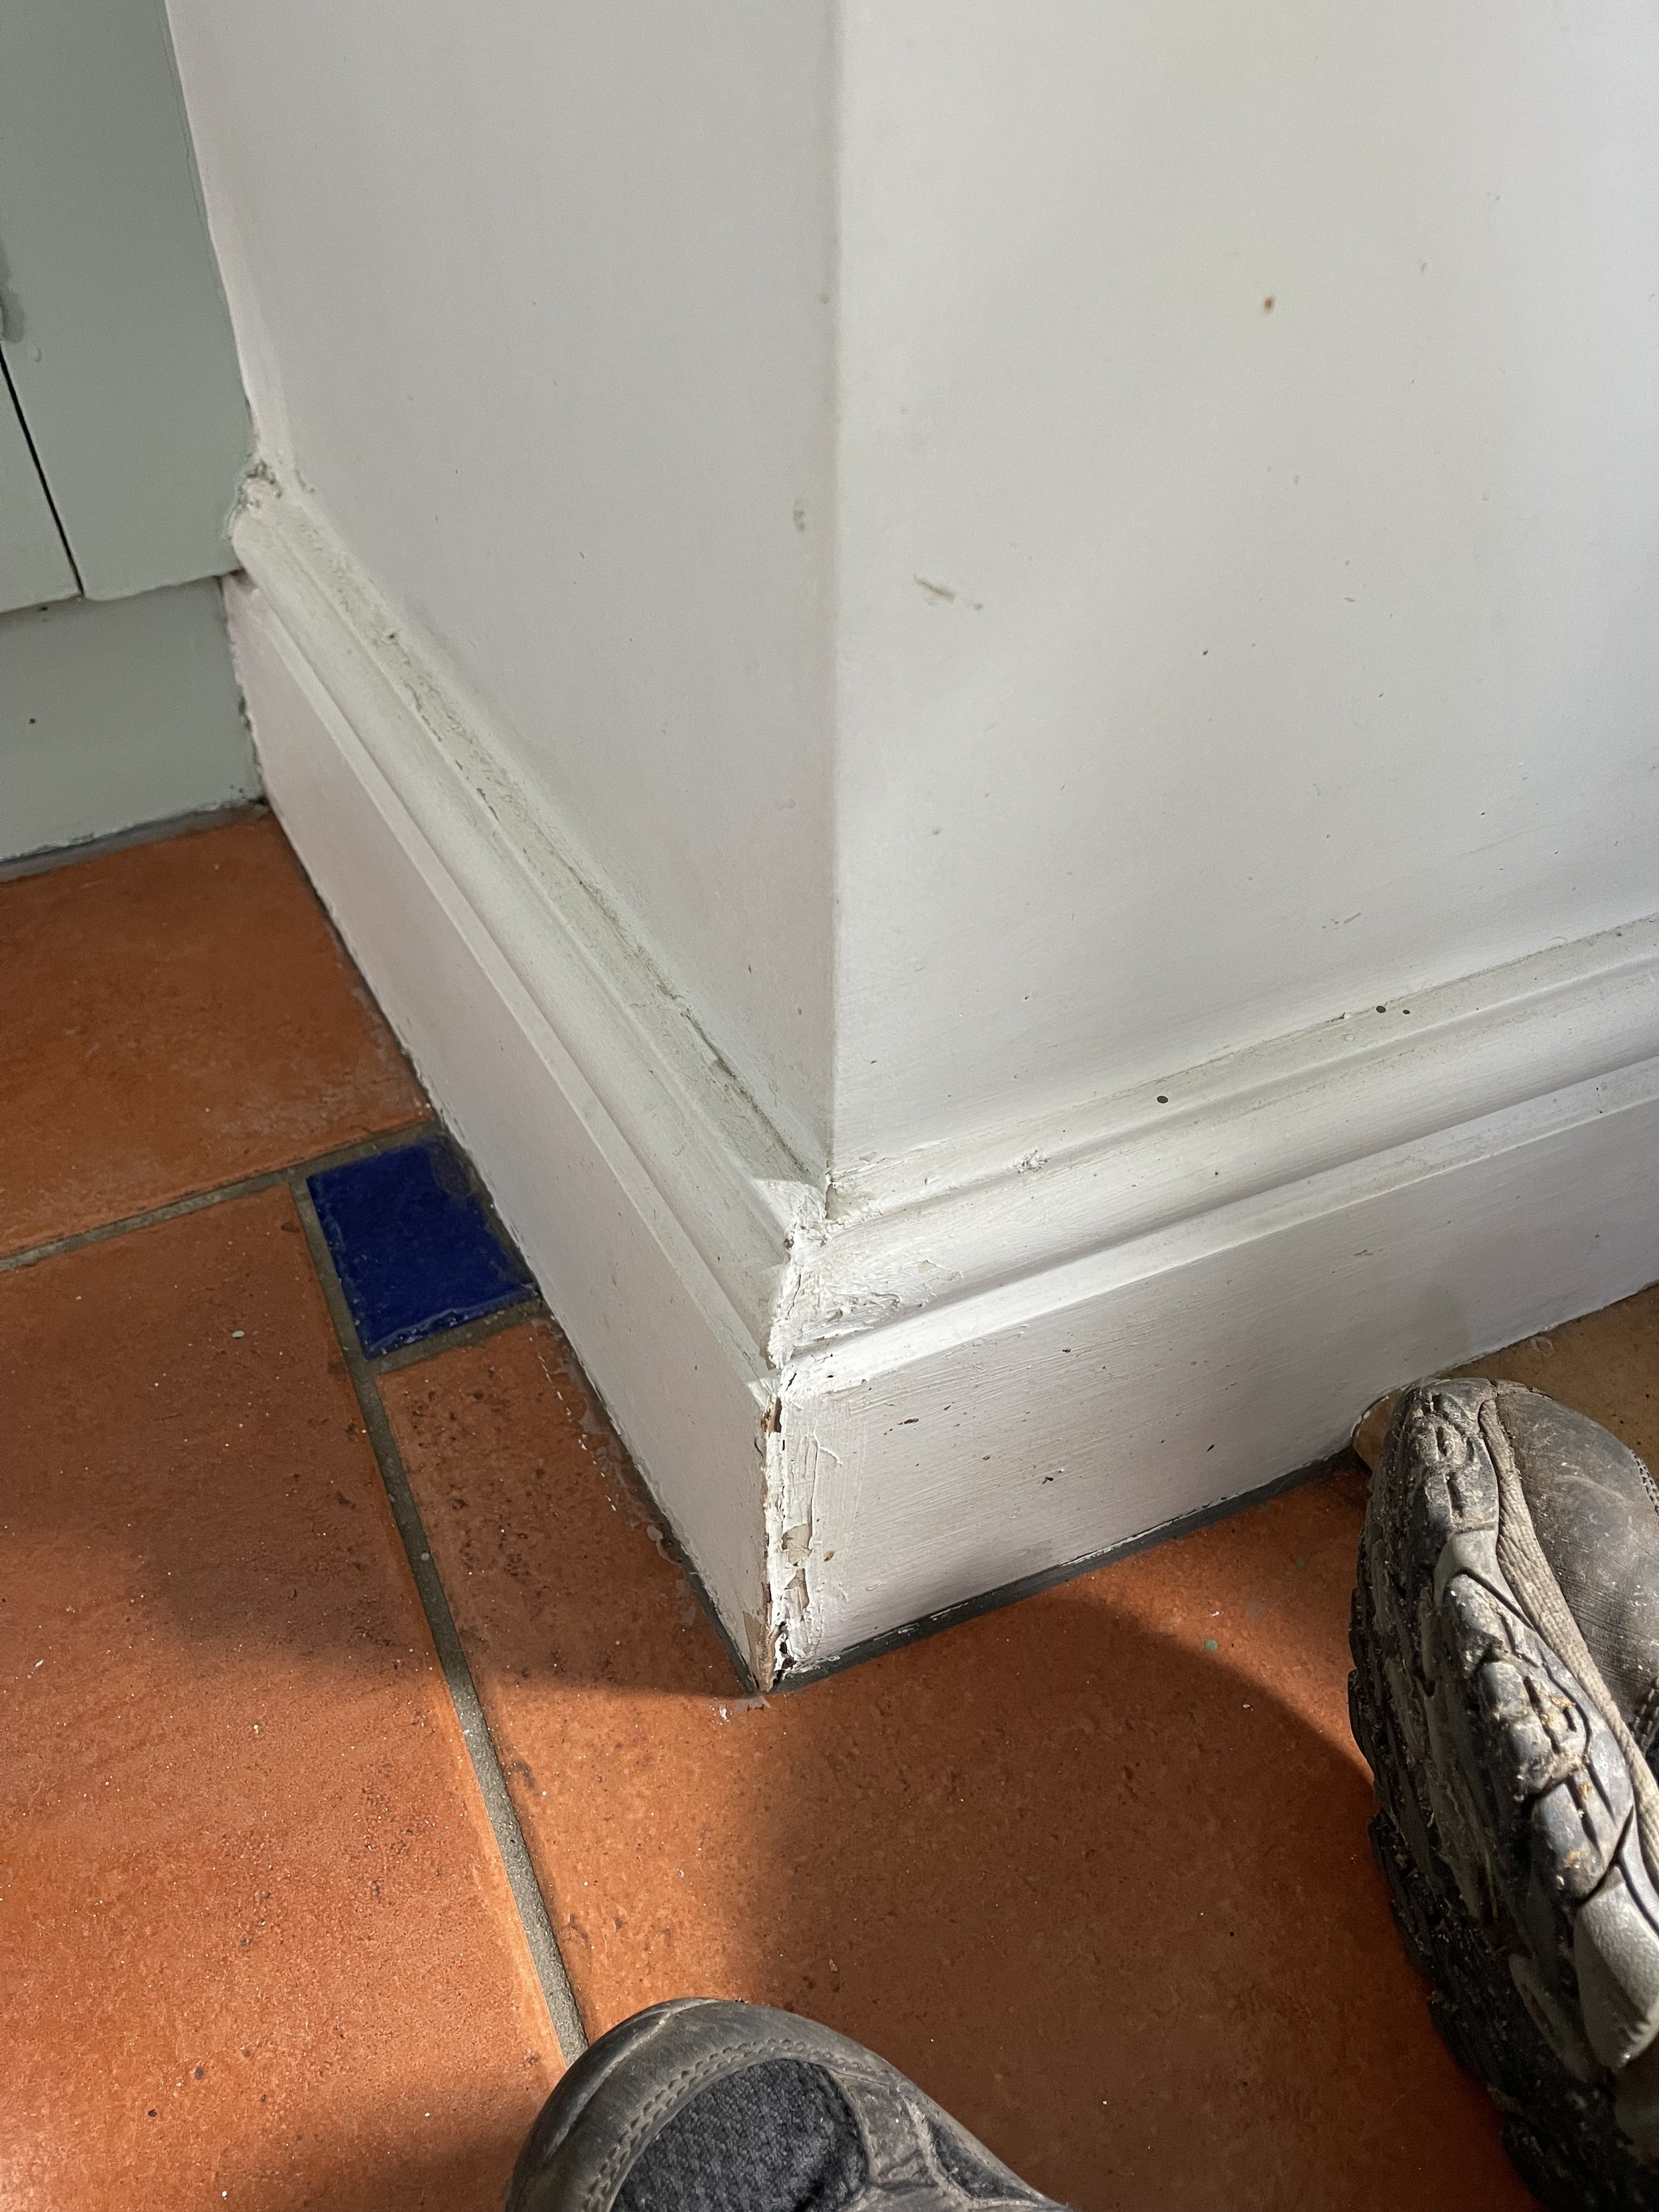
Painting a kitchen really is a long job - once you’ve finished the units, the enthusiasm to paint everything else dwindles! I found that doing it ‘little and often’ kept up my DIY momentum and stopped me from becoming bored and frustrated with the job. I did one task each day: the prep work of digging out and filling any cracks one day, one coat of paint on the walls the next, and so on. The difference a fresh application of paint makes, especially on battered skirting boards or dirty, stained walls, cannot be underestimated. However, if your skirting boards aren't salvageable, you could replace these relatively inexpensively.
I removed the green on the doors by priming them and then painting them in Little Greene’s ‘Rolling Fog Dark’ in Intelligent Eggshell (which complemented the Butterscotch cabinets nicely). The walls I painted in Little Green’s ‘Slaked Lime’ (a lovely warm white that is fresh without being too blinding). The windows and woodwork I painted in leftover ‘Steamed Milk’.
1L Little Greene Slaked Lime Intelligent Matt Emulsion: £29
1L Little Greene Rolling Fog Dark in Intelligent Eggshell: £35
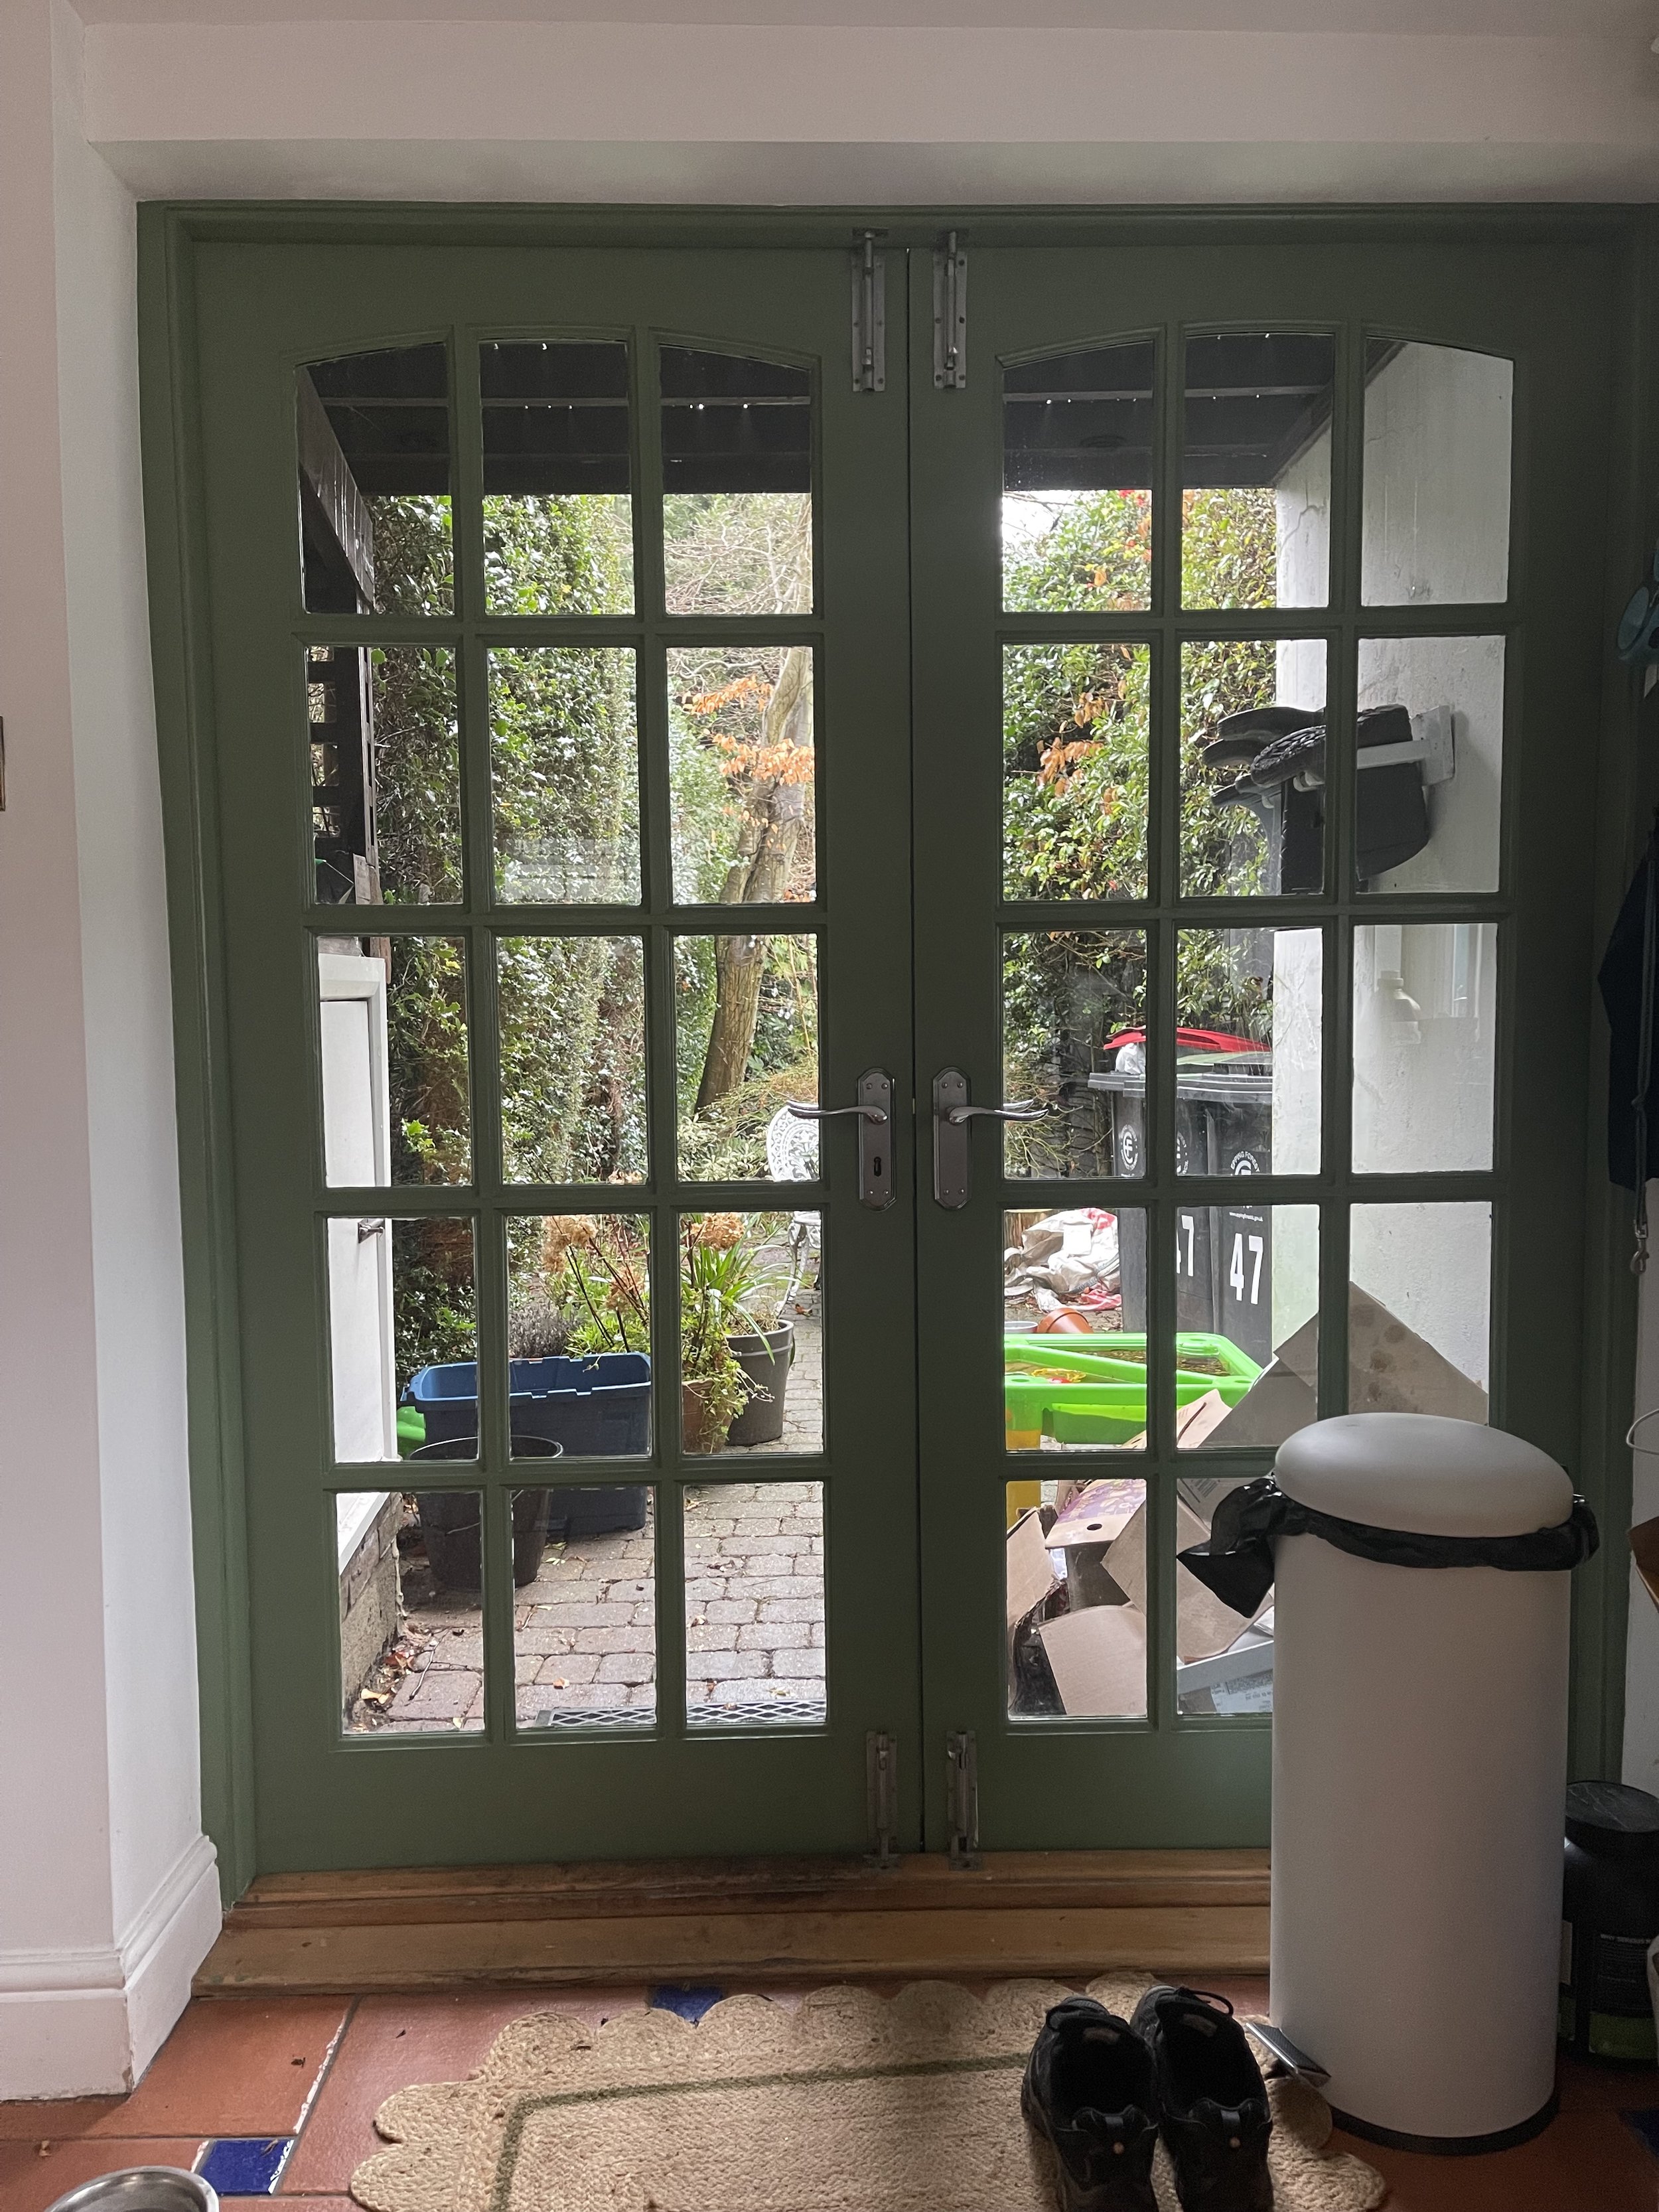
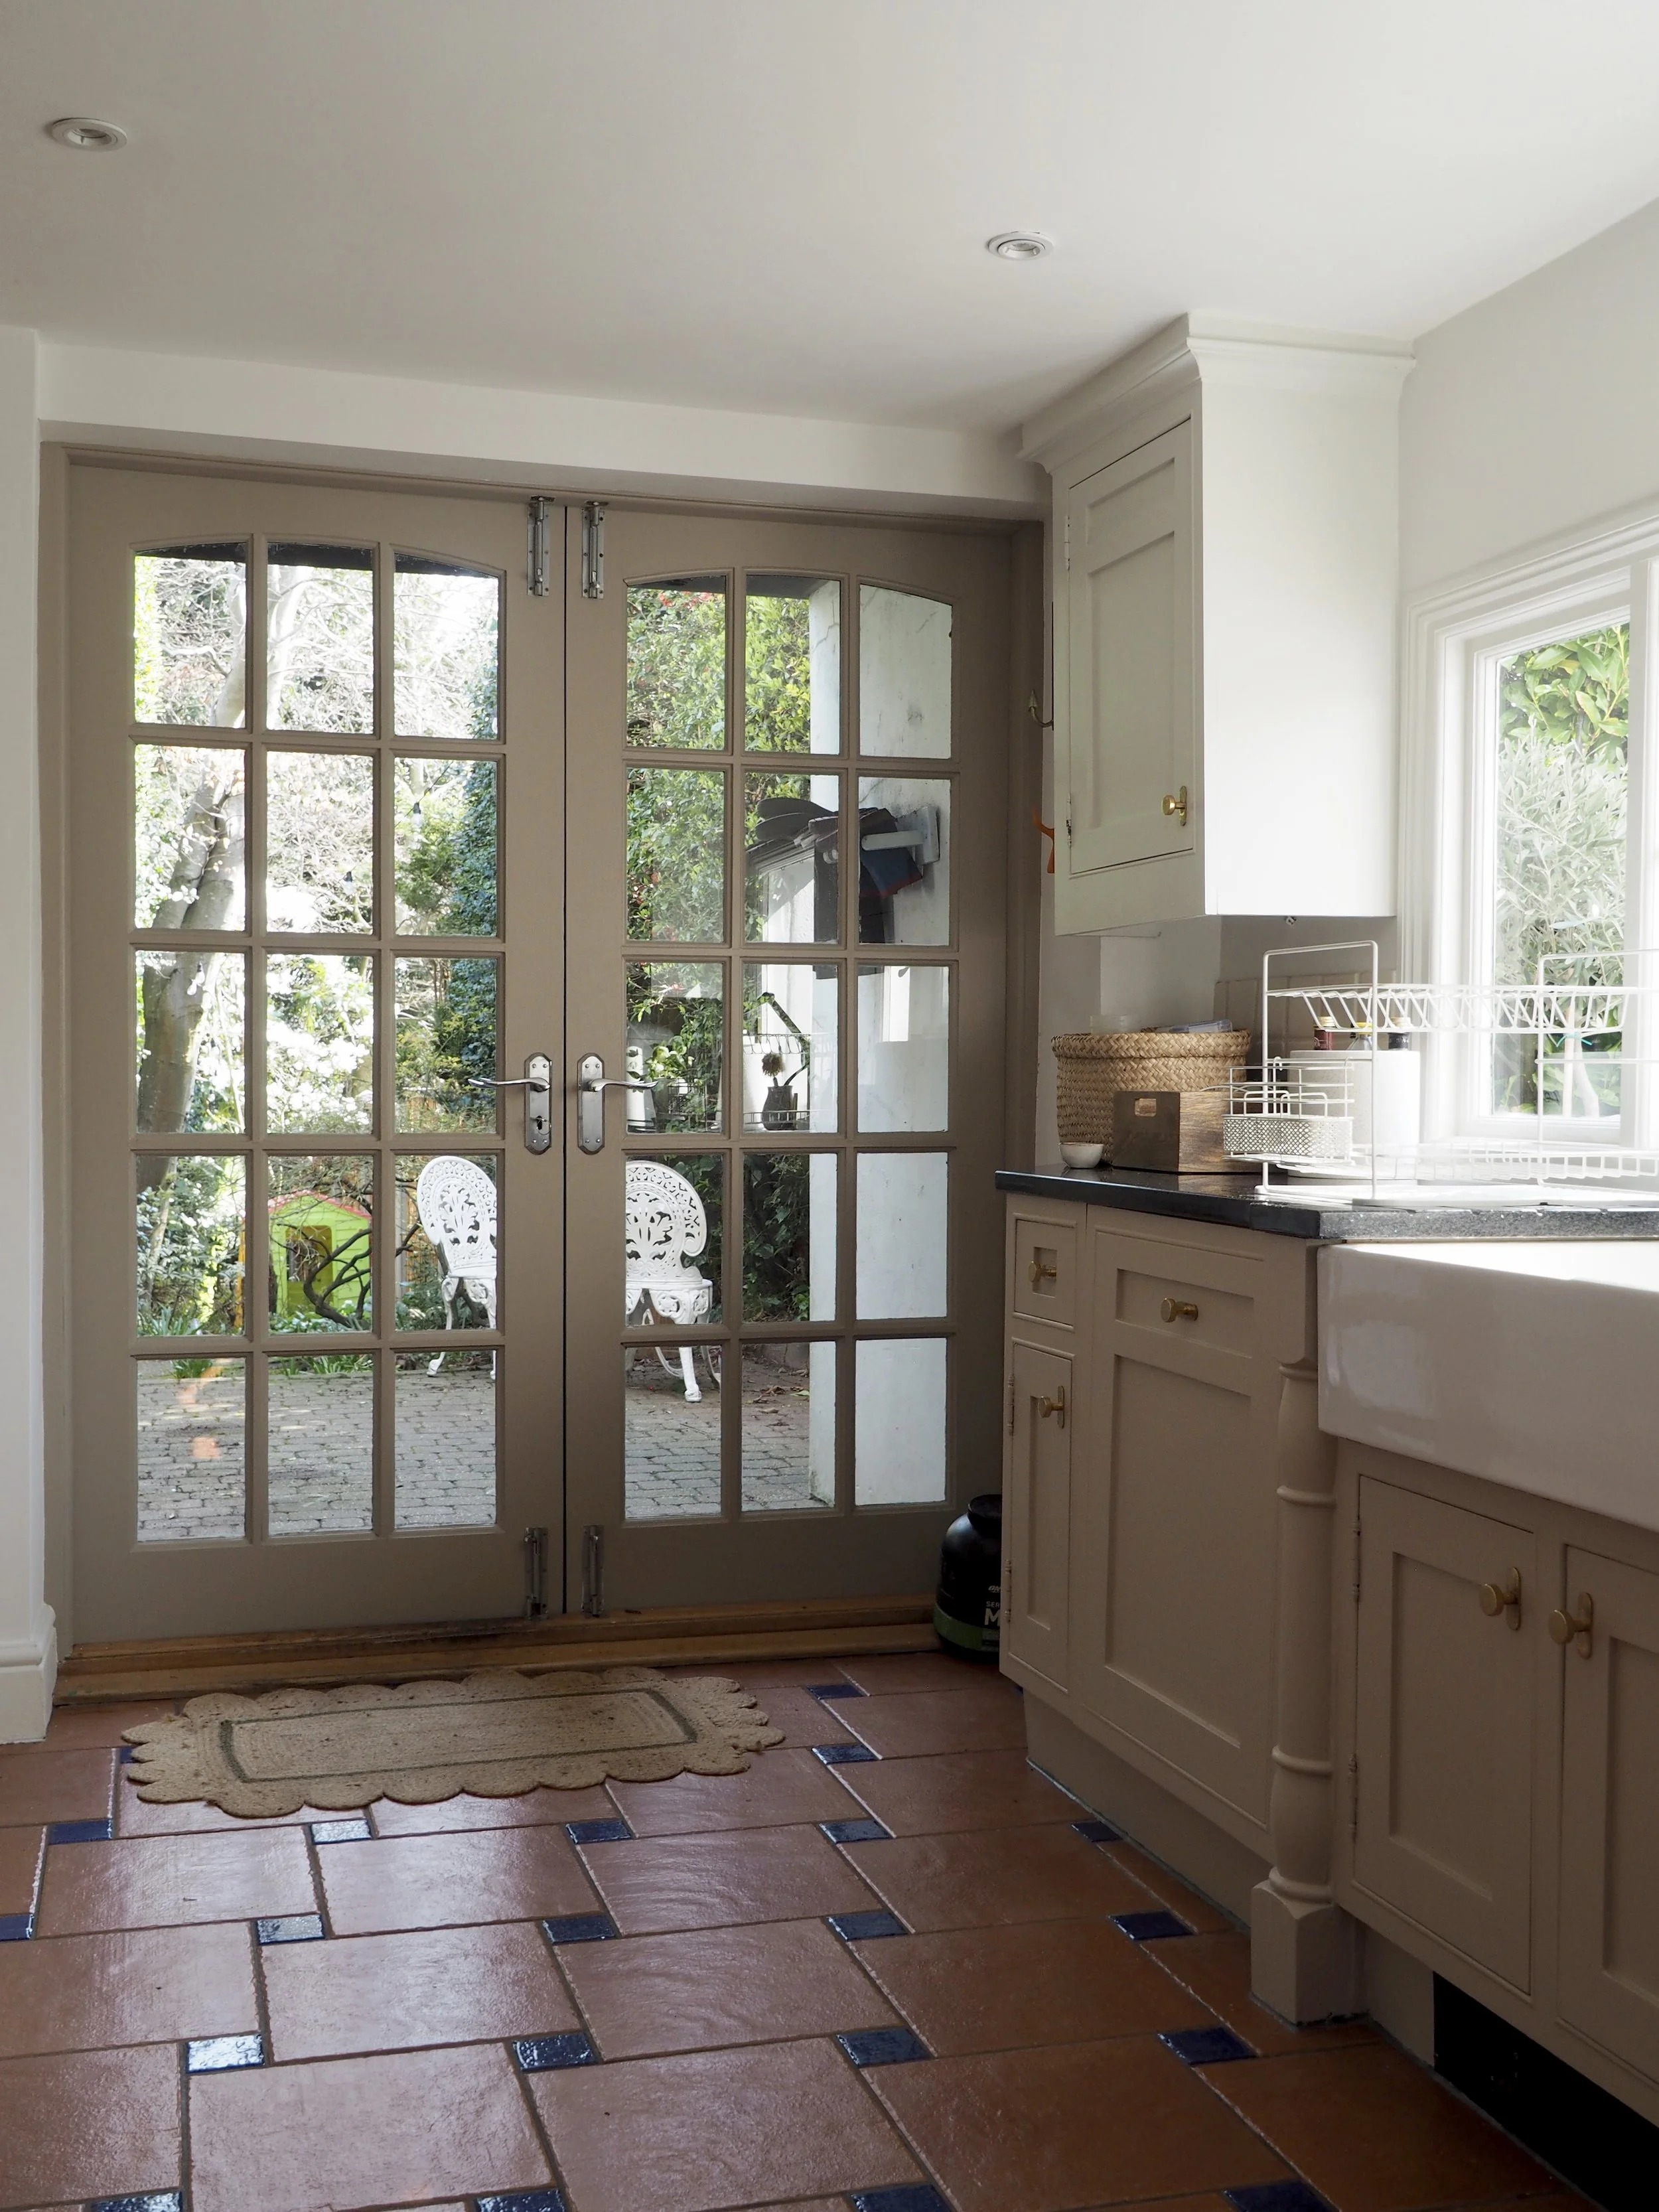
I painted the garden doors in Little Greene’s Rolling Fog Dark.
Dug out and reapplied old caulk and sealant
Caulk and sealant only last for a period of time before it crumbles, starts to peel away from the edges, or succumbs to mould in wet areas. It’s easy to remove old caulk and sealant with a Stanley knife or blade (a new tube of each will cost you less than a tenner). Use an application gun and a damp sponge to easily apply both and remove any excess.
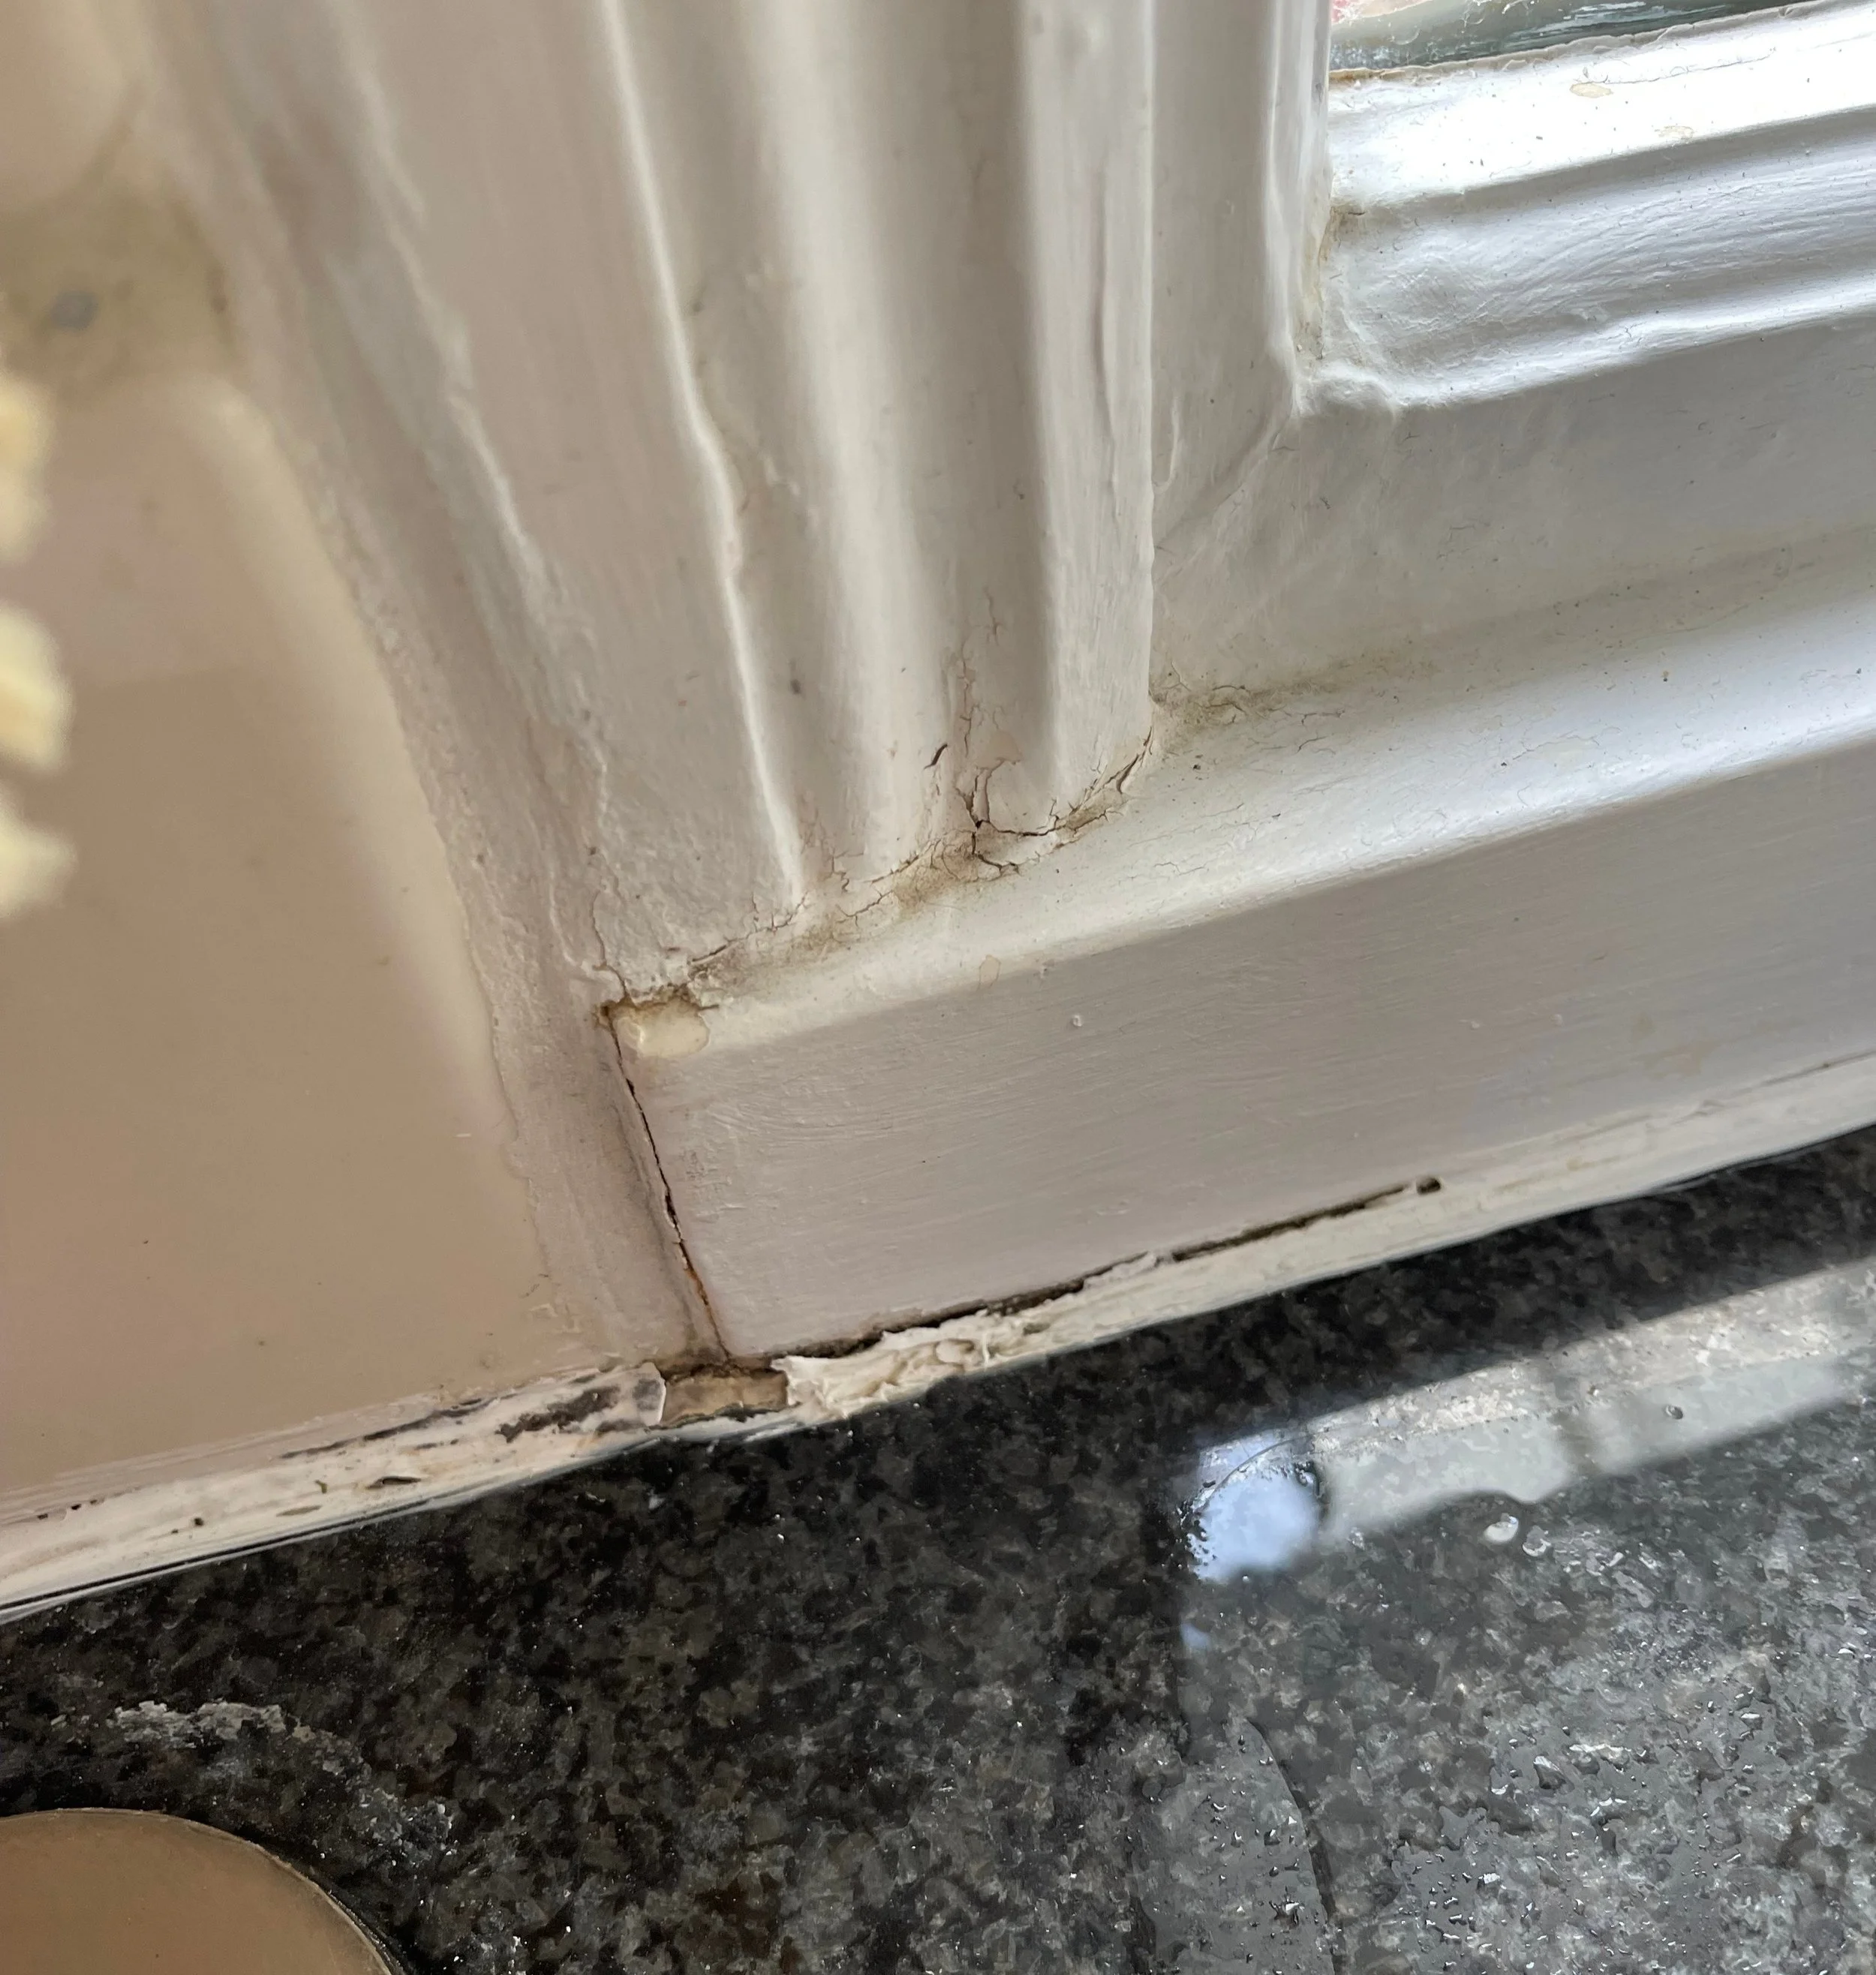
The kitchen sealant before.
Removed and polished up the brass hardware
My beautiful antique brass Kilburn knobs from Corston Architectural Detail are meant to gain a natural patina over time, but as I had to remove them to paint the cabinets I gave them all a buffering using Bar Keepers Friend to remove any finger marks and discolouration and return them to their full glory. One of the best things that you can do to give your kitchen a new look is to upgrade the hardware; if your handles are not doing it for you, replace them for a simple but effective update.
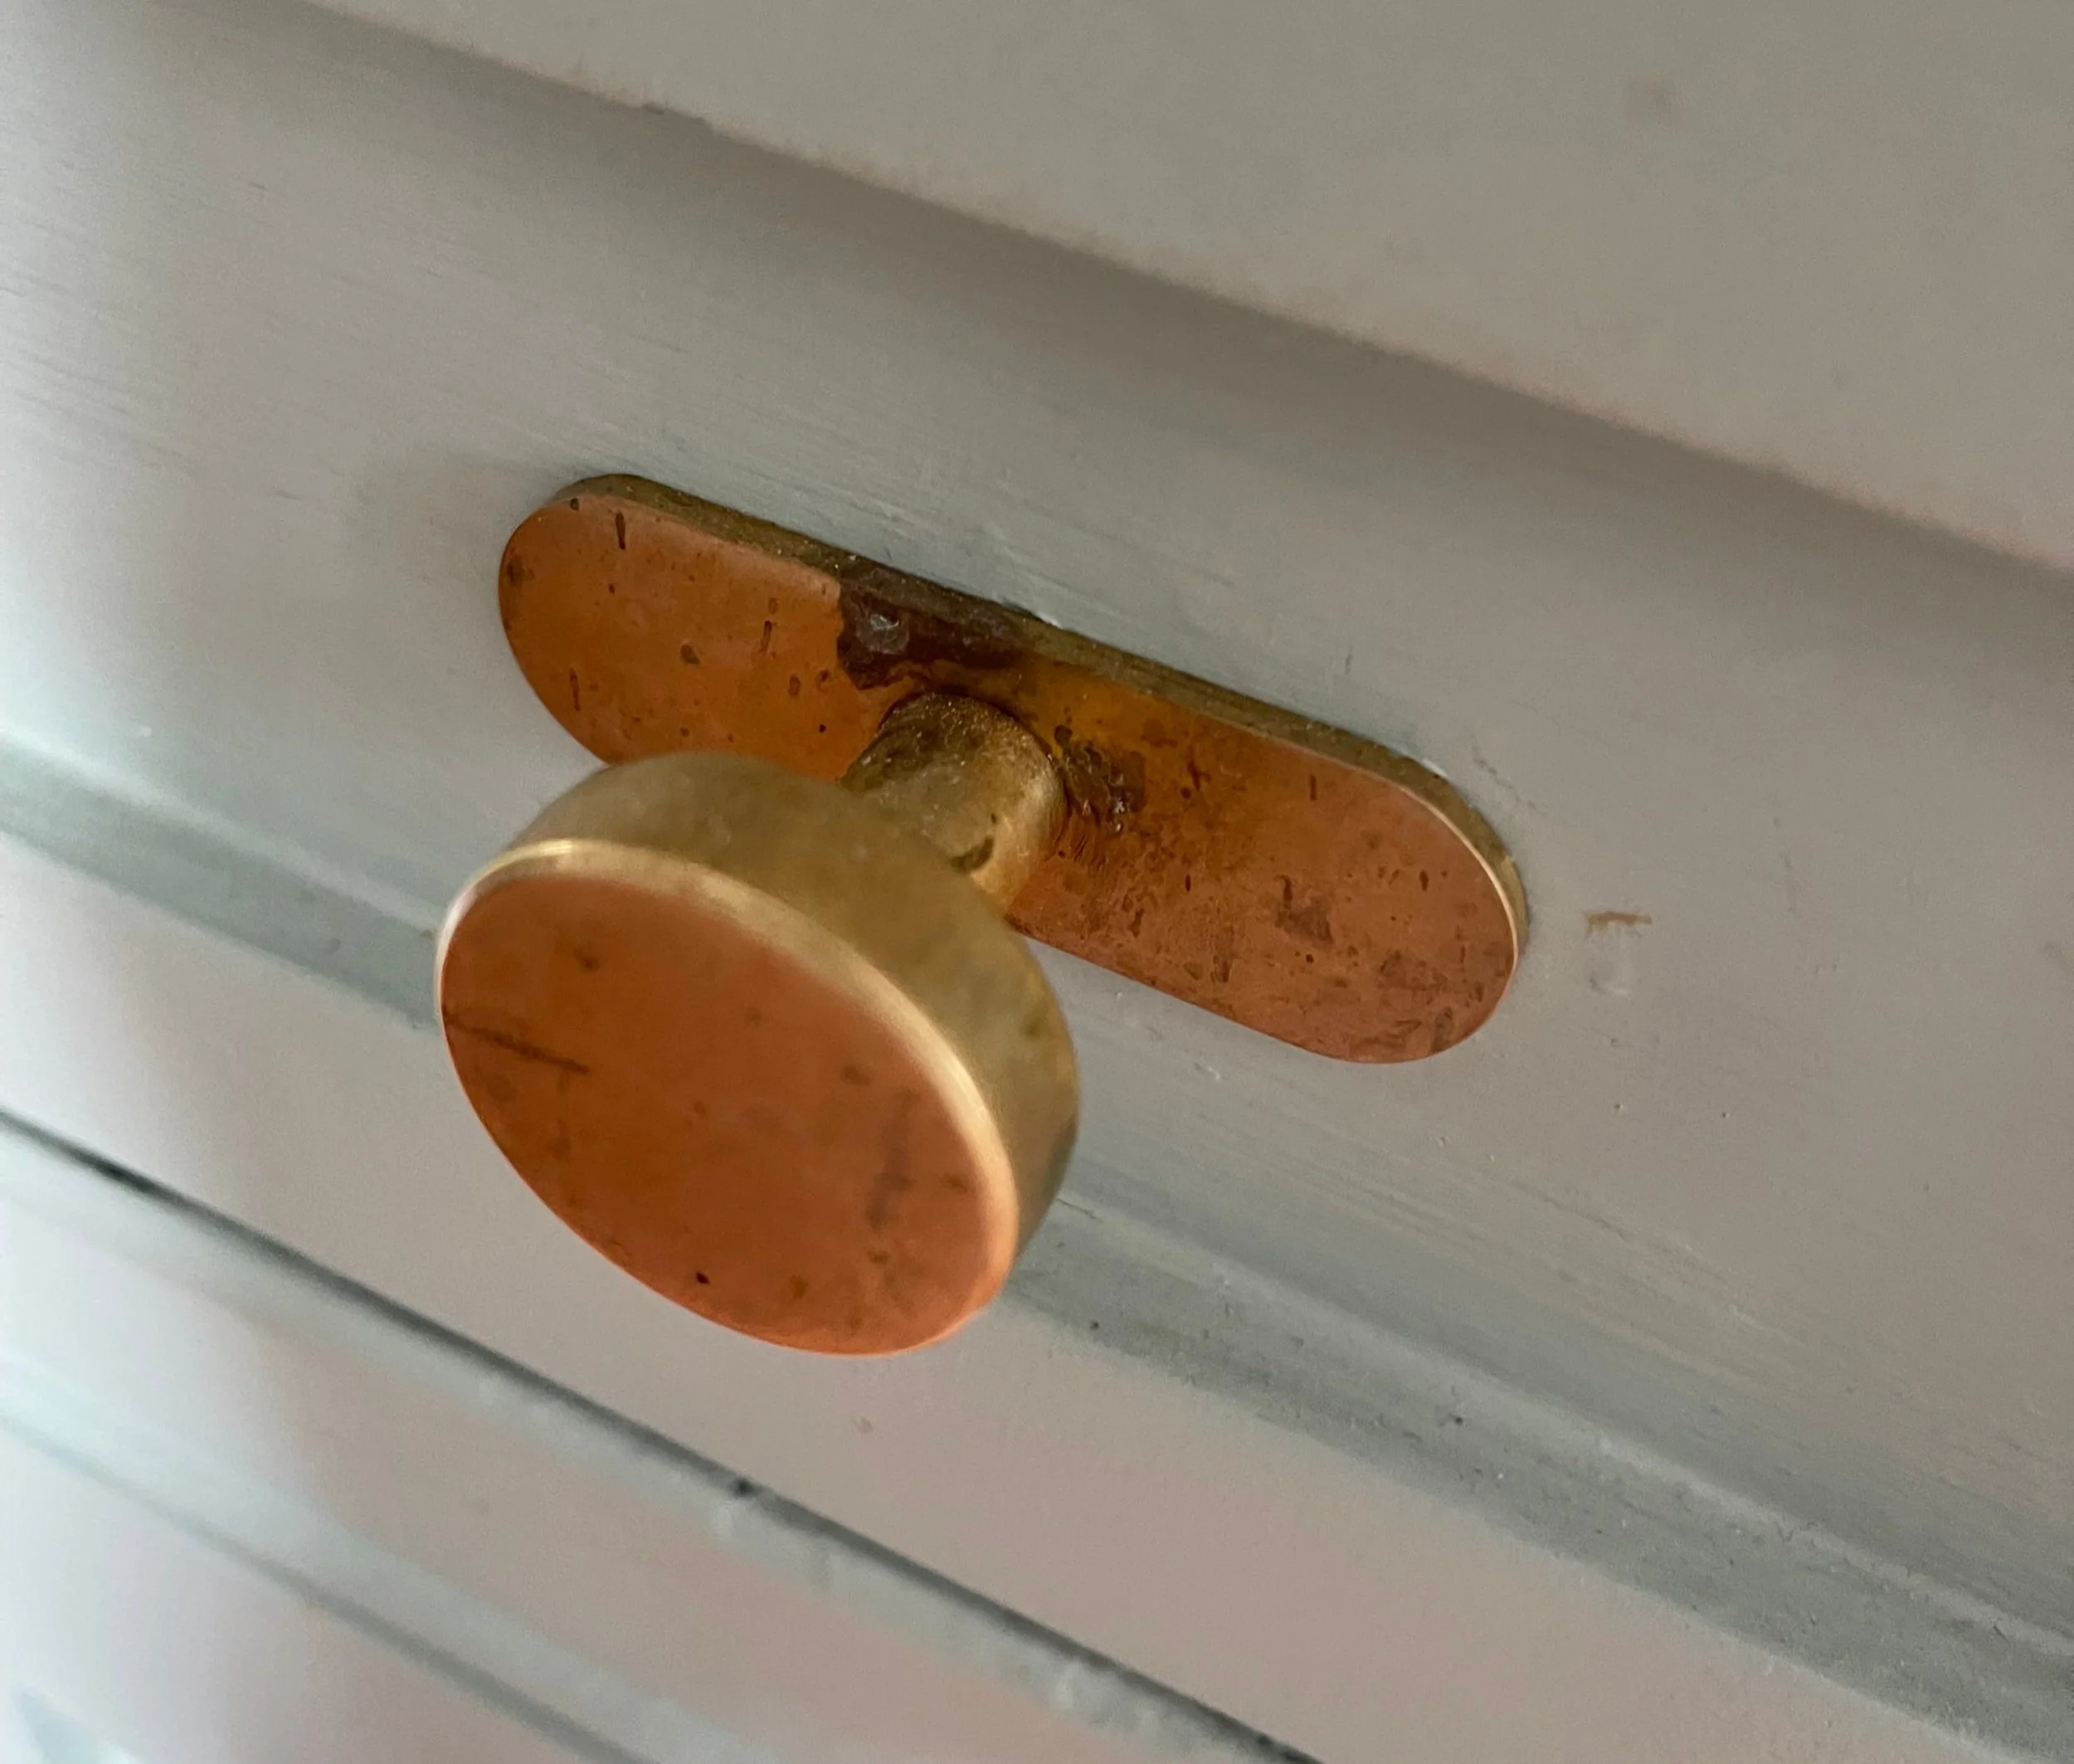
The hardware before being cleaned up with brass polish.
All my hardware was brought back to life using a brass polish and a microfibre cloth.
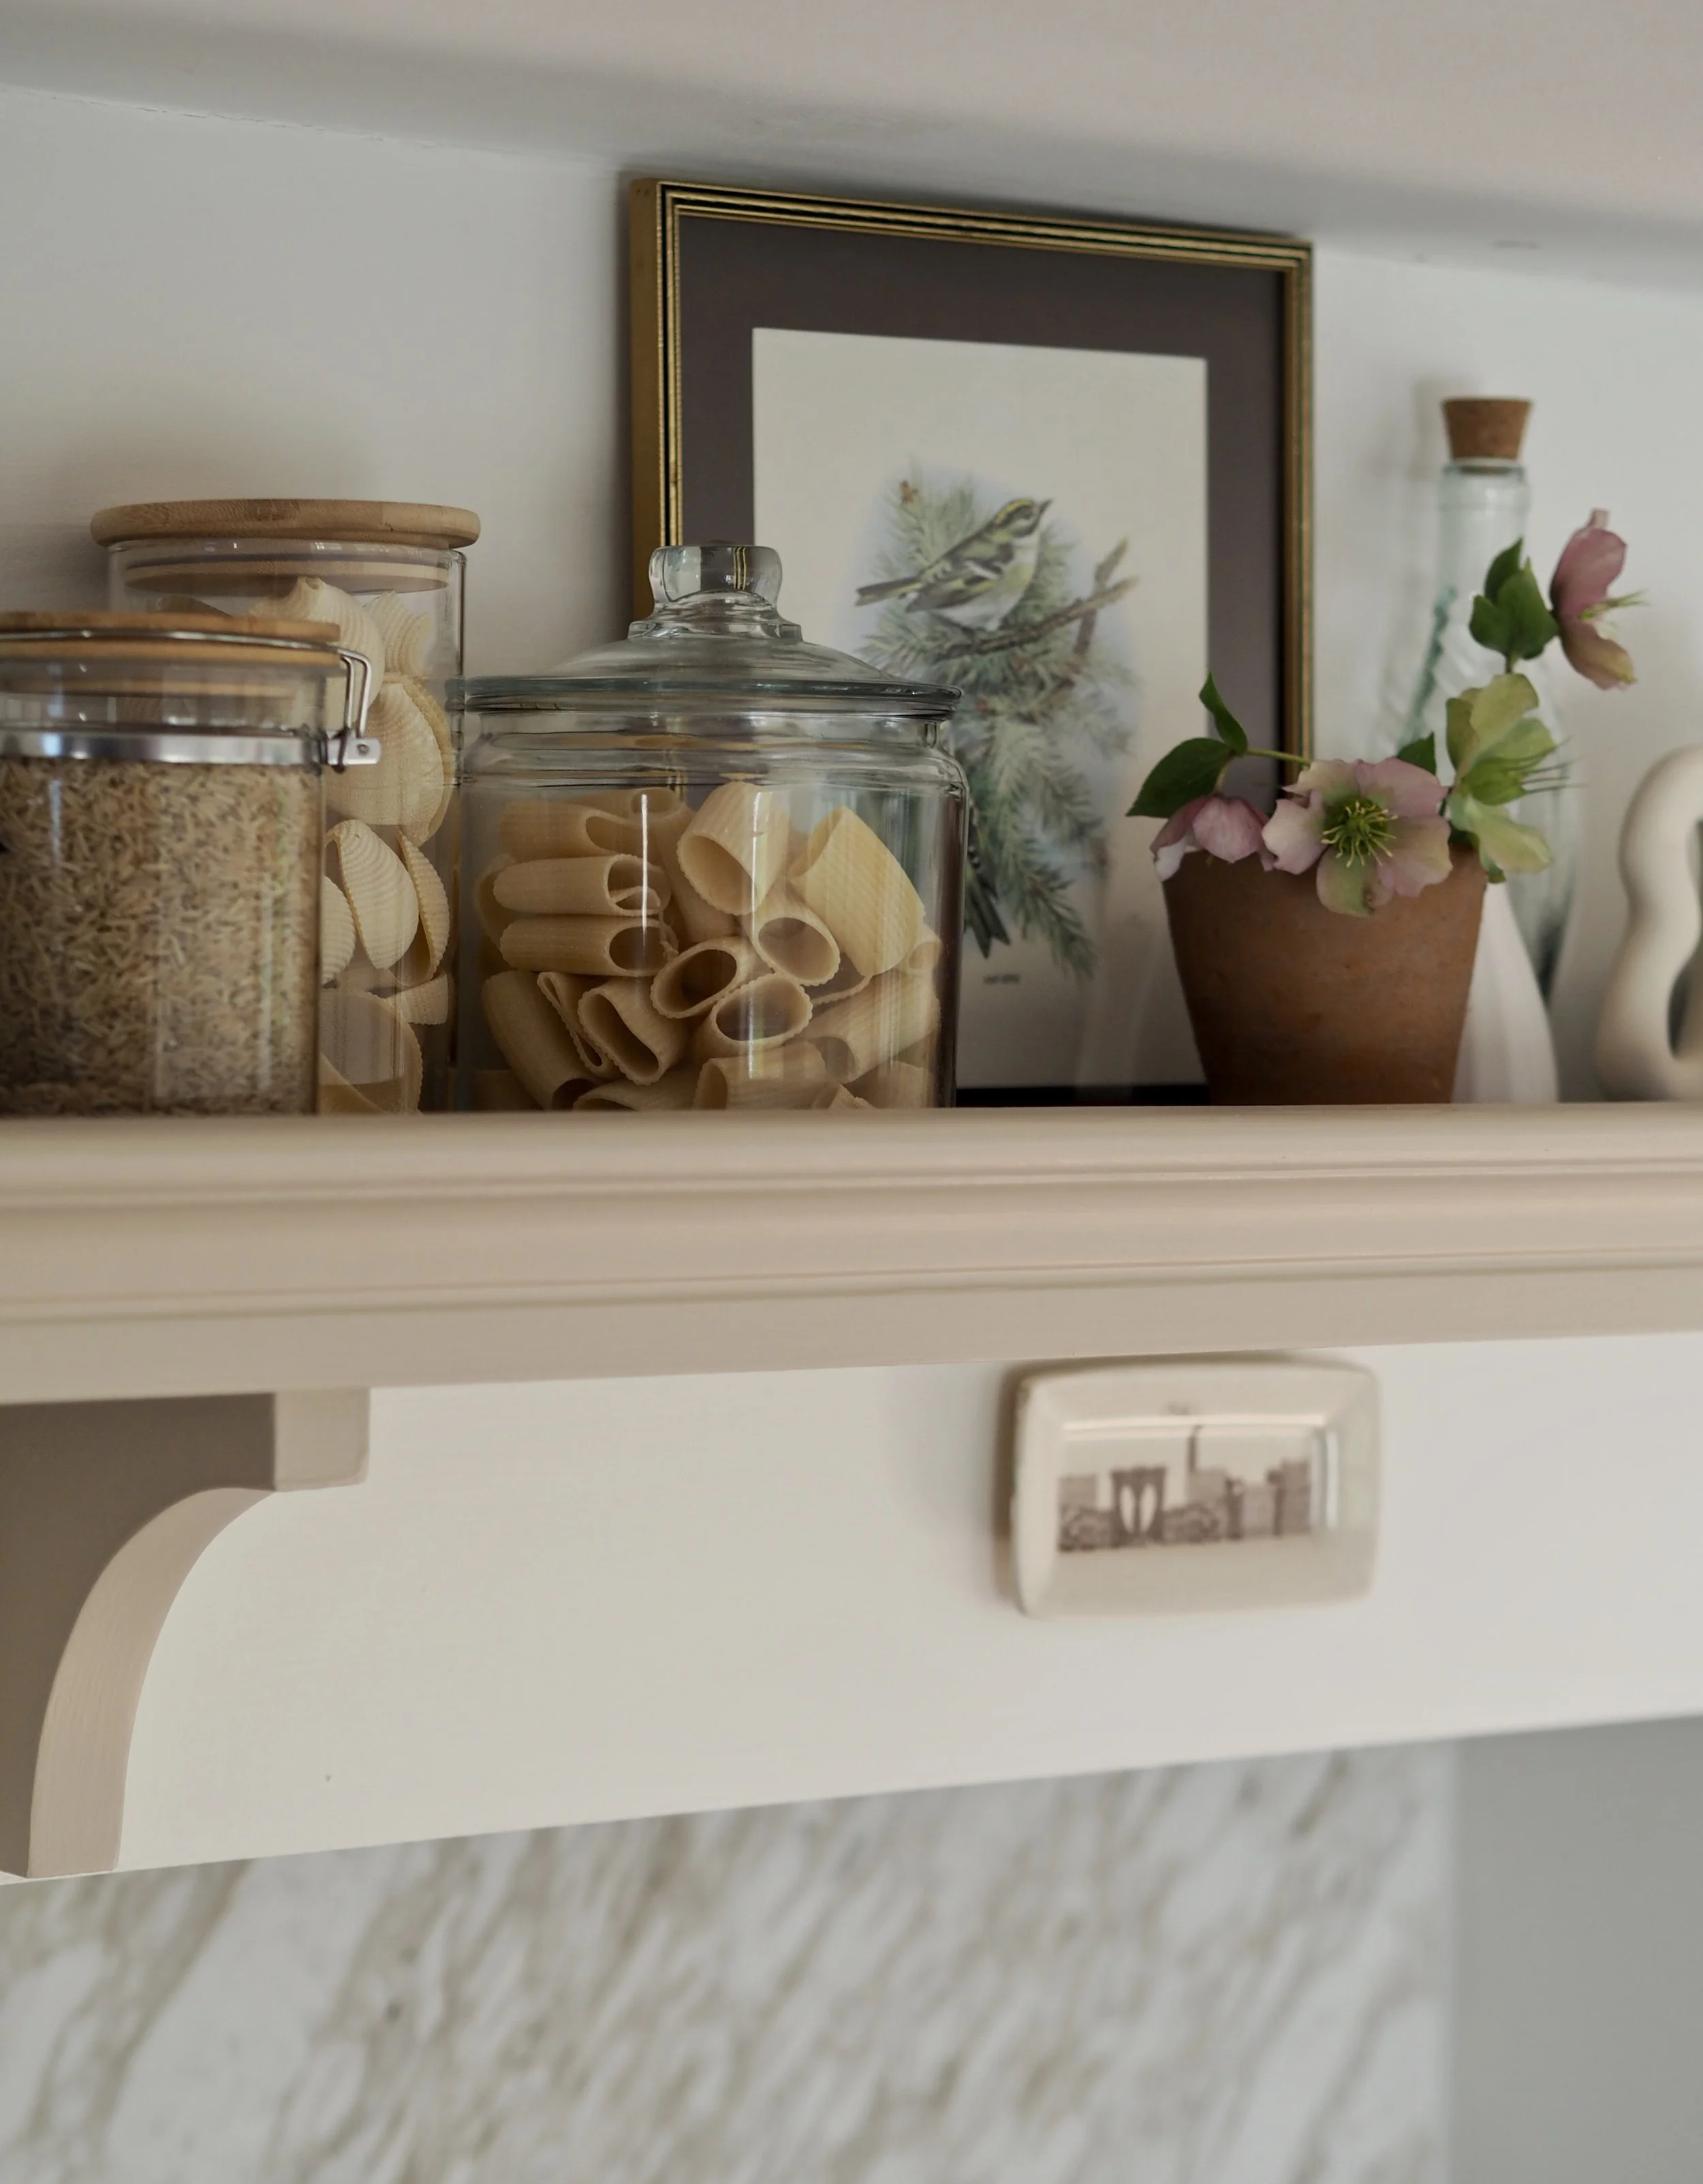
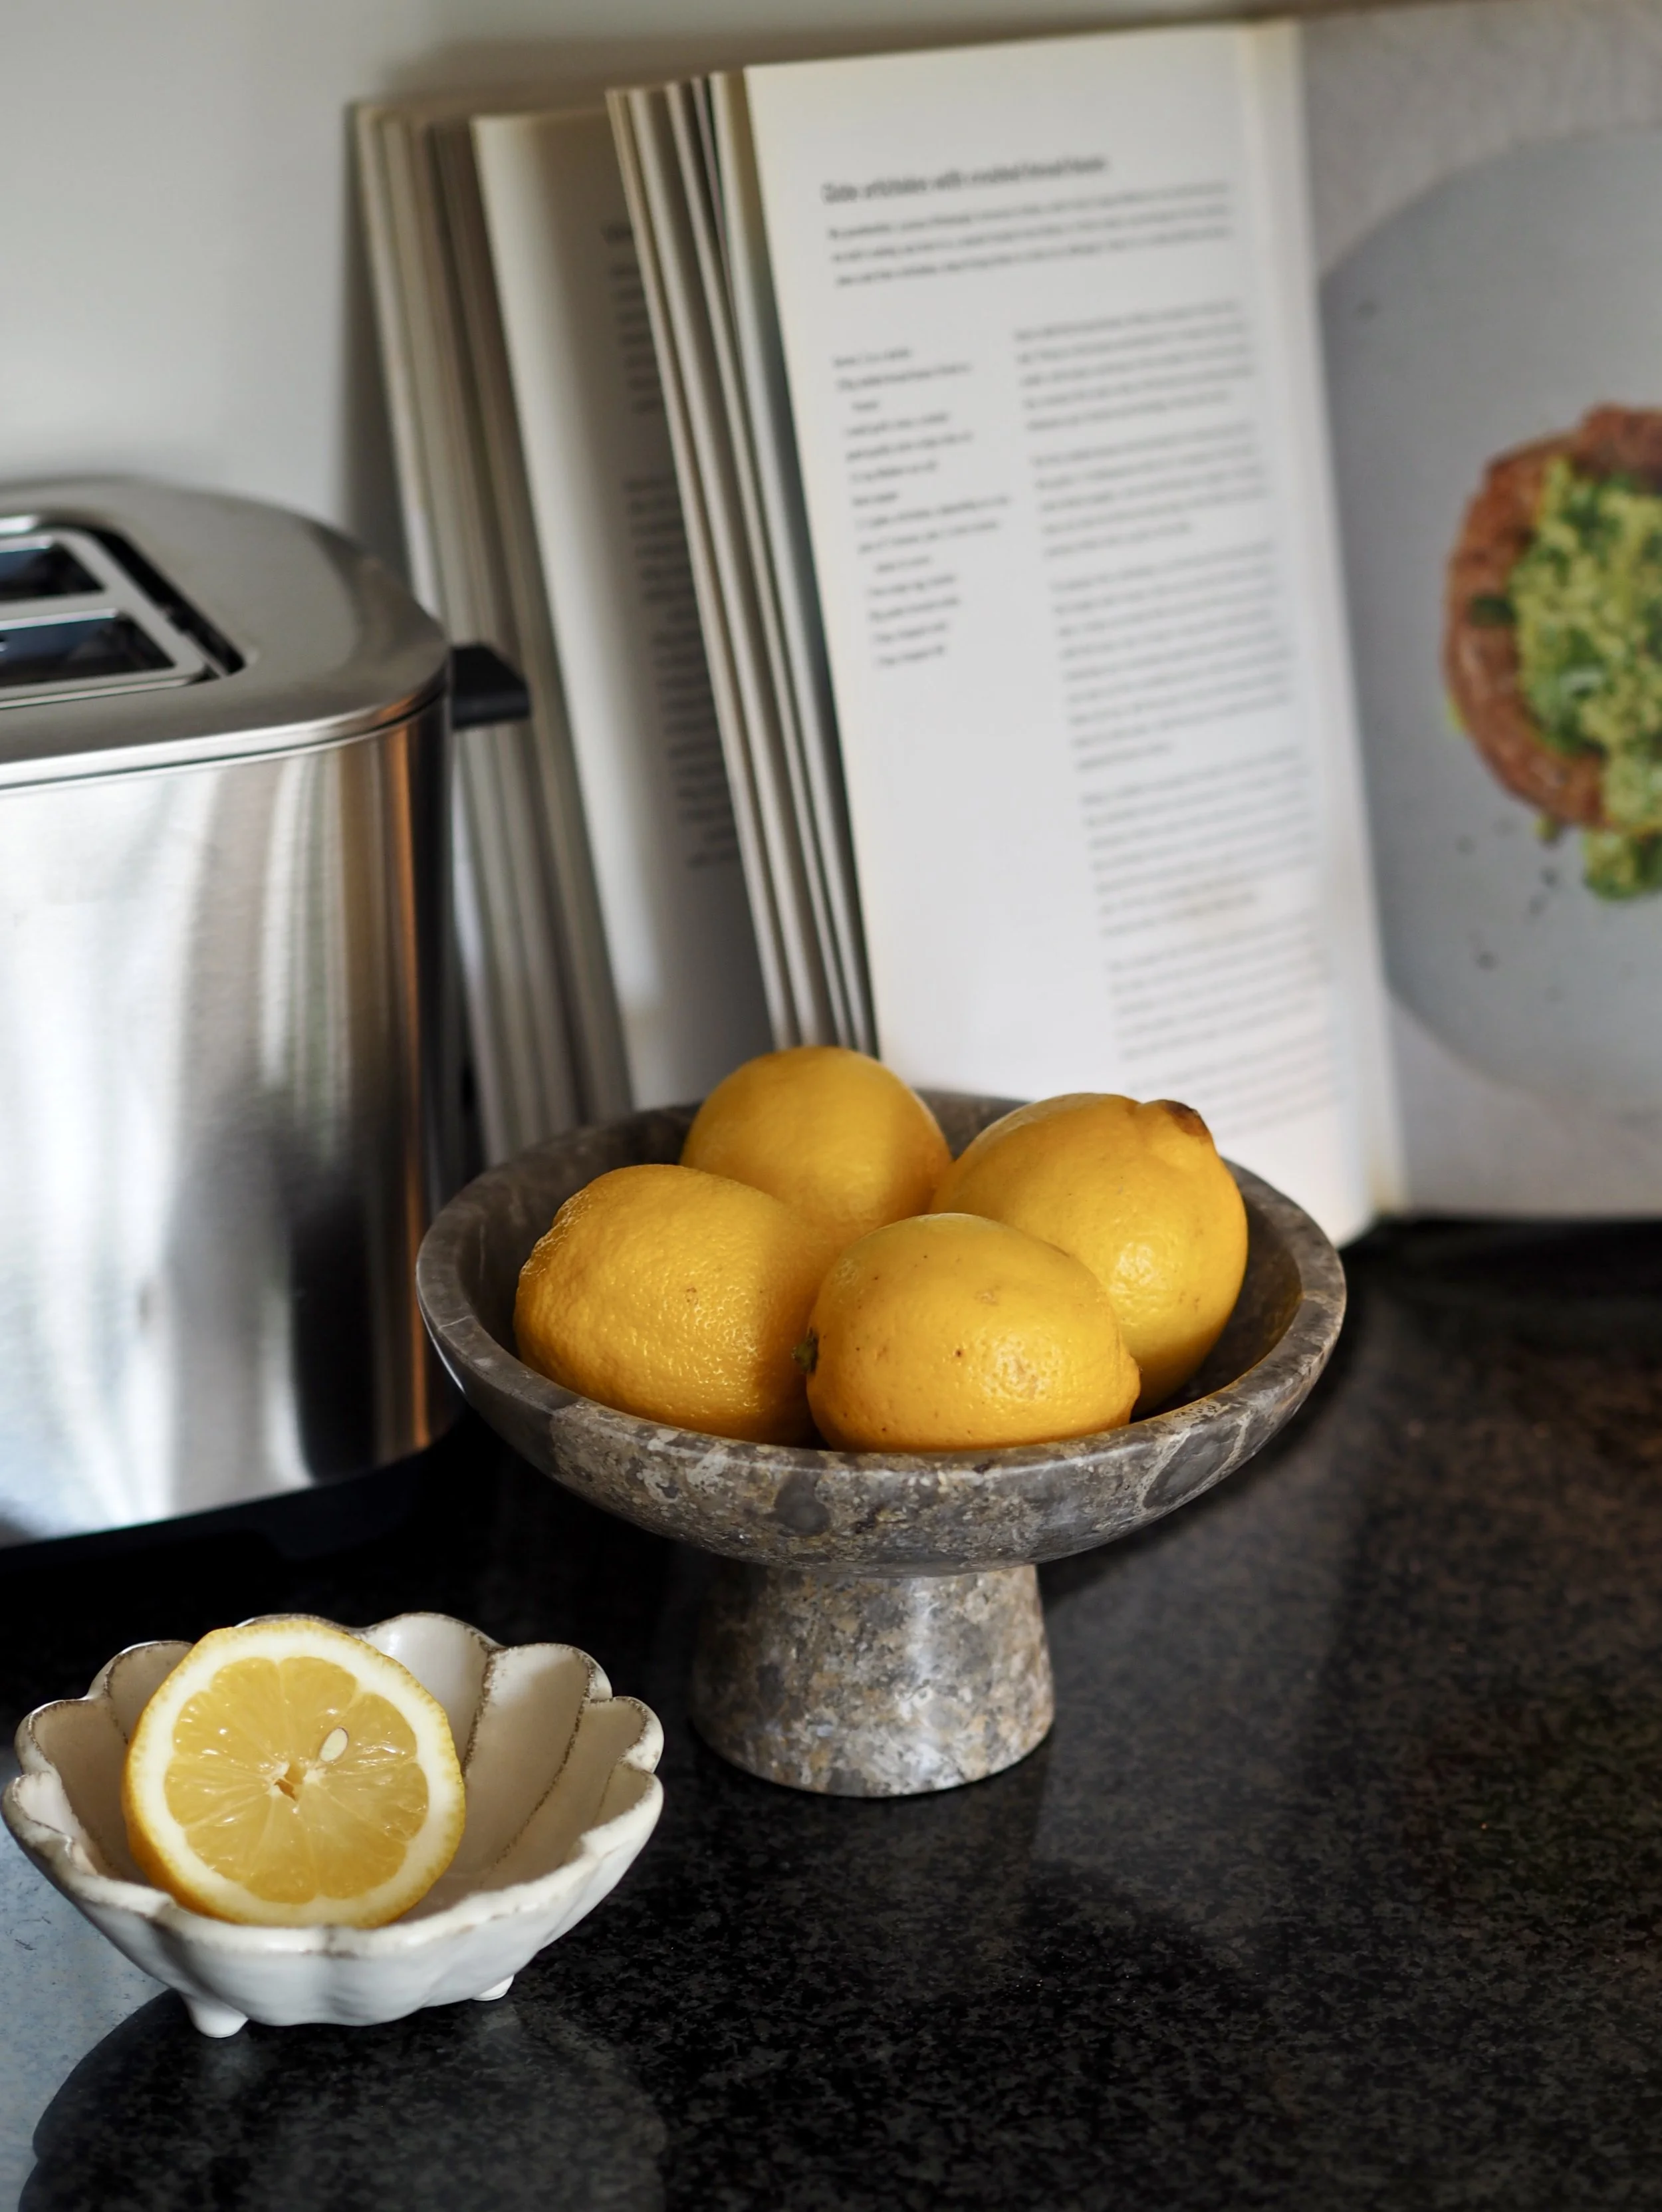
Added in a few new styling accessories
Once you’ve redecorated a room it is important not to just shove everything back in there you once had before (this can ruin the overall look). Instead, consider each piece before you put it back - does it work well with the new colour scheme? Does it amplify or weigh down the room? Do you use it? Is it required? Would something else work better in its location? I always find that I invest in a couple of new pieces each time I decorate to supplement the new scheme and they don’t have to be expensive - in this kitchen revamp I purchased some new wood-topped storage jars and an egg tray from TK Maxx, plus a new jug from H&M home.
Egg tray: £6
Final Bill: £374.21