Elevate Your Home Decor: 5 Secrets To Extend The Life Of Cut Flowers
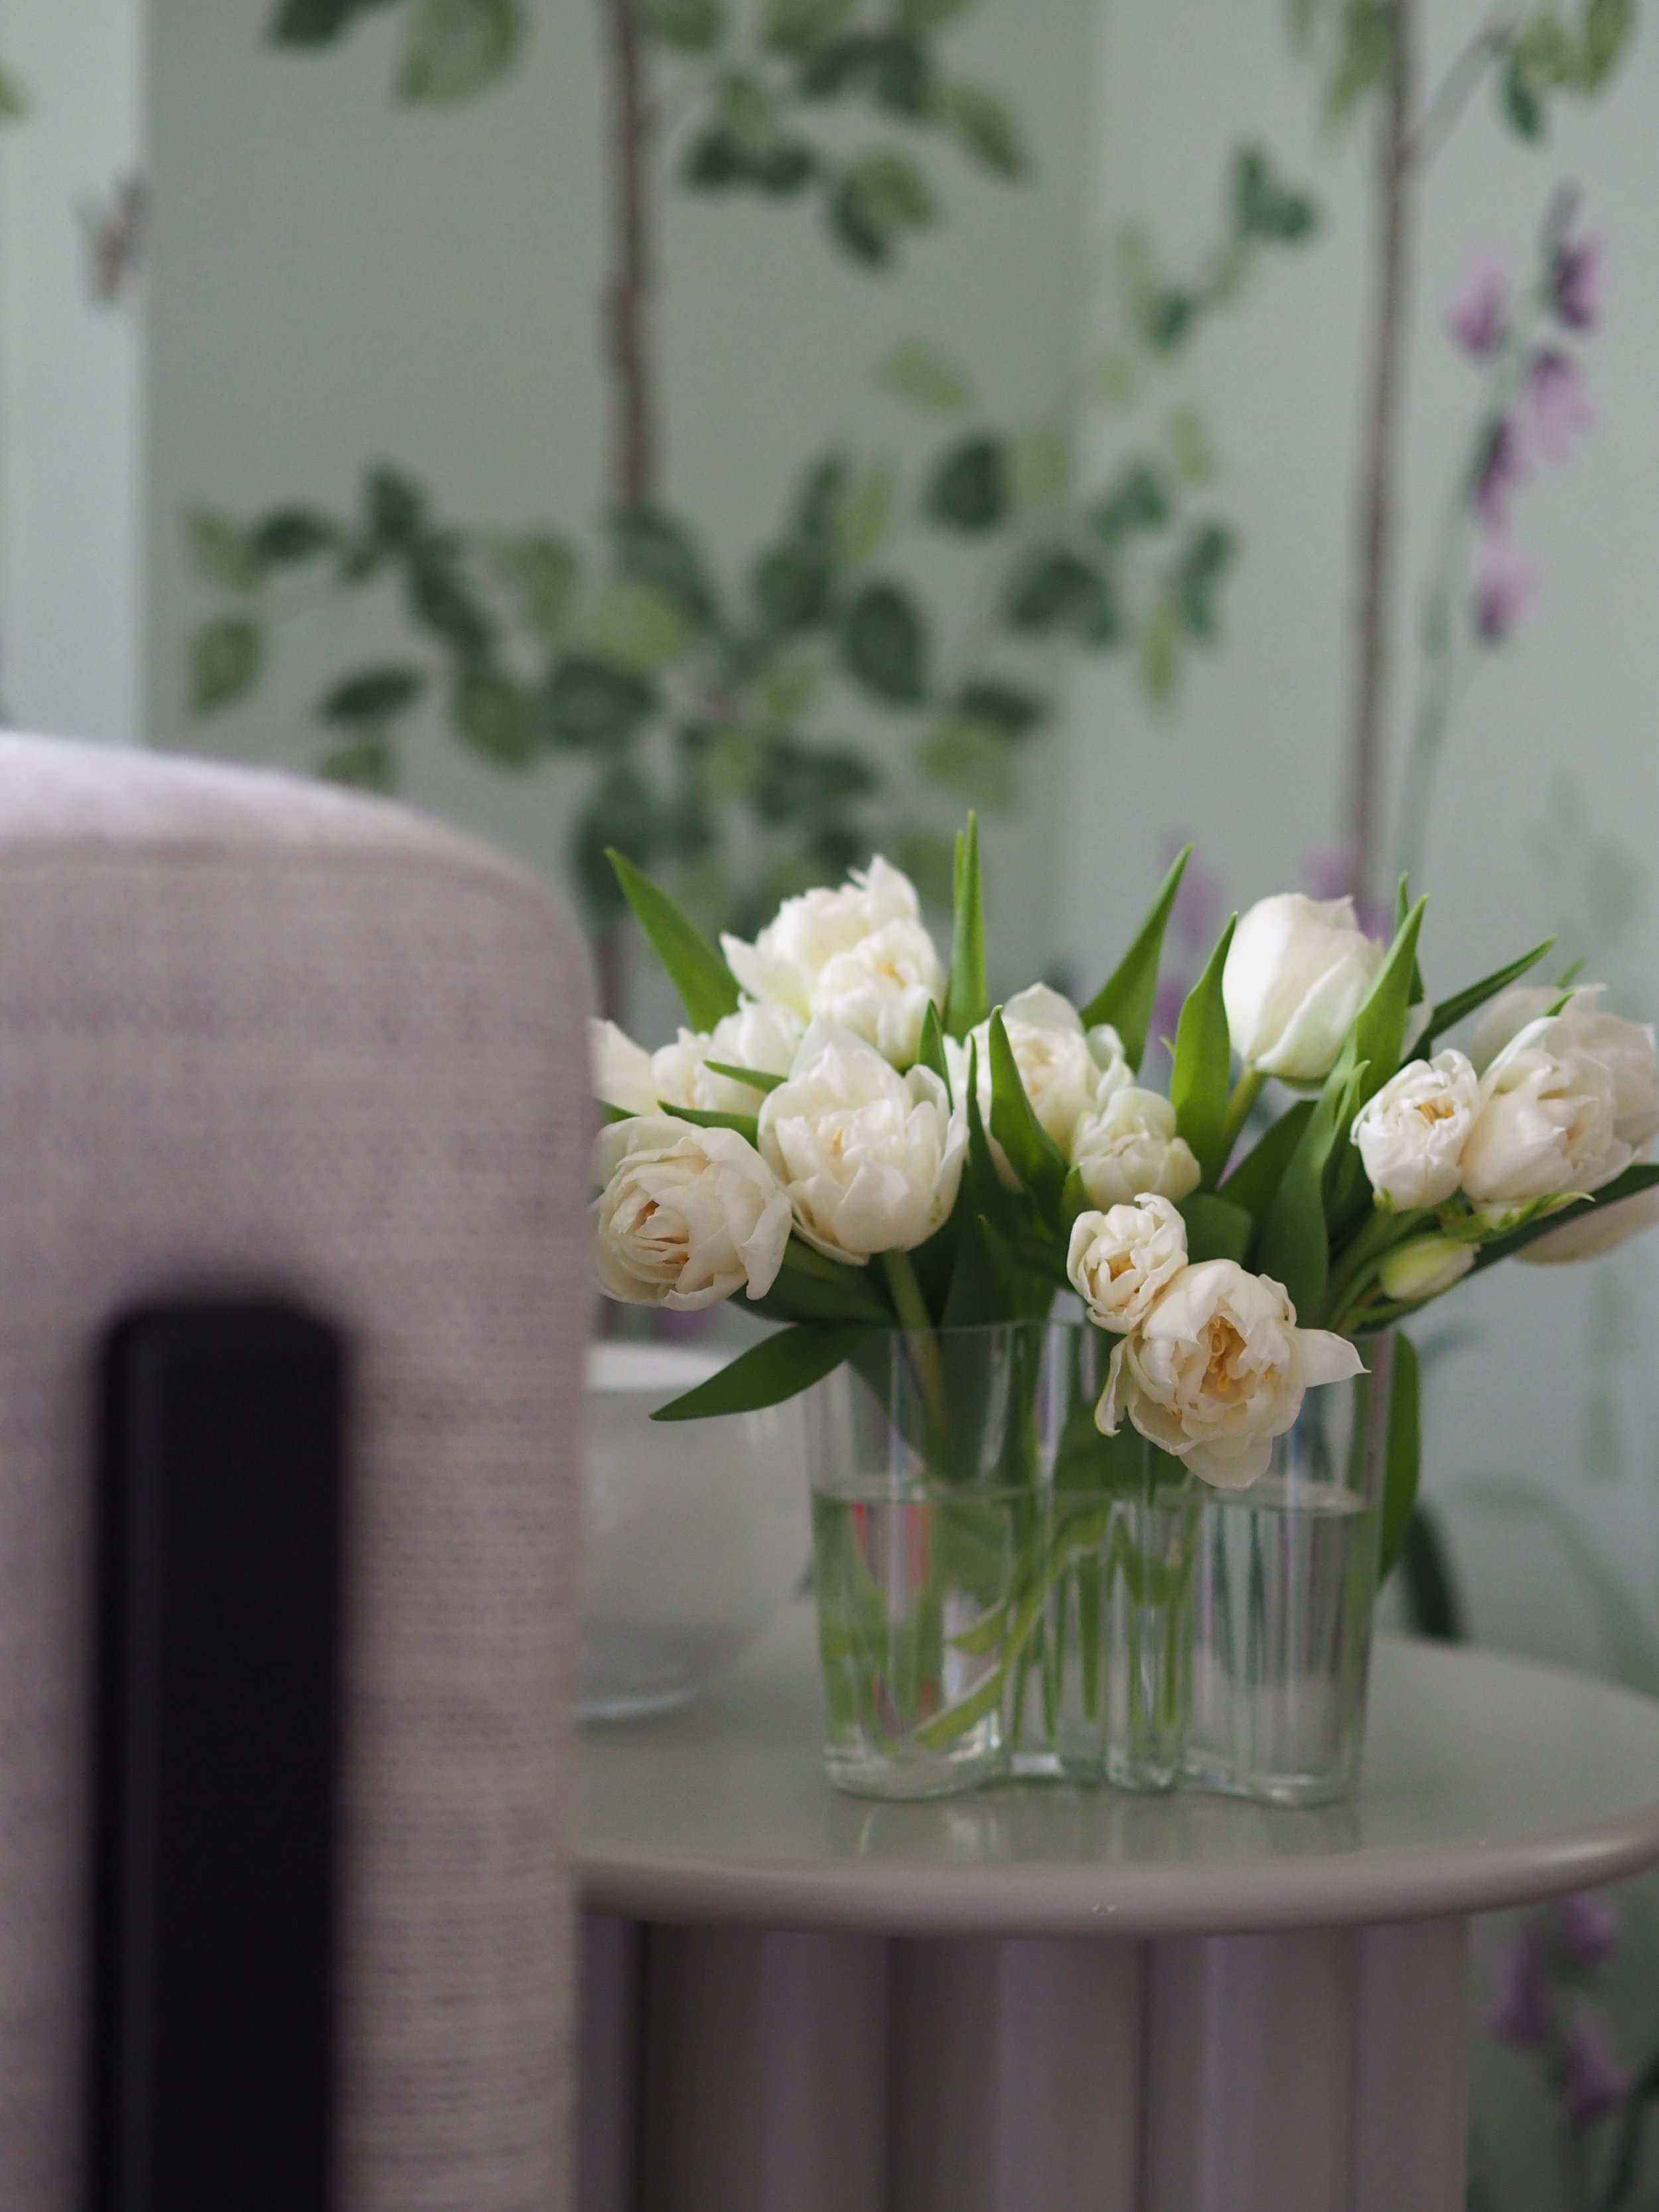
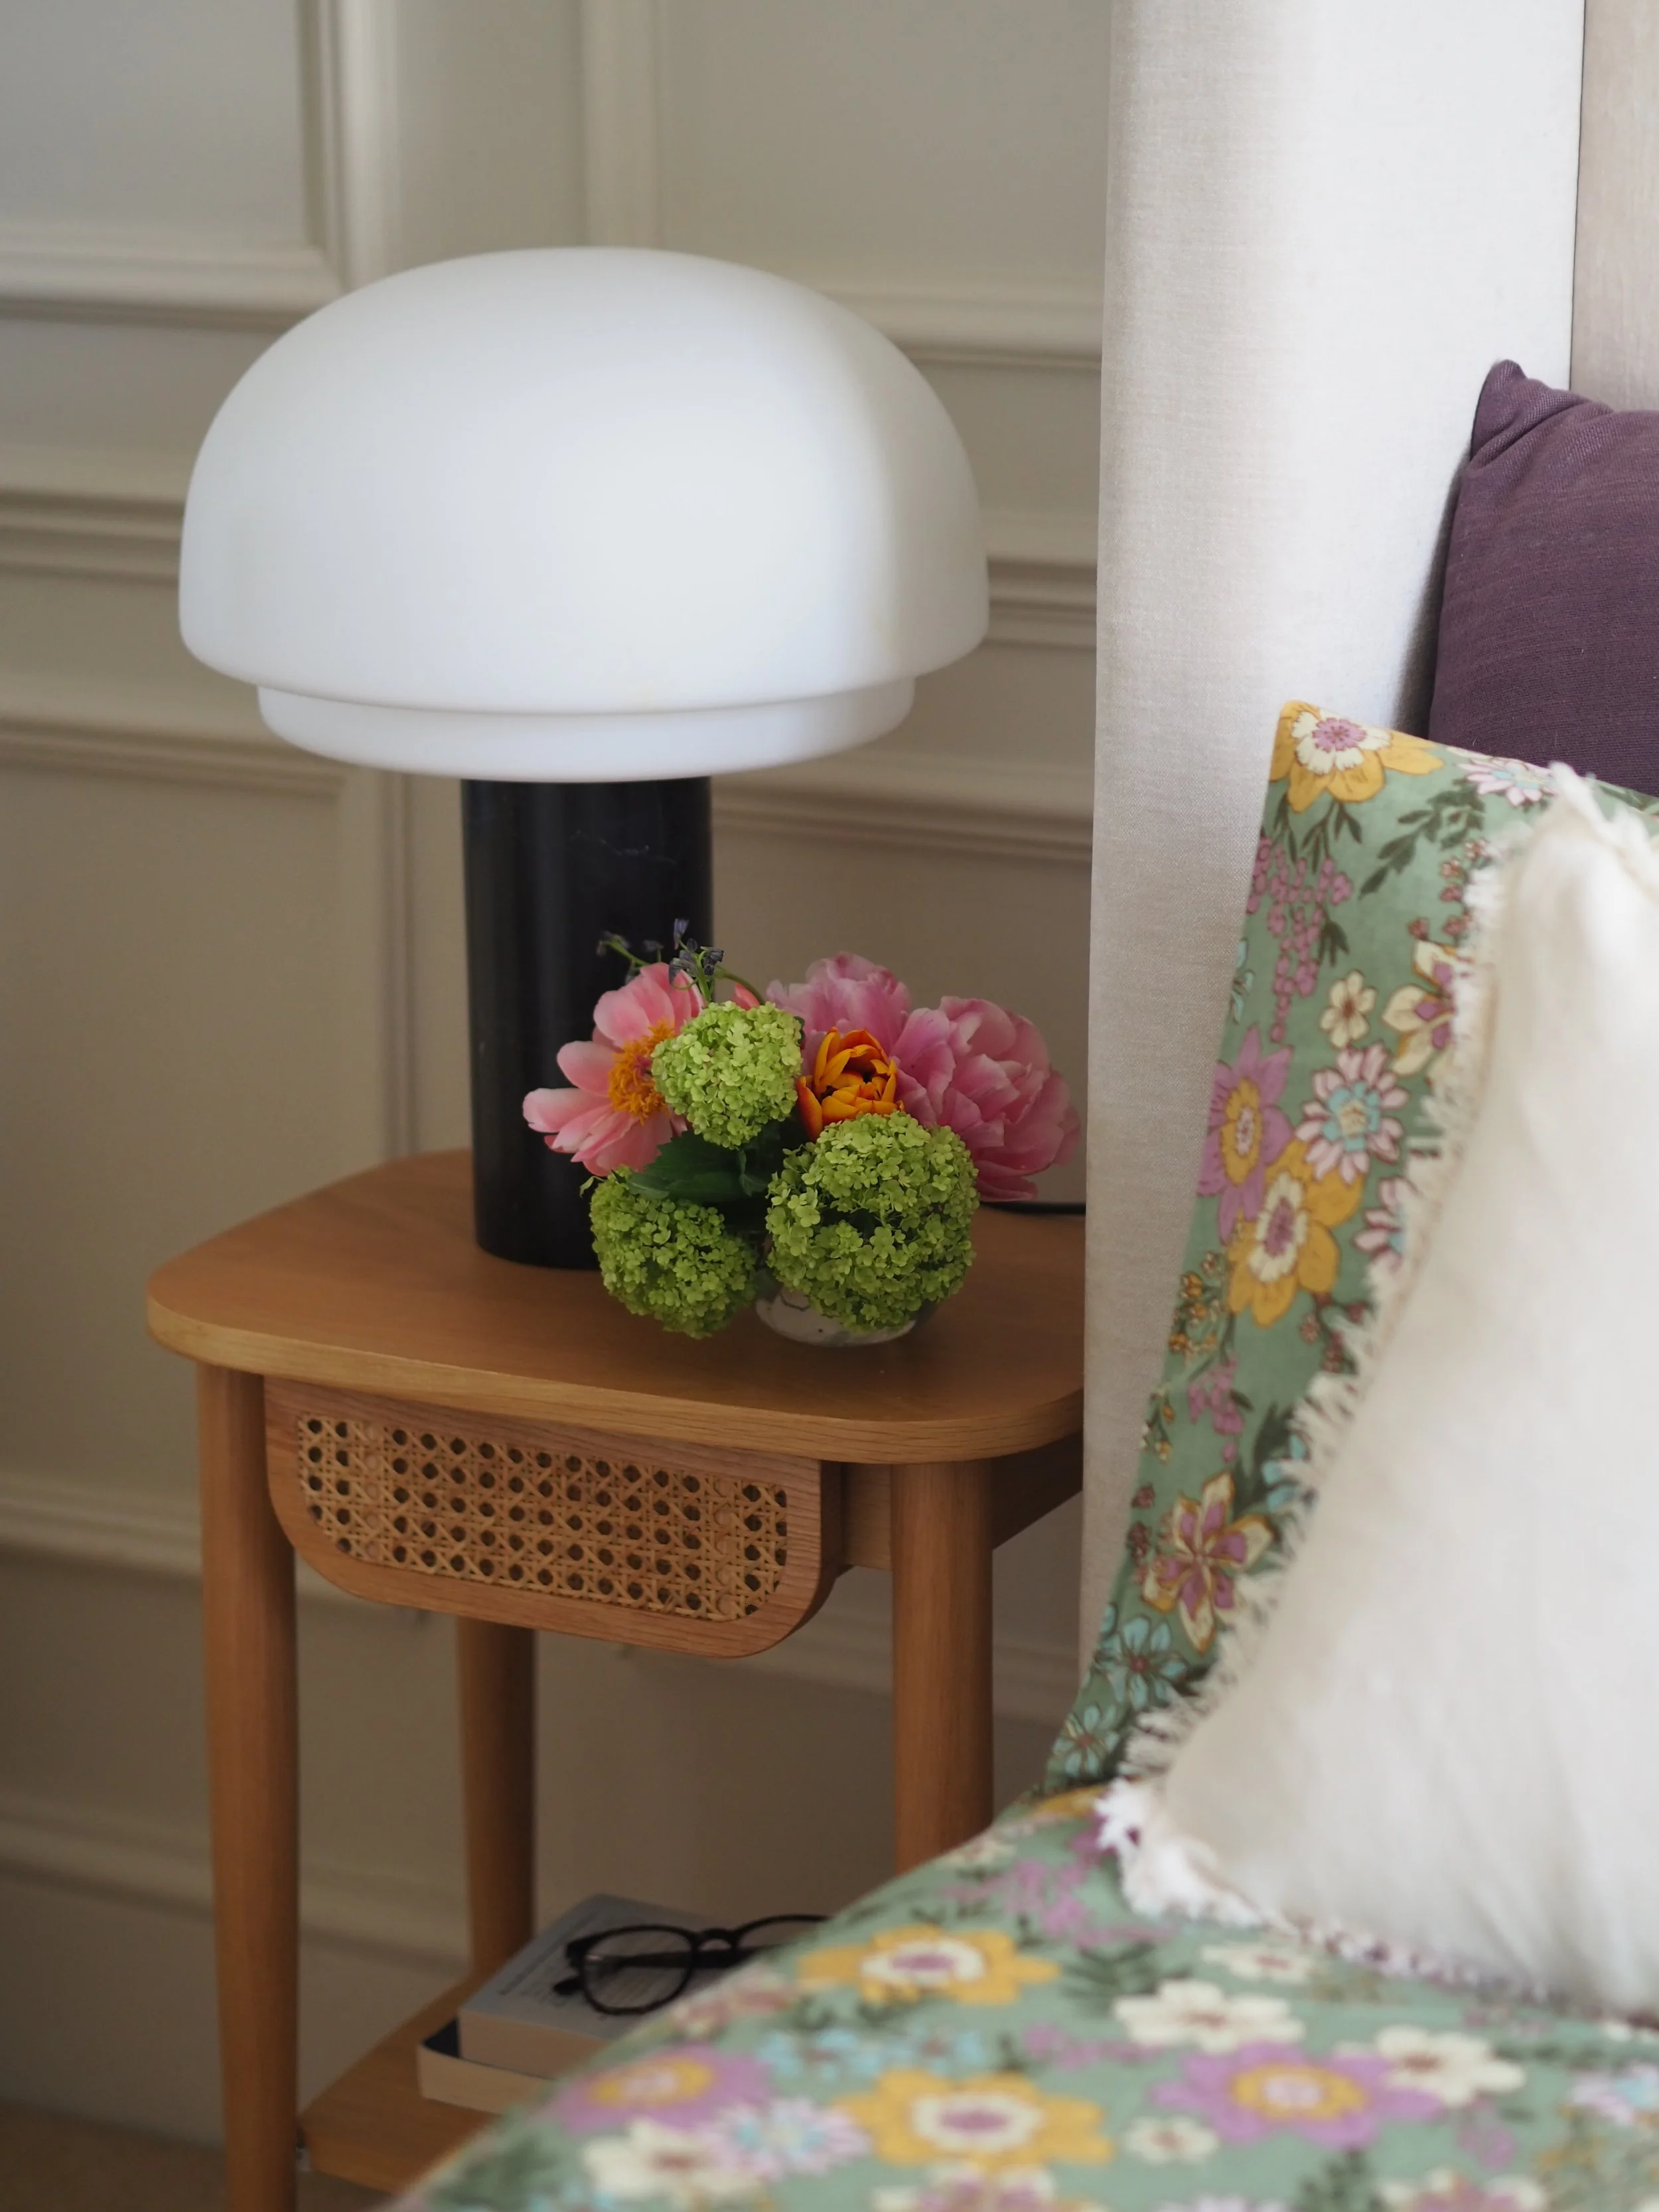
If you are a regular reader or follow me on Instagram, you’ll know that I adore cut flowers in the home. For me, a home decor scheme isn’t finalised until the room is filled with the vivid colour and scent of florals arranged and dotted around in vases and vessels. I love to incorporate seasonal blooms: fresh, vibrant summer flowers in the warmer months and dried flowers or lots of evergreen foliage in the winter. When I’ve finished giving the house a good clean is when I prefer to display a fresh bouquet of blooms, with flowers delivered today at my house including a line-up of peonies, cornflower, larkspur and veronica that currently adorn my mantel!
So, where do you start when choosing flowers for the home, what is the best way to arrange your blooms and how can you keep them in tip-top condition so they last as long as possible?
Choosing Flowers
The best bouquets contain a mix of large-headed flowers, tall and delicate stems, along with a range of foliage. Pick bouquets with at least three of the same large-headed stems, like dahlias, sunflowers or peonies. These blooms are the ‘focal flowers’ that add drama to your display and should always be positioned at the front of the vase.
Mixed alongside these dramatic flowers should be taller, daintier blooms, such as stocks, irises and delphiniums. These add height and scale to the arrangement.
Finally, there should be a mix of foliage to break up the colours in your display. Pistache is a good all-rounder, mint works well in summer bouquets, while eucalyptus is great foliage to use in the winter (either in a vase or as part of seasonal decor).
DIY Flower Arranging Tips: Tools and Materials
Start by gathering essential tools such as a sharp pair of floristry scissors or secateurs, a vase or container and some flower food.
Step-by-Step Guide: 5 tips for longer-lasting blooms
Flowers get a little shocked after travelling. Before arranging them, keep them in a cool dark space for a few hours to regulate.
Always cut down the stems before placing them into a vase, making sure they are trimmed at a 45-degree angle to help them absorb water more efficiently. If you are trimming hard, woody stems (like those found on lilacs or hydrangeas), make a simple snip upwards (as well as at an angle) in order for the stem to be able to draw up fluid efficiently and not wilt after a short time.
To prevent bacterial growth that can make the flowers rot, remove any leaves below the water line.
Make sure your fires or vessel is completely clean with no trace of algae or bacteria leftover from a previous display, as this will filtrate into your freshwater. Fill the vase with water and add a good quality flower food before placing in your flowers.
Make sure that your flowers are not crammed in together and the stems are not crushed into the side of the vase. If your flowers need support to stand straight, try adding some chicken wire, floral tape or flower frog to the base of the vase to avoid the stem bending.
Extending the Life of Your Summer Flowers
Flower Care Basics
To prolong the life of your summer flowers, follow a few simple care tips. Trim the stems every few days and refresh (or top up if there is not much time) the water daily. Avoid placing your flowers in direct sunlight or near heat sources, as this can cause them to wilt prematurely.
DIY Flower Preserving Techniques
Long after they've finished growing, preserved flowers can still retain their beauty. Press flowers between heavy books for a few weeks to create fragile keepsakes you can hang or use in craft projects. Hanging flowers upside down in a dark, dry place to dry will also keep their shape and colour.
Incorporating Preserved Flowers in Decor
Using both fresh and dried flowers together makes a beautiful, one-of-a-kind show that takes advantage of the best of both worlds. Additionally, you can use pressed flowers to decorate cards, or to hang in picture frames, adding a unique and personalised touch to your home.


Brighten your home with these yellow paint colours…