DIY Advent Calendar Indoor Wreath
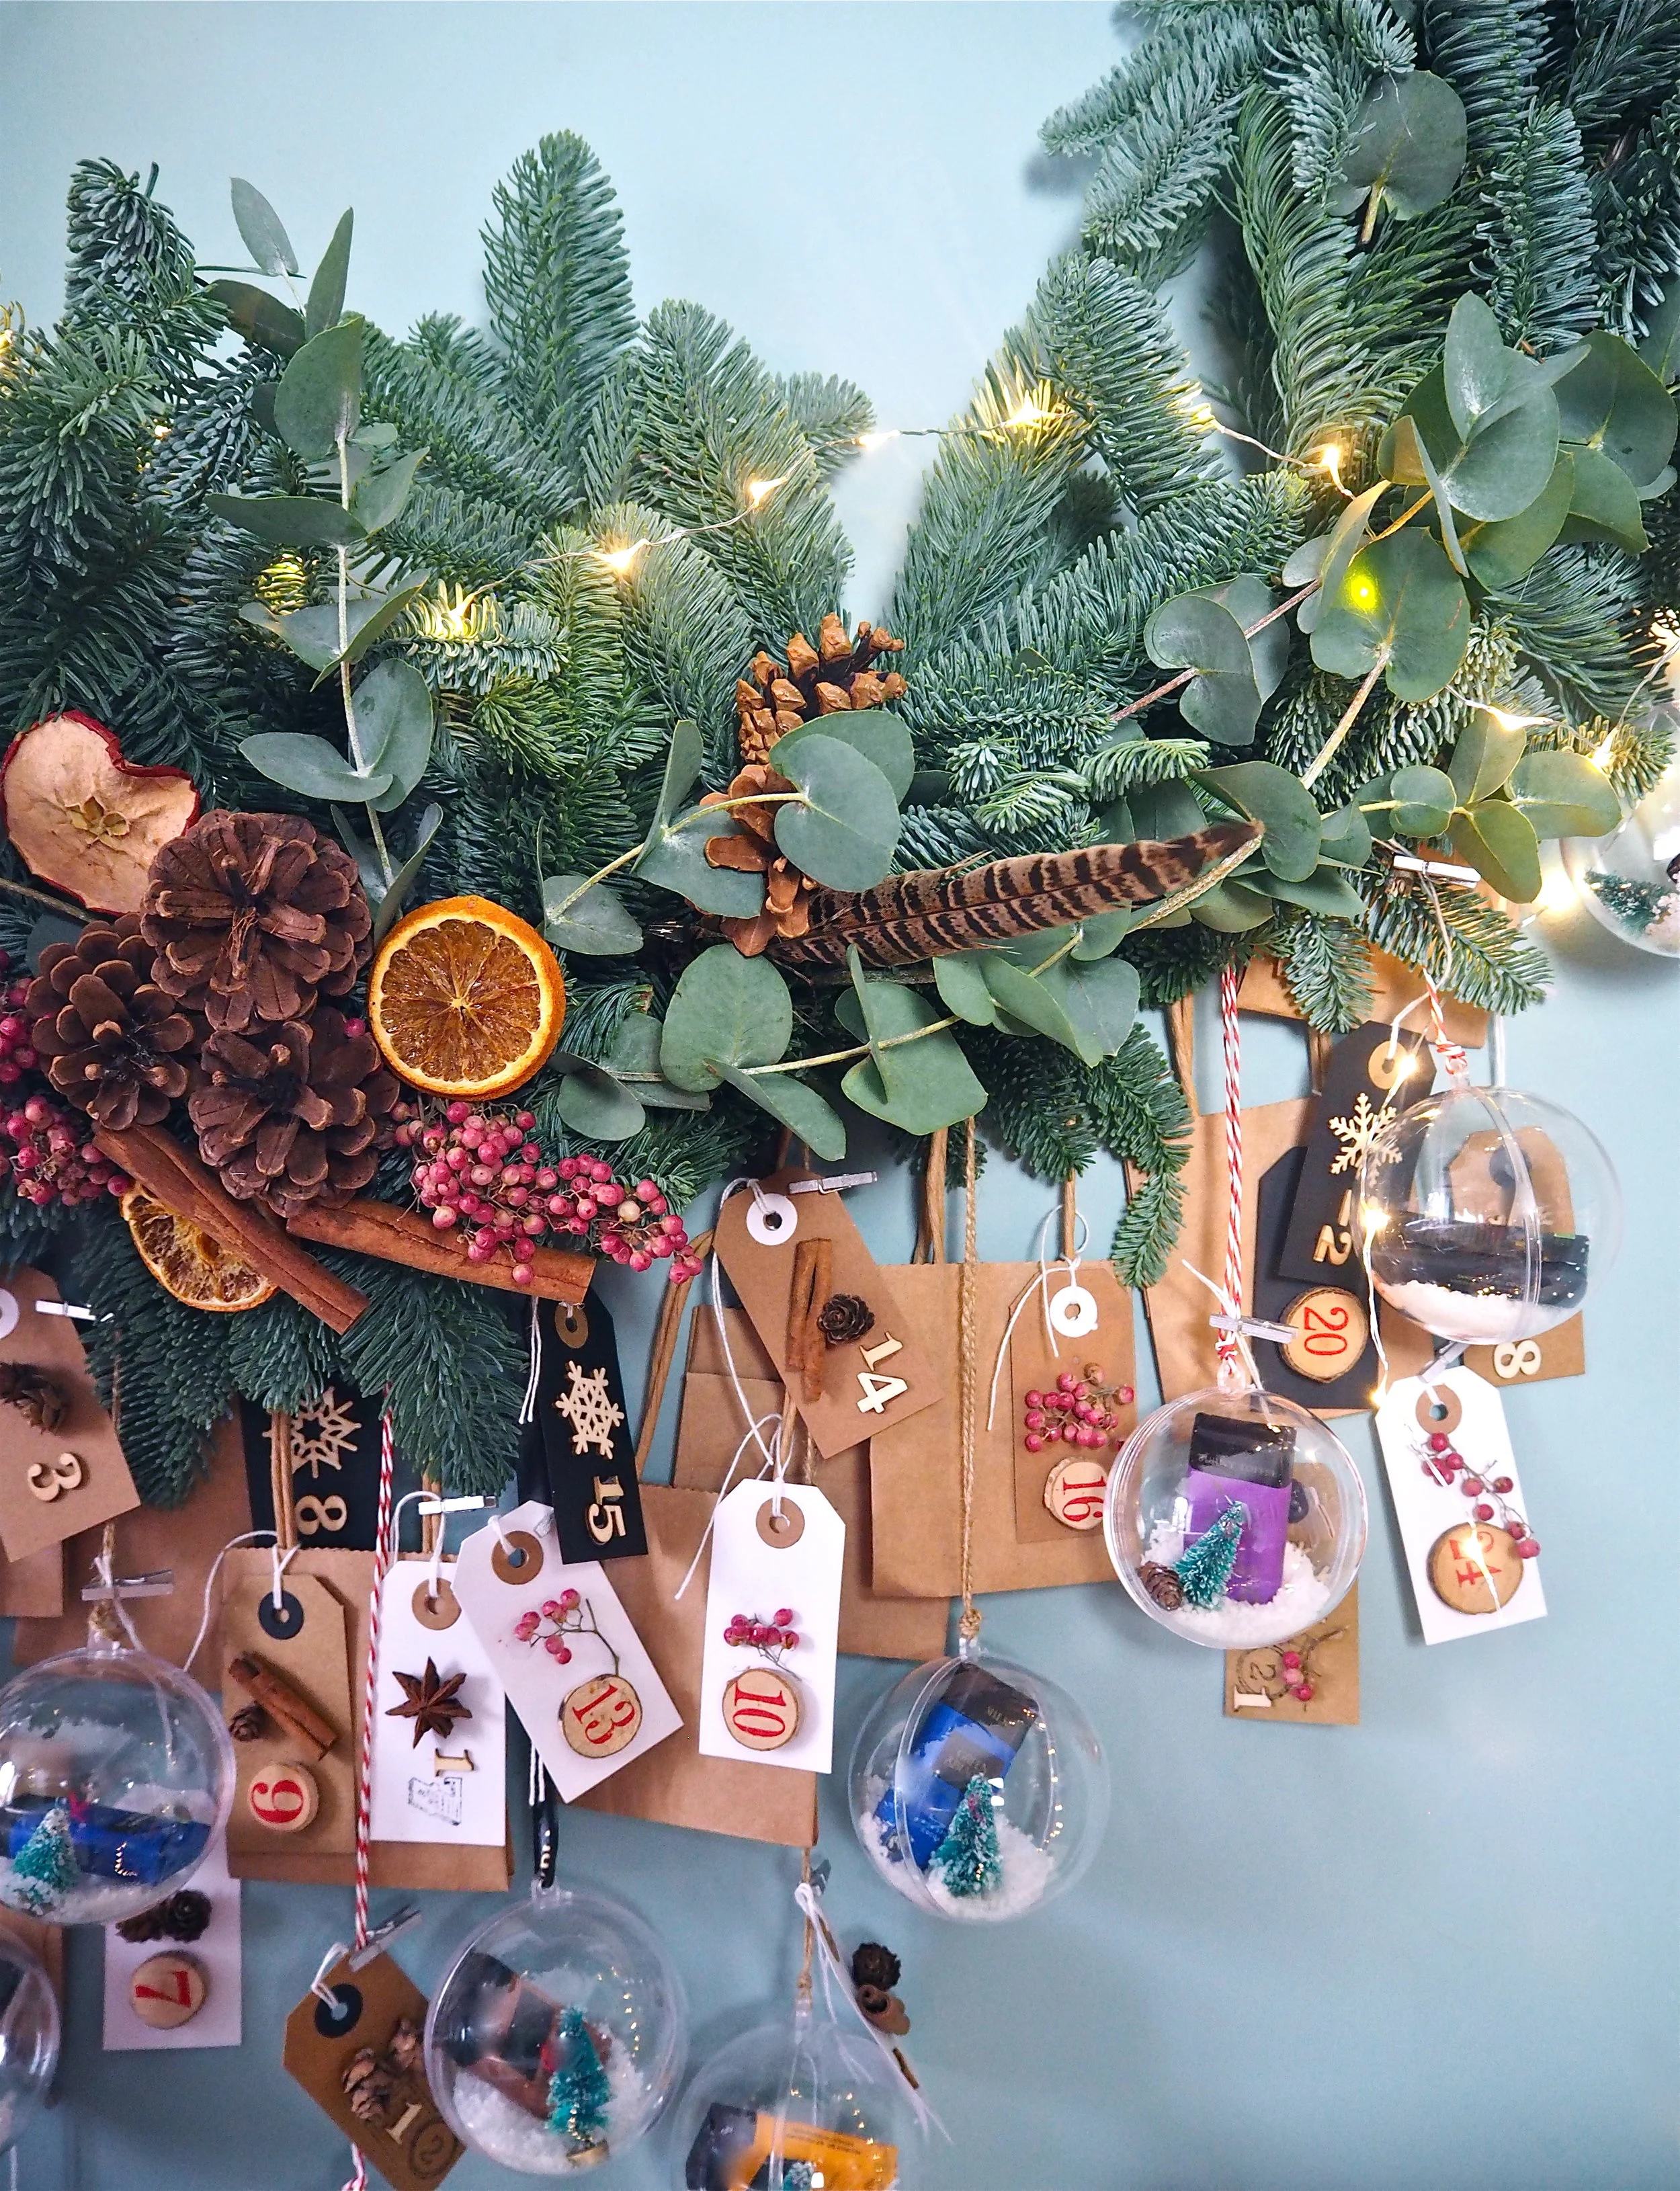
I was recently commissioned by the chocolate company Green & Black’s to create some Instagram Christmas content with their Miniature Bar Collections. I decided to create an indoor wreath which also doubled up as a DIY advent calendar, as this way I was creating something decorative for the home as well as it having a function! This is the end result below, which I was quite happy with as it looked quite pretty and filled the house with the smell of eucalyptus:
By only using pine, eucalyptus and pre-dried natural decorations, the wreath will last well over the 25 days it is required for. For the advent, I used a mix of clear plastic fillable baubles and small brown paper bags upon which I could stuff in 25 chocolate bars. Each bauble or bag had a small luggage tag featuring a countdown date. The idea is that you simply snip off a bag or a bauble per day from the wreath, while the wreath itself remains a key decoration in your Christmas scheme.
This wreath is easy to make but you do need a bit of forward planning with all the bits and pieces required to make it. I used a lot of different decorative elements to make up the baubles and date tags, but you can be as simple or as extravagant with this as you like. However, these are the few key things you will need:
YOU WILL NEED:
HULA HOOP / TWINE / SMALL KRAFT PAPER BAGS / FAUX SNOW / GLUE GUN / FLORIST WIRE / CLEAR FILLABLE BAUBLES / FLORIST TAPE / ADVENT CHOCOLATE / SMALL LUGGAGE TAGS / SCISSORS / NATURAL DRIED DECORATIONS / DECORATIVE NUMBERS / SECATEURS / DECORATIVE BRUSH TREES / PINE & EUCALYPTUS
The base of the wreath is made from a hula-hoop, as you need something strong to be able to take the weight of 25 advents parcels. You need to wrap the whole of the hula-hoop in the florist tape as this will then provide a sticky, camouflaged base for your foliage to grip to. It will also mean that your advents will hold in place and not slip and slide all across the hoop. Simply wind the tape around the hoop from the roll until it is completely covered.
Next you want to create your advents with a mix of baubles and paper bags. In my baubles I glued in a small decorative bottle-brush tree, added in a spoonful of fake snow and also placed a Green & Black’s miniature chocolate. For my advent numbers I used craft tags and a mix of decorative numbers and number stamps. However, to keep it simple you can also just write the numbers directly on the bags.
Using some twine (which has more grip than ribbon) I tied three baubles at a 3 o’clock, 6 o’clock and 9 o’clock position on the hoop so I knew I was using the whole bottom half of the wreath. I then spaced out the remaining advents between them:
Once all the 25 advents were tied on the bottom half of the hoop, I carefully laid the hoop and advents on a large flat surface ready to apply the foliage:
First off I used the pine as a thick base which would cover the whole of the hoop. Starting at the bottom, I splayed two large pieces of pine facing the opposite way so they were a ‘reflection’ of each side, then built up towards the top of the hoop. I secured each piece to the hoop by wrapping florist wire through the pine and looping it around the hoop itself.
Once the hoop base was covered with pine, I started to build up more pine at the bottom of the hoop where my dried decorations would be placed. The top half of the hoop I kept quite ‘light’.
Once all the pine was attached I took the eucalyptus stems and thread them through the pine and around the hoop. Again, I used wire to keep it in place. The idea here was for the eucalyptus to appear to climb up and around the hoop.
Using a glue gun, I then secured in some natural dried decorations at the base:
I then hung the wreath on a wall in my home, taking down a picture and using the hook to support the hula-hoop! I also added in some fairy lights to give it a bit of extra sparkle and ta-da!

